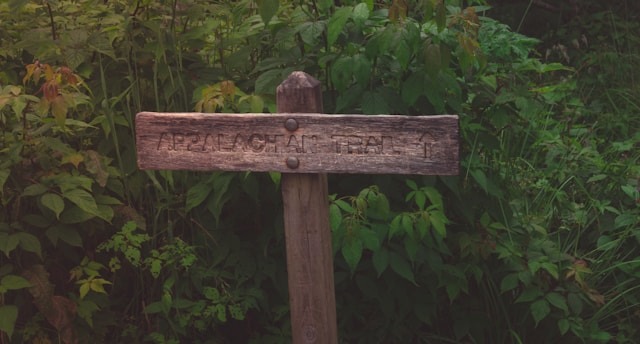
appalachian trail sign

How to Prepare to Hike the Appalachian Trail: 12 To Dos

The Appalachian Trail winds from Georgia to Maine through some of the most stunning and challenging terrain in the U.S. The idea of completing a thru-hike can seem both exciting and intimidating. One thing is for sure; proper preparation is key to success.

You need to know how to get ready and choose the right gear to turn an ambitious Appalachian Trail dream into a personal accomplishment.

1. Do Your Research

You need to start by understanding the full scope of the Appalachian Trail before you rush out for new gear. A thru-hike requires several months to finish, and timing matters.
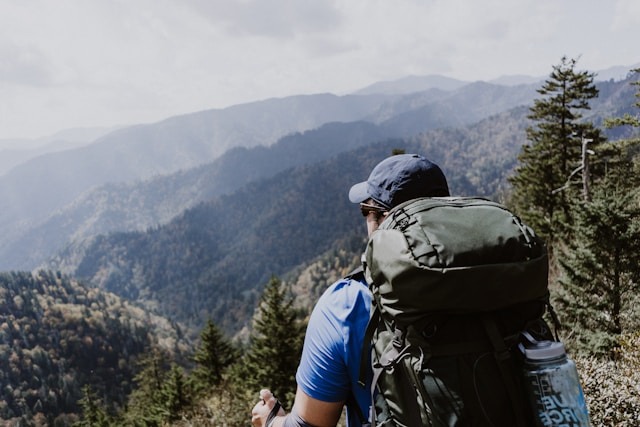
man looking at mountains on a hike

You have three main route options:

  • Northbound (NOBO): Starting in Georgia and heading north is a popular choice. The hike typically starts in March and ends in October. You’ll likely hike with a large community of thru-hikers, which can make shelters competitive.
  • Southbound (SOBO): Starting at Mount Katahdin and heading south helps you avoid crowds. The trade-off is that there challenging terrain from the start.
  • Flip-flop: Starting in the middle and hiking to one terminus before returning to hike the other direction helps you dodge extreme weather and overcrowding. However, the logistics of the hike may be more complex.

2. Prepare for the Mental Journey

Mental stamina often separates finishers from those who head home early. Hiking day after day and setting up camp in all kinds of weather can wear down even the most devoted adventurers. It can get lonely, and eating the same meals over and over, as well as hiking in soggy gear can break you mentally.

Take time to visualize completing your goal. Picture the sense of accomplishment, the relief and the pride you’ll have in yourself for sticking with your dream. On challenging days, remember why you wanted to hike the Appalachian Trail in the first place. Whether it’s the love of wild places, the need for a fresh start or the desire to test your limits, staying connected to your motivation can keep you grounded.

3. Prepare Your Body

gym equipment

Focus on these key components:

  • Choose the right gym: Look for facilities with effective weightlifting equipment, such as squat racks, free weights and cable machines. Proper strength training tools help you build the muscle groups needed to carry a heavy pack up steep inclines for long periods of time.
  • Start with cardio: Cardio forms the aerobic base for long hiking days. Establish a consistent routine that you can commit to, and be diligent and disciplined in completing it.
  • Transition to strength training: Add two to three strength sessions weekly. Focus on leg and core strength necessary to handle elevation gain while carrying a heavy bag.

4. Build a Trail-Specific Fitness Routine

woman on leg press machine

Key exercises include:

  • Legs: Squats, lunges and calf raises will help build your legs in a way that will support you during your long trek, whether you are mounting an incline or braking down steep slopes.
  • Core: Planks and back extensions help protect your spine under pack load. Core strength is also key for maintaining balance on uneven terrain.
  • Endurance: Use a treadmill at the highest incline or a stair-stepper to simulate mountain climbs.

Mix strength and endurance work for several days a week. The closer training matches actual hiking, the better prepared you’ll be.


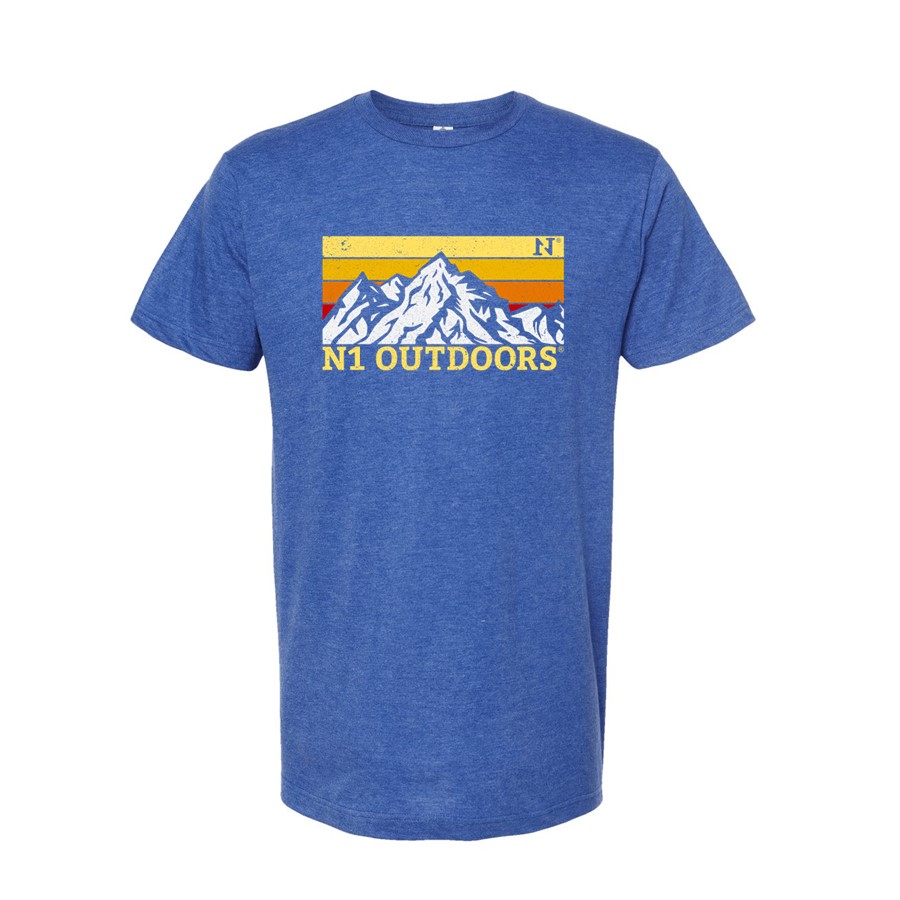
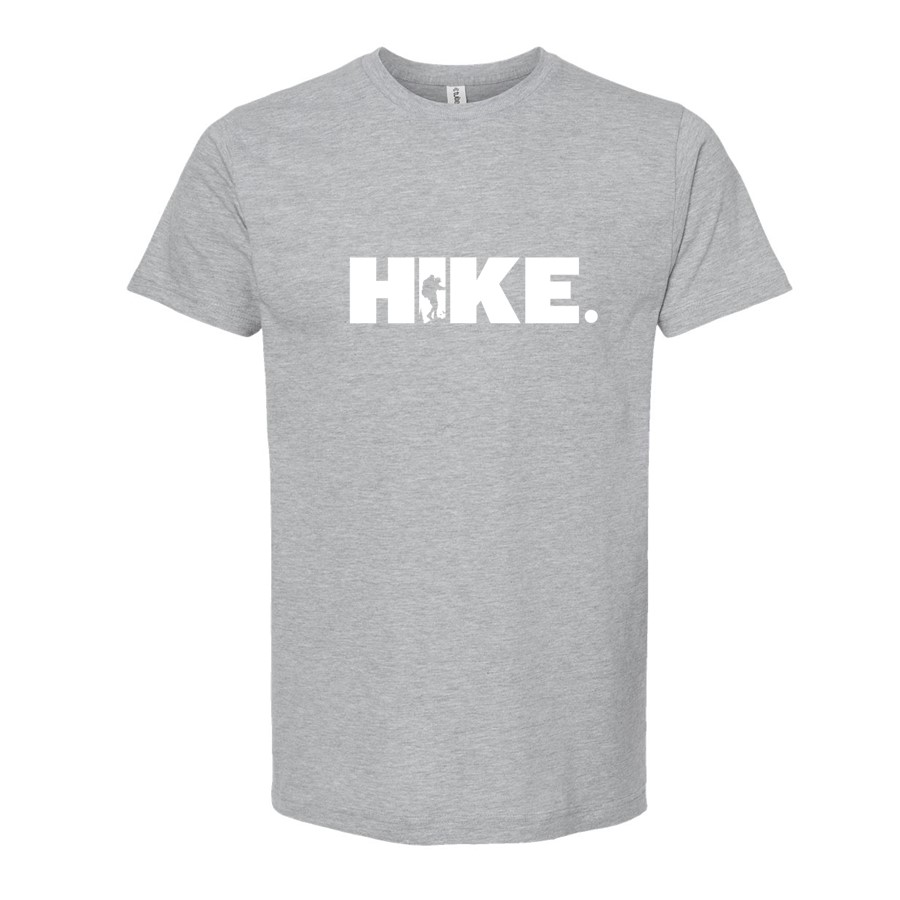
Hiking Tees you’ll never want to take off!


5. Train With a Weighted Backpack

Carrying gear over mountains demands specific conditioning beyond flat-ground walking. Training with a loaded pack conditions your body to handle sustained weight. Start with a lighter weight pack and walk neighborhoods or less difficult trails. As you build your stamina, you can gradually increase pack weight and difficulty. You should do this over the course of several months, adding a few pounds of weight every few weeks until you reach your target pack weight.

Training this way also gives you time to identify any issues before you’re out on the trail. For example, if your shoes pinch, your pack rubs in a certain spot, or your posture feels off, you’ll have time to troubleshoot and adjust your gear and tactics. This practice also helps acclimate and toughen your feet to hard trail work, which can reduce your chances of developing blisters when you’re deep into your hike.

6. Dial In Your Essential Gear
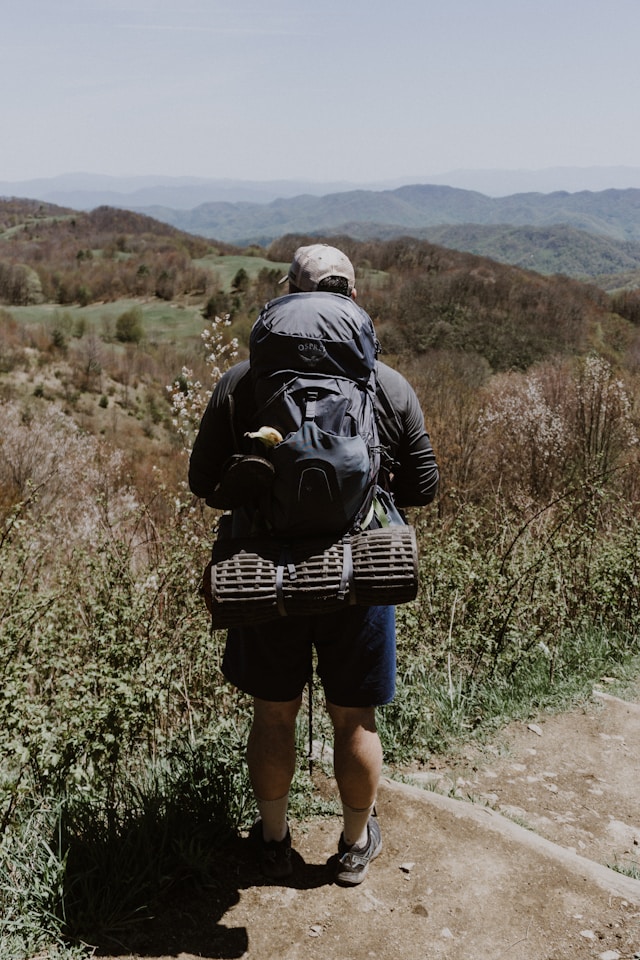
man hiking applachian trail

For shelter, choose between these options:

  • Tent: Offers bug protection and works in any terrain, but adds weight
  • Hammock: Comfortable and quick to set up, but requires trees at every campsite
  • Tarp: A good option, but demands more skill to pitch and offers less insect protection

Your sleep system is just as important. Choose a sleeping bag or quilt rated for the coldest temperatures you might encounter on your route, and pair it with a sleeping pad that provides enough insulation for those conditions. Look for one with an R-value that matches the season.

7. Master Your Clothing and Footwear System

Proper clothing and footwear prevent some of the most common sources of trail misery. The golden rule is to avoid cotton, which traps moisture against your skin, leaving you cold and clammy — a bad combination in colder weather. Stick with moisture-wicking synthetic fabrics or merino wool.

Pack the following:

  • Base layers: Moisture-wicking fabrics against your skin
  • Mid-layers: Fleece or down for warmth
  • Outer layers: Rain shells to block wind and precipitation

Many thru-hikers prefer broken-in trail runners for lighter weight and faster drying. Be sure to try on shoes when your feet are slightly swollen and be sure to break them in thoroughly. Invest in moisture-wicking synthetic socks rather than cotton.

8. Plan Your Food in Advance

Food planning involves more than just packing snacks. You’ll need a resupply strategy that keeps you fueled while managing pack weight. Most hikers use a combination of mailing resupply boxes and buying food in trail towns.

Consider both approaches:

  • Mailing boxes: Complete control over food choices, but up-front costs and inflexibility if your timeline changes
  • Buying in trail towns: Maximum flexibility and reduced up-front costs, but limited options and higher prices

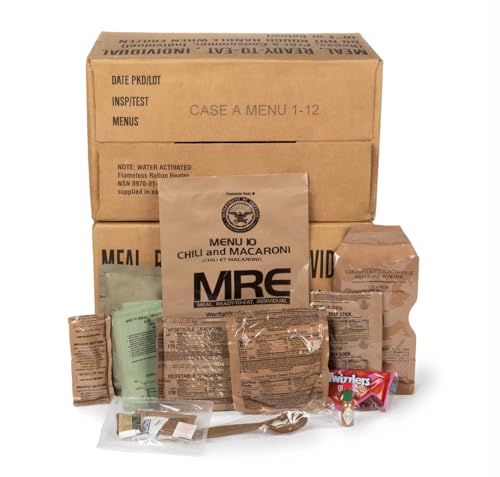
A hybrid approach works well. Mail boxes to remote sections and buy food in larger trail towns. Prioritize lightweight snacks like tortillas, dehydrated meals, jerky, trail mix and chocolate bars.


9. Test Every Single Piece of Your Gear

A trial hike is a must before hitting the trail for real. Even a night in your backyard or at a nearby park is enough to reveal any missing tent stakes or gear that won’t work as planned. Plan at least one overnight trip where you use all your equipment together, just like you would on the Appalachian Trail.

This trial run lets you see which items perform well and which might need to be swapped out. Every unnecessary ounce you eliminate during these practice hikes will make your pack lighter when you’re out for months on end.

10. Leave Your Dog at Home
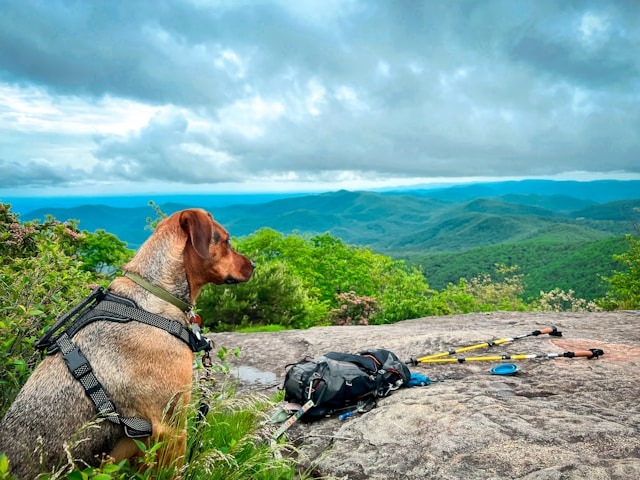
dog on blood mountain on appalachian trail

You’ll be carrying extra food and water, and there’s the added complication of finding pet-friendly accommodations since many shelters and hostels don’t allow dogs. There’s also an increased risk from wildlife or environmental hazards. If sharing the trail with your pet is important, consider shorter section hikes instead.


11. Understand Trail Etiquette and Final Logistics

Knowing and practicing good trail etiquette ensures everyone can enjoy the Appalachian Trail now and in the future. Help protect the trail for future hikers and minimize your environmental impact.

For proper trail etiquette, follow these key principles:

  • Pack out all trash rather than burning or burying it
  • Bury human waste at least 200 feet from water sources
  • Leave campsites cleaner than you found them
  • Yield to uphill hikers
  • Be considerate around shelters, especially during crowded seasons

Don’t forget the practical logistics before you leave. Put your bills on autopay, figure out your ride to the trailhead, and make sure your health insurance is in order. Let your bank know you’ll be traveling, so you don’t have issues accessing your money. Also, be sure to share your itinerary with someone you trust back home, so they know your plans.

12. Have Fun

Most importantly, remember to have fun along the way. The Appalachian Trail is messy, unpredictable and sometimes even frustrating, but those challenges are what make it such a memorable journey.

Gear will break, storms will come through, and you might even get turned around, but each day brings a chance for connection with the outdoors and with other hikers and new experiences. The real reward is in the people you meet who quickly feel like family, the sunrises on mountaintops and the realization of how much you’ve grown.

Your Unforgettable Appalachian Trail Journey Awaits

Remember that preparing to hike the Appalachian trail starts with thorough preparation. When you build physical strength, develop mental resilience and handle your logistics, your big goal becomes a series of manageable steps. When you take your first steps on the trail, you’ll know you’ve done the work to hike with confidence and enjoy every moment!
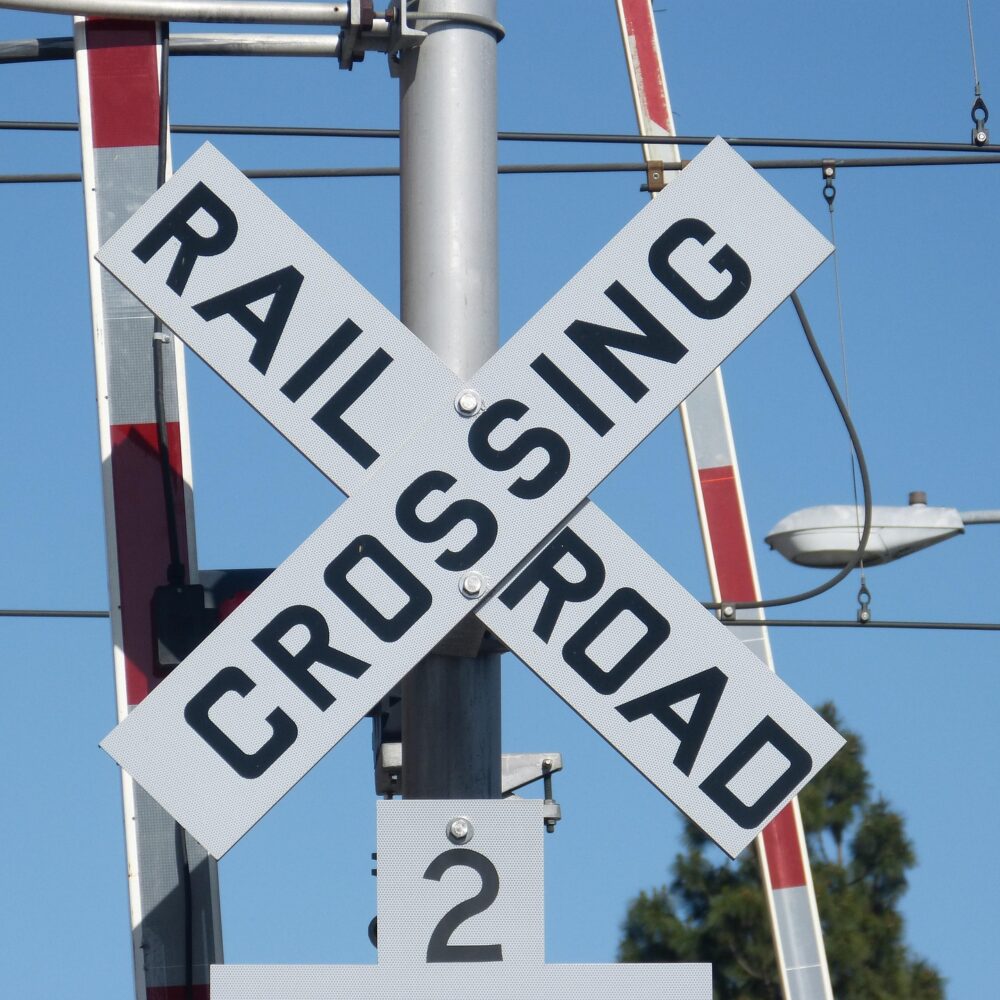
 

crossbuck sign 2 tracks

What Outdoor Travelers Should Know About Railroad Crossing Safety

Adventure trips into the great outdoors often begin long before sunrise. Hunters may be driving to a private land or public land hunting spot. Anglers may be towing a boat toward a quiet launch, and campers may be heading down unfamiliar roads with gear packed tight. In cities and towns where rail traffic is part of daily movement, those same travel habits can bring outdoor enthusiasts close to busy crossings before they ever reach the woods, water, or trail.

Why Railroad Crossing Safety Matters for Outdoor Travelers

Railroad crossings deserve the same attention to detail as weather, road conditions, and gear checks. A missed signal, a rushed turn, or a moment of distraction near the tracks can lead to life-changing consequences. This is especially true for travelers moving between urban rail corridors and rural outdoor destinations, where crossings may look very different from one road to the next.

railroad in the country

Why Hunters, Anglers, Campers, and Hikers Face Higher Risks Near Railroad Crossings

Many outdoor enthusiasts leave home in the early morning, when visibility is low and fatigue can affect reaction time. These conditions can make crossings more dangerous, especially on unfamiliar rural roads.

Additionally, hunters and anglers frequently tow boats, utility trailers, campers, or ATVs. Extra weight changes braking distance and limits how quickly a vehicle can move across tracks. A driver who misjudges the distance or speed of an approaching train may not have enough time to react safely.

railroad and train at night

Navigation apps can create another hazard. Looking down for even a few seconds near a railroad crossing can prevent a driver from noticing warning lights, train horns, or approaching rail traffic. Fog, rain, snow, and ice can further reduce visibility and increase stopping distance.

Rushing to arrive before sunrise can also lead to risky decisions. Some travelers try to beat crossing gates or move too quickly through unfamiliar intersections because they are focused on reaching a trailhead, boat launch, or hunting spot before daylight. The reality is that railroad crossings require patience and full attention regardless of how empty the road may appear.


Warning Signs Every Outdoor Traveler Should Understand

Many railroad crossing accidents happen because drivers fail to recognize or properly respond to warning signs. Outdoor travelers who spend time on rural roads should understand what these signals mean before heading out on a trip.

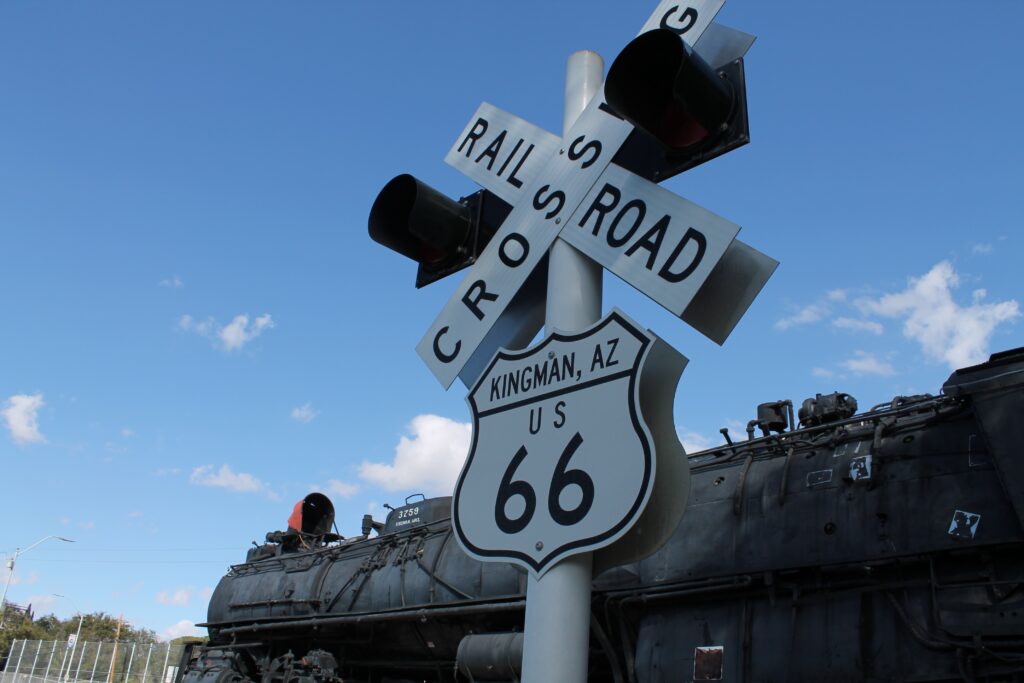
crossbuck sign route 66

The most common railroad crossing sign is the crossbuck. This white X-shaped sign marks the location where railroad tracks cross the road. Drivers should treat it as a warning to slow down, look both ways, and prepare to stop if necessary.

Some crossings include flashing red lights and crossing gates. When lights begin flashing, it means a train is approaching. Drivers should stop immediately and remain behind the marked line until the train has passed and the signals stop. Trying to drive around lowered gates is extremely dangerous and illegal in many states.

Outdoor travelers may also encounter multiple-track crossings. After one train clears the crossing, another may still be approaching on a separate track. Drivers should wait until all tracks are fully clear before moving forward.

Pavement markings, stop lines, bells, and electronic warning systems can also help drivers recognize a crossing in advance. During rain, snow, or low-light conditions, these warnings may be harder to see or hear, which makes reducing speed even more important.

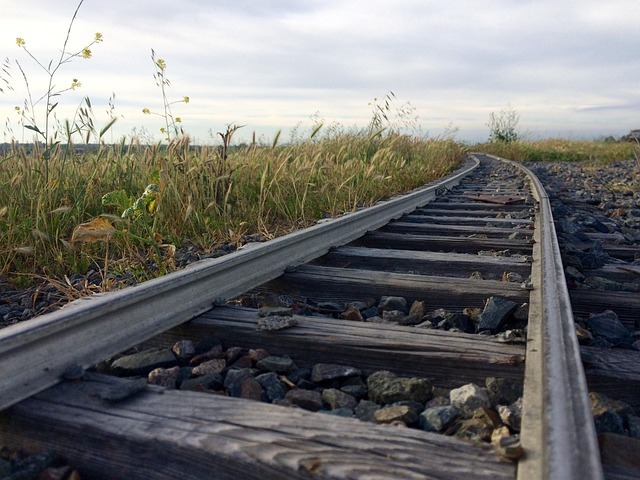
Tracks that appear unused may still carry active rail traffic. Freight trains can operate at any hour, and some trains move more quietly than people expect.

Safe Driving Habits When Approaching Railroad Tracks

Drivers heading toward outdoor destinations should approach every railroad crossing with caution, even when the area appears quiet or isolated. Trains move faster than many people realize, and their stopping distance is far longer than that of passenger vehicles.

Reducing speed before reaching the tracks gives drivers more time to react to warning lights, gates, or an approaching train. This becomes especially important when towing campers, boats, or utility trailers because heavier loads require greater stopping distance.

At crossings without gates or flashing lights, it is important to stop if visibility is limited. Rolling down the windows can help drivers hear train horns or track vibrations that may not be noticeable inside the vehicle.

Distractions should also be kept to a minimum near railroad tracks. Adjusting GPS directions, checking phones, eating, or searching for gear can take attention away from warning signs during critical moments.

Travelers driving through rail-heavy regions should remain especially alert because of the higher volume of train activity compared to many smaller towns and rural communities. Serious collisions in these areas can lead to catastrophic injuries, long-term medical complications, and difficult legal questions involving rail operators, crossing equipment, and roadway conditions. If you were heading to a rural part of Illinois through a big city like Chicago, you would simply want to see Chicago in your rearview, not dialing 911 and a Chicago train accident lawyer due to a railway accident.


wall26 - Railroad Crossing with Stop Warning Sign - Removable Wall Mural | Self-Adhesive Large Wallpaper - 100x144 inches
$142.99
Buy Now
We earn a commission if you make a purchase, at no additional cost to you.
08/20/2026 05:04 am GMT

What To Do Immediately After a Railroad Crossing Accident

In the extremely unfortunate event of a railroad crossing accident, the first priority is getting away from immediate danger. If the vehicle is on or near the tracks and it is possible to move safely, everyone should exit and get clear of the crossing. Tracks can remain dangerous after the first impact because another train may be approaching.

Call 911 as soon as possible. Emergency responders can secure the scene, provide medical care, and contact the proper rail authorities. Even if injuries seem minor, medical evaluation is important because pain, head injuries, back injuries, and internal trauma may not be obvious right away.

Anyone involved should document the scene when it is safe to do so. Photos and videos can help show the position of the vehicle, damage, crossing gates, signal lights, weather conditions, road markings, blocked views, and nearby signs. These details may become important later if questions arise about how the accident happened.

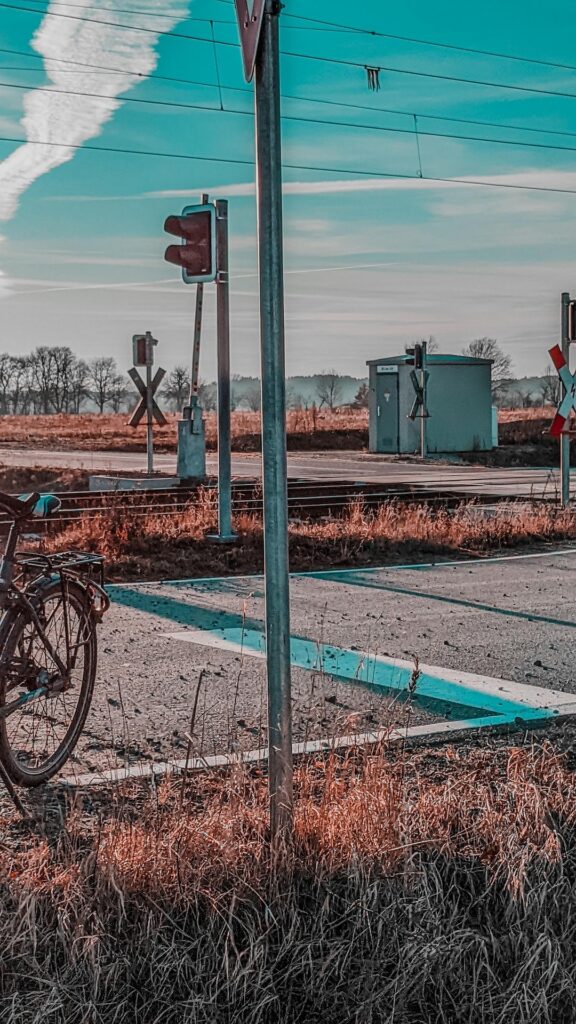
Bike at railroad crossing

Witness information can also be valuable. Names, phone numbers, and brief statements from people who saw the collision may help clarify whether signals were working, whether gates lowered properly, or whether visibility was limited.

Extra Railroad Safety Tips for Hikers and Campers

Railroad safety applies to more than drivers. Hikers, campers, anglers, and outdoor photographers can also place themselves at risk when traveling near tracks, bridges, or rail corridors.

Always avoid walking directly on railroad tracks. Tracks, ties, and surrounding gravel can become slippery or unstable, especially after rain or during cold weather. Trains may also approach more quietly than expected, particularly in open outdoor areas where sound carries differently.

Outdoor adventurers should never use railroad bridges or tunnels as shortcuts. These structures are designed for trains, not pedestrians, and many leave little room to escape if a train approaches unexpectedly. Even bridges that appear abandoned may still carry active rail traffic.

Fishing areas near tracks can also create additional danger. Some rivers, creeks, and waterfront access points are located close to rail corridors, particularly near industrial areas and older transportation routes around larger cities. Campers and anglers should stay alert to warning signs and avoid setting up equipment too close to active tracks.

Anyone walking near roads or crossings during low-light conditions should wear reflective or brightly colored clothing whenever possible. Flashlights and headlamps can help improve visibility for both pedestrians and drivers.

Planning Safer Outdoor Routes Before You Travel

A safer outdoor trip begins before the vehicle leaves the driveway. Reviewing the route in advance can help travelers identify railroad crossings, rural intersections, gravel roads, and areas where visibility may be limited.

Outdoor travelers should look for major crossings near trailheads, boat launches, campsites, hunting leases, and public land access points. When a route includes several crossings, it may be worth choosing a slightly longer path with better lighting, clearer signs, or active gates.

Attention to the weather should also be part of the travel plan. Fog, heavy rain, snow, and ice can make railroad crossings harder to see and can increase stopping distance. Drivers towing boats, campers, or gear trailers should allow extra room to slow down before tracks.

Sharing travel plans with someone at home is also a smart habit, especially when heading into remote areas. A simple route, destination, and expected return time can help others respond faster if something goes wrong.

Emergency supplies should be easy to reach rather than buried under gear. A flashlight, reflective vest, first-aid kit, phone charger, water, and basic tools can make a difference after a roadside emergency. Packing reliable survival essentials can also help outdoor travelers stay prepared when delays, breakdowns, or accidents happen far from help.

Railroad crossings should be treated as part of the overall travel plan. Again, the same care that goes into checking weather, gear, maps, and licenses should also apply to every road and crossing along the way.

Railroad Crossing Safety and Awareness Should Be Part of Every Outdoor Trip

According to published crossing accident statistics, railroad collisions continue to cause serious injuries and fatalities across both urban and rural areas every year. Outdoor lovers who regularly drive unfamiliar roads should understand that even remote crossings can present substantial danger when visibility, weather, or distractions become factors.

Railroad crossings should be part of every outdoor traveler’s safety plan. Whether the trip leads to a hunting lease, fishing spot, campsite, hiking trail, or remote cabin, the roads along the way can carry risks that deserve full attention.

Slowing down near tracks, watching for warning signs, avoiding distractions, and planning safer routes can reduce the chance of a serious accident. These habits matter even more when traveling in the dark, towing equipment, or driving through unfamiliar areas.

Outdoor safety begins long before reaching the destination. By treating railroad crossings with caution and respecting the power of trains, travelers can help protect themselves, their passengers, and everyone sharing the road.


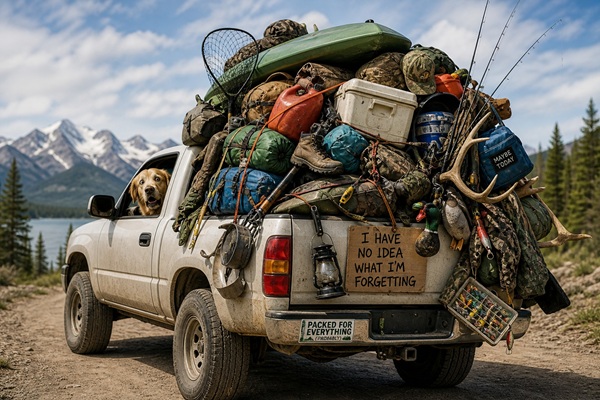
packed truck with outdoor gear

The “It’s Somewhere In The Truck” Problem: A Better Packing Method For Outdoor Gear

The truck is packed, the coffee’s hot, and somebody’s already asking where the headlamp went.

That’s usually when the digging starts.

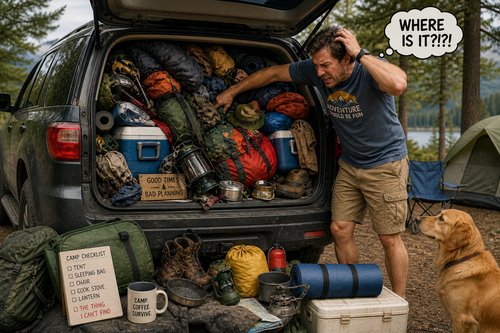
A cooler gets dragged out. A camp chair tips over. The tackle bag is under a pair of muddy boots, and the one thing you need is buried beneath everything you probably won’t touch until tomorrow.

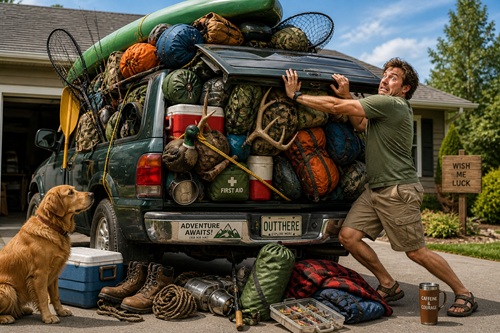
funny pic of man packing a truck too full

Stop Treating The Truck Like One Big Gear Bag

A truck bed can haul a lot, but it’s a lousy filing cabinet.

When gear rides loose, the heavy stuff wins. Coolers slide into tackle boxes. Camp chairs scrape against rods. Boots crush gloves, calls, snacks, and whatever got tossed in last. By the time you arrive, half the load has shifted, and the other half is hiding under something wet, muddy, or sharp.

The fix starts with giving each category of gear its own place. Fishing reels need protection. Optics need padding. First-aid supplies need to be easy to find. Smaller activity gear, from dry bags to pickleball paddle bags, works better when it isn’t bouncing around loose with the rest of the load.

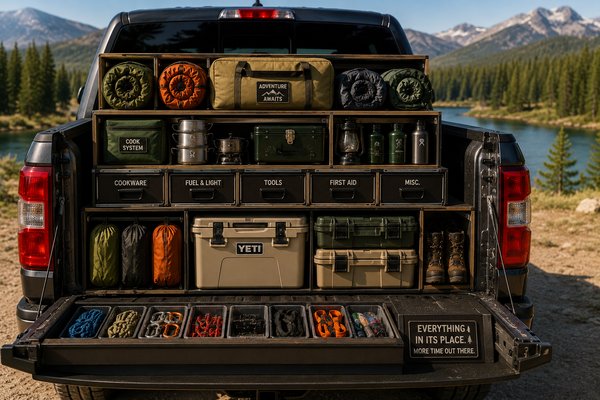
organized truck with outdoor gear

Sort Gear By Mission, Not By Size

Packing by size feels efficient until you need one small item buried under three large ones.

A better system is to sort gear by what it does. Keep the fishing kit together. Keep the camping kit together. Keep hunting gear separate from food, wet clothes, and family recreation gear. If you hike often, build a small trail bag that stays ready instead of rebuilding it from scratch every time.

This also helps you spot what’s missing before you leave. If the cooking bin has fuel, matches, utensils, and a clean pan, you’re set. If the fishing bag has pliers, line, lures, a license, and a small towel, it can go straight from the garage to the truck.

When each activity has its own setup, you grab what you need and go. That beats searching through a pile of “outdoor stuff” every single time.


Build A First-Grab Layer

Some gear needs to be reachable before the rest of the truck gets unpacked.

Think of this as your first-grab layer. It should include the items you might need right away: headlamp, knife, gloves, rain jacket, first-aid kit, water, snacks, licenses, batteries, and anything else that solves a problem fast.

This layer should never be buried under coolers, tents, decoy bags, or muddy boots. Keep it near the tailgate, in the cab, or in one clearly marked bag that everyone knows not to cover.

frustrated man looking in suv for outdoor gear

Protect The Breakables And The Can’t-Lose Items

Every truck has a danger zone. It’s where expensive gear meets gravity, sharp edges, loose tools, and whatever rolled out from under the seat.

Optics, electronics, fishing reels, calls, knives, and small accessories deserve more than a gap between the cooler and a duffel bag. Use padded cases, sleeves, dry bags, zip pouches, and hard boxes where they make sense. The point isn’t to baby your gear. It’s to keep one bad bump from ruining the part of the trip you came for.

The same goes for items small enough to disappear. Tags, licenses, batteries, fire starters, headlamps, and multitools should live in the same place every time. Label the pouch if you have to. There’s no prize for remembering which black bag holds the important stuff.

Good storage keeps fragile gear protected and critical gear findable. That’s the whole game.


Keep Safety Gear Separate From Comfort Gear

Comfort gear can wait. Safety gear can’t.

There’s nothing wrong with packing chairs, games, extra hoodies, camp pillows, and snacks. Those things make the trip better. But they shouldn’t sit on top of the gear you might need when the weather turns, someone gets hurt, or you’re trying to find your way back after dark.

Keep first-aid supplies, water, fire starters, a light source, navigation tools, sun protection, and extra layers in a place that’s easy to reach. A good baseline is the 10 essentials, which covers the kind of gear that helps when a simple outing gets sideways.

Here’s the test: if you had to find your emergency kit in the dark, with cold hands, could you do it without emptying the truck? If the answer is no, it needs a better spot.


Use The Tailgate Test Before You Leave

Before you pull out of the driveway, drop the tailgate and take a hard look at the load.

Can you reach the first-aid kit without moving a cooler? Can you grab rain gear before the storm hits? Do rods, optics, tools, and sharp items have a safe spot? If one hard brake would turn the whole setup into a yard sale, fix it before the road does it for you.

This is where a modular mindset helps. Bags, bins, straps, and attachment points give gear a predictable place to ride, which is the same idea behind smart modular gear organization in hunting and outdoor setups.

The tailgate test takes one minute, and it can save the first hour of your trip.

Reset The System When You Get Home

When the trip’s over, don’t let the truck become a rolling storage unit. Pull out wet gear, charge batteries, restock first-aid supplies, clean tools, and put each kit back where it belongs.

That small reset makes the next trip easier. The next time someone asks where the headlamp, pliers, rain jacket, or fire starter went, you’ll have a better answer than, “It’s somewhere in the truck.”