Bow hunting is a fun and adventurous way to hunt wild game. Many who have experienced success at it will tell you that there’s nothing quite like it.
Whether you are looking for information on bow hunting for beginners or even a seasoned veteran, we’ve got some helpful bow hunting tips to help you in your quest to become a better bow hunter.
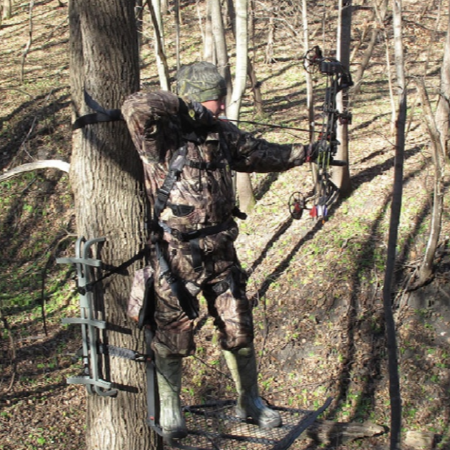
There’s lots to learn with bowhunting. Below are 10 tips that will help you become better at harvesting an animal with the stick and string!
Bowhunting Tips Overview
Don’t worry, we’ll get to bowhunting tactics further down, but some of the best bowhunting tips are the ones that you learn before the hunt.
Tips 1-5 will prepare you in a way so that you can have the confidence to make a great shot when it counts the most.
Tip #s 6-10 will focus on tips and strategies to help put you in a position to hopefully punch your tag on your target animal.
- Bow Maintenance
- Blind Bale Shooting
- Aim Small / Miss Small
- Hunting Stances
- Off-Season Practice
- Guessing Is Gambling
- Scent Control Is King
- Entry And Exit Routes
- Take An Ethical Shot
- Celebrate!
Check out the FIVE archery video tips below to get valuable information on how you can be sure you have an arrow that’s “Just Pass’N Through!”
Bow Hunting Tips: #1 – Bow Maintenance | Avoid Freak Accidents Like This One…
When you see this freak archery accident, you’ll want to learn what you can do to help prevent the possibility of it ever happening to you.
Bow hunting is more than just flinging arrows. bow maintenance checks in the off-season, as well as before your hunt, are an extremely important part of being sure you are able to bow hunt safely and avoiding injury.
In the first of our bow hunting tips, we’ve got details on how to do preventative bow maintenance, so you can avoid unnecessary accidents like this one when shooting your bow…
Archery Accidents And How To Avoid Them
If you watched the above video, you’ll understand why bow maintenance is an important part of bow hunting.
Some of you are shooting your bow year round, but some of you put it into storage during the off season and because the temperatures can change in those environments, it’s very important to check bowstrings cables as well as your limbs before shooting.
-
N1 Outdoors® Tine Lines™ Elk Antler Tee
$26.99 – $29.99 Select options This product has multiple variants. The options may be chosen on the product page -
N1 Outdoors® “USA Antler” Tee
$24.99 – $28.99 Select options This product has multiple variants. The options may be chosen on the product page -
N1 Outdoors® HUNT. Tee (Various Colors)
$24.99 – $28.99 Select options This product has multiple variants. The options may be chosen on the product page
Bow maintenance checklist [Pre-Shoot Checklist]
Here are some things you should check before you shoot your bow:
- Be sure before every shoot that you check your strings and your cables for any signs of wear or fraying. Anything like that can be a potential for a broken string or cable during a hunt just like in the video above.
- Be sure you check your limbs very carefully. You want to be sure there’s no signs of splintering, bubbling, or cracking. Extreme temperatures and sometimes even storage can cause limbs to weaken. And, you don’t want to have one of those limbs be damaged or break during a shoot.
- Be sure all your screws and any bolts are tightened properly, so that you don’t have any of your accessories loose during a shoot.
- Check your cams. Be sure you don’t have any nics or cuts that would affect your string in any way, whether it be to cause a fraying or a cutting of the string, or else damage to a cam, where your string may actually even come off the track.
- Be sure your rest is aligned properly.
- Check cam rotation and be sure the cams are not warped and that they both reach letoff at the same exact time.
- Be sure you get the proper arrow spine for your bow set up.
If you are not sure how to check the above items, we recommend you take to your local bow shop and have them look for you and inspect that, so that you can have the best chance of a safe shoot.
Tip #2 – Blind Bale Shooting [Improve Your Archery Technique]
In this N1 Minute archery tips video, learn how closing your eyes can be the best way to see results in your archery and bow hunting technique.
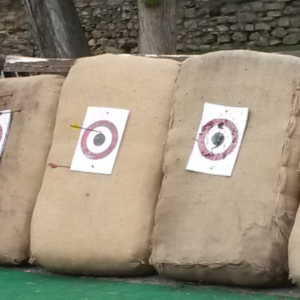
Stand back a few feet from a large target. Draw back and locate your target. Close your eyes and shoot. This drill will help grip, form, anchor point and release techniques. Put all these techniques together N1, and you’ll be seeing the results soon.
Tip #3 – Aim Small Miss Small [Improve Your Accuracy]
In the third of our bow hunting tips videos, 3D archery tournament shooter, Cole Honstead, shows you a “small” tip that could help you BIG during hunting season!
Tip #4 – Hunting Stances Can Make Or Break A Bow Hunt [So, Know Them All!]
In the below N1 Minute archery tips video, learn about various stances that can help you in all types of bow hunting scenarios.
For those of you who have bow hunted any amount of time, you know that some things can happen during a hunt that simple target practice can’t prepare you for. The video above will show you some archery tips to help you be best prepared when your moment of truth comes.
Archery Stances For Bow Hunting
Hunting stances can be used for everything from spot and stalk hunts in the West to using blinds and tree stands in the east.
For tree stand hunting, try your best to get to the elevated position. This is as simple as finding the hill and using the bed of a pick-up.
For spot and stalk hunts, try practicing using incline and decline slopes. When shooting from a blind, you’d better get used to sitting in a chair or kneeling position.
Practicing these stances throughout the off season will give you that confidence for a shot of a lifetime.
Tip #5: Off-Season Bow Practice [You’ll Hunt Like You Practice]
In this N1 Minute, learn some bow hunting tips on how to to keep your archery skills polished and sharp during the off-season so that you can maintain proper archery form.
-
N1 Outdoors® N-Tune™ Nock Tuning Reflective Arrow Wraps – Heart Stopper™
$18.99 – $27.99 Select options This product has multiple variants. The options may be chosen on the product page -
N1 Outdoors® N-Tune™ Nock Tuning Reflective Arrow Wraps – Meat Maker™
$18.99 – $27.99 Select options This product has multiple variants. The options may be chosen on the product page -
N1 Outdoors® N-Tune™ Nock Tuning Reflective Arrow Wraps – Freezer Filler™
$18.99 – $27.99 Select options This product has multiple variants. The options may be chosen on the product page
Archery Practice Tips
You know for us bow hunters, this is the time of year that we practice and practice for. But what about when the season’s over? How do you keep your skills sharp?
Archery exercise for bowhunters
Here’s a simple tip to keep those muscles active after hunting season and all it takes is a simple exercise band.
So many hunters put away their bows, after the fall, through winter, until turkey season. With, one of these exercise bands, you can practice your draw cycle throughout the winter and make that first draw in the spring a little easier.
Simply grasp one end of the band with your front hand and with your drawing hand, pull the band back to your anchor point. Repeat this ten to fifteen times and then switch hands. This will work both your back and shoulders. A few sets of this draw cycle exercise a day, and you’ll be ready to hit the mark on your next 3D shoot or Spring turkey hunt.
Tip #6: Guessing Is Gambling [Scout Instead!]
Everyone has things going on in life. Whether it’s work, family or other obligations, sometimes it’s hard to make time to scout. Then, before you know it, deer season sneaks up on you and you find yourself scrambling to grab your bowhunting gear and get in a tree or blind.
Or, maybe you’re just tempted to get in the same stand you always hunt and hope for the best.
Sure, there’s always a story of this happening… but the reality is you need to put in the work before the season ever starts to increase your chances of taking a deer or other game.
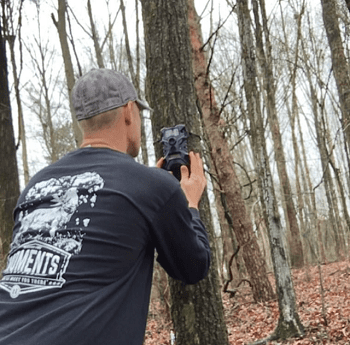
Don’t gamble when you bowhunt. Scout prior to the hunt so you can put yourself in a position to be successful.
Basic trailcams have become much less expensive in recent years, so save your pennies and get a couple of these helpful scouting tools and place them overlooking scrapes or on know travel corridors to and from bedding and food sources. Y
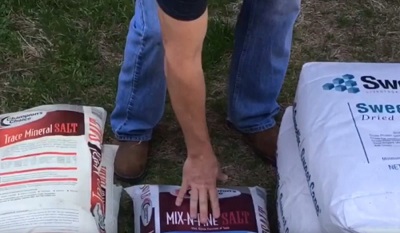
ou can even put out a mineral site. This will help you take inventory of the deer that may be on or travelling through your hunting property.
Trail cam pictures can you give you insight into deer patterns and how they coincide to time of day, time of year, weather and food/water source availability. This will help you make decisions on where to hang that deer stand or blind.
Tip #7: Scent Control Is King
As discussed in our earlier tips, having properly functioning equipment and being proficient with it is critical. However, it can all be for nothing if you don’t practice scent control.
You will be hunting deer and other animals on their home turf. They have the upper hand and their noses are a big reason why.
Not only are the deer at an advantage – but you’re bowhunting – so, you need to be able to get much closer to the animal than you would if you were rifle hunting.
So, the bottom line is that you need to smell as little like – well, YOU – as possible!
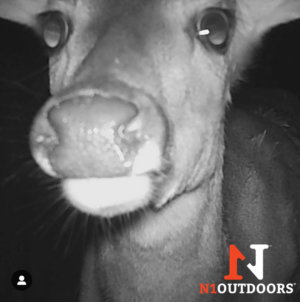
Don’t give a deer’s nose a reason to tell it to run away. Make every effort to be as scent-free as possible.
There are plenty of scent-free and scent-control soaps and detergents available at your local sporting goods store. You can also wash your clothes in baking soda. Then, store your clothes in a scent free bag or container.
On the day of your hunt, avoid coming in contact with any scent that would smell unnatural to a deer’s nose. Yes, that means you might need to skip the steaming hot sausage biscuit run or the pre-hunt cigarette before the hunt.
Tip #8: Entry And Exit Routes [They Can Make Or Break Your Hunt]
When you’re bowhunting, it’s easy sometimes to get focused on where you’re going to hunt.
But, you need to spend just as much time planning how you’re going to get to that magic hunting location that will put you in the best spot for a harvest.
Whether you’re hunting public land on thousands of acres, private land or even suburban hunting, animals are always looking – and smelling – for danger (you realize you are considered danger, right?)
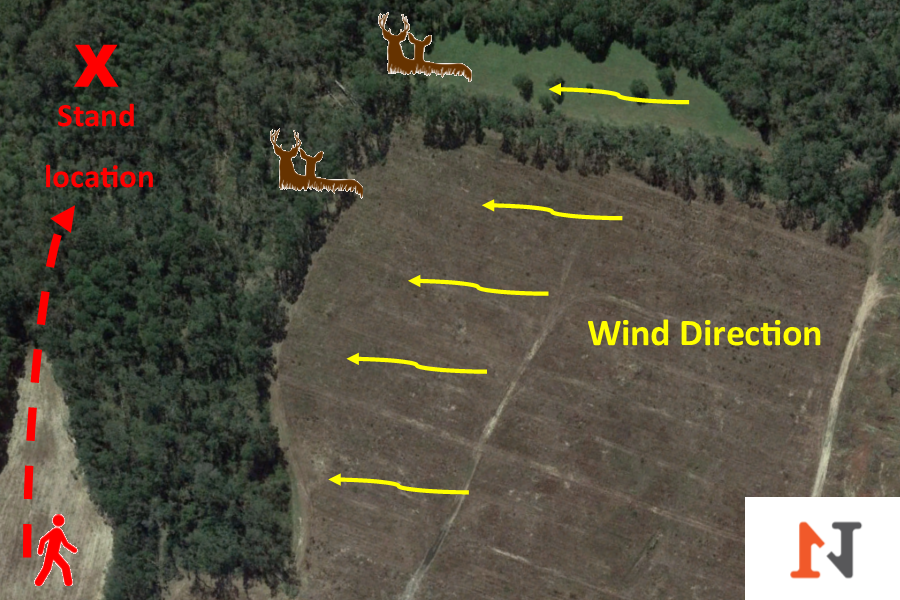
So, if the deer or other game see, smell or hear “danger” as it goes to and/or from the magic hunting spot, they aren’t going to stick around and stand quartering away for you to put an arrow through the boiler room.
So, how can you avoid being busted on your way to and from your hunting location?
First of all, as we’ve already covered, you must do everything you can to be scent free and you must always pay attention to the wind direction. You don’t want your scent blown to where you expect the deer to be on your way in.
The same goes for exiting your hunting location. If deer bust you leaving your hunting location, they will associate that location with potential danger and you may not get another chance at them there.
So, be sure to plan your entry and exit routes so that you stay downwind of the where you know the deer or game to be. This can greatly increase your odds of slipping in and out as undetected as possible.
-
“Edge of the Outdoors™” Tee featuring Tuffhead Evolution Broadhead (Various)
$24.99 – $28.99 Select options This product has multiple variants. The options may be chosen on the product page -
N1 Outdoors® Sending™ Bowhunting Tee
$24.99 – $28.99 Select options This product has multiple variants. The options may be chosen on the product page -
Sale!
N1 Outdoors® TriBlock™ Duck shirt (Dark Heather)
Original price was: $22.99.$5.00Current price is: $5.00. Select options This product has multiple variants. The options may be chosen on the product page
Tip #9: Take An Ethical Shot
Locating deer to hunt and setting up in a spot to potentially kill them is one thing.
Now, you actually have to execute a lethal shot.
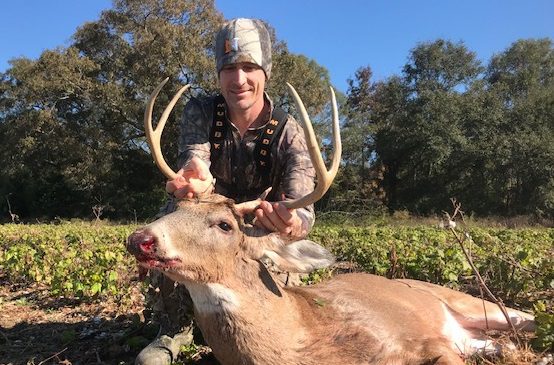
Taking an ethical shot is such an important part of bowhunting. Take a shot that gives you the best chance at a quick and clean kill.
This isn’t always easy when bowhunting. So, that’s why it’s so important to have followed the pre-hunt bowhunting tips in #1-5 that we covered, so that when the moment of truth comes, you know you are ready.
You don’t want the animal to suffer and you also want to be sure you are shooting at the deer or game so that you can have as quick and humane kill as possible.
Tip #10: Celebrate!
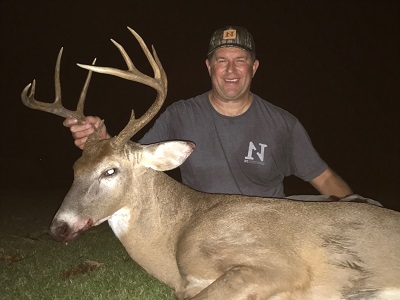
We couldn’t leave out number 10, could we. After all, you’ve put in the work getting proficient with your bow and you’ve worked hard to get yourself in position to successfully take an animal. So, when you finally do it, you’ve got to celebrate the moment!
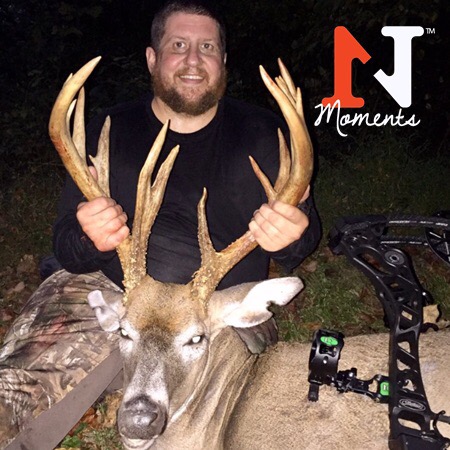
Celebrate! It’s one of the best bowhunting tips we can give you…
And, there’s no better way to do that than with family and friends.
That’s why we say here at N1 Outdoors: Where the moments happen, we’ll meet you there!
Bowhunting Tips | Final Thoughts
Happy hunting… we hope you have found our bow hunting tips to be useful in your quest to become better at your craft.
Do you have some bowhunting tips that you think would be good additions? Let us know in the comments below. It’s always great to learn from other hunters!
We hope you have an arrow that’s Just Pass’N Through!
To view other hunting and fishing tips videos, simply click on the “videos” link in our menu.

