If you already know the length and balancing point of your arrow, you can use the FOC Calculator below to quickly find the % of your arrow’s weight that is Front-Of-Center! (enter a number or slide the orange dots to the desired number)

You may have heard other bowhunters talk about the “FOC” of their hunting arrows. (Who knows, you may have even heard “The Ranch Fairy” ranting about high FOC).
But, what does “FOC” mean and how can you easily calculate it?

What does FOC stand for?
“FOC” stands for Front-Of-Center (Or Forward-Of-Center) and refers to the percentage of an arrow’s overall weight that is forward of the balancing point, or, “center” of the arrow.
-
Sale!
N1 Outdoors® Dominion™ Tee
$19.99 Select options This product has multiple variants. The options may be chosen on the product page -
N1 Outdoors® “USA Antler” Tee
Price range: $24.99 through $28.99 Select options This product has multiple variants. The options may be chosen on the product page -
Sale!
N1 Outdoors® Est. 2014 Vintage Camo USA Tee
$15.00 Select options This product has multiple variants. The options may be chosen on the product page
How to calculate FOC using a formula
You might like the FOC calculator but also want to learn how to calculate FOC using a formula.
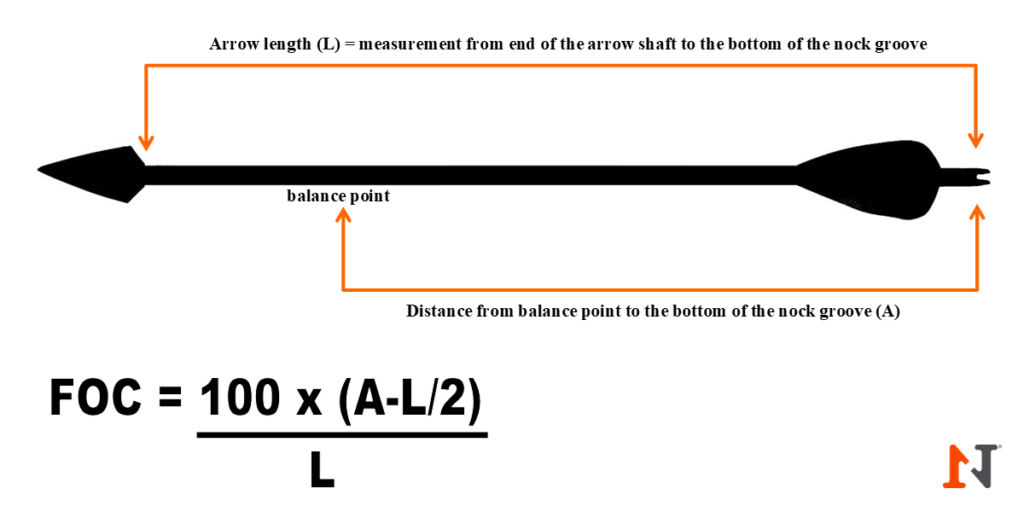
The formula to calculate an arrow’s FOC is:
100 x (Balance Point measurement [A] – Arrow Length [L]) / 2.
To use this formula, you will first need to measure the arrow’s overall length as well as finding the balance point measurement.
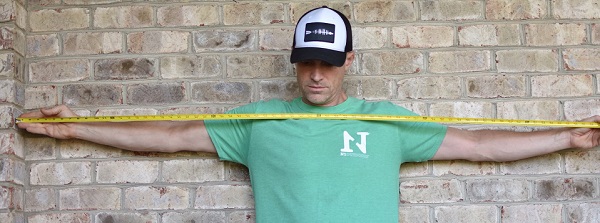
Finding the arrow’s length
To find your arrow’s length for the purposes of calculating FOC, you need to be sure you measure correctly.
Measure your arrow from the end of the arrow (where the broadhead/point screws in) to the bottom of the throat of the nock (see diagram above).
Once you have your arrow length measurement, you need to measure the balancing point…

How to find the “balance point” of an arrow
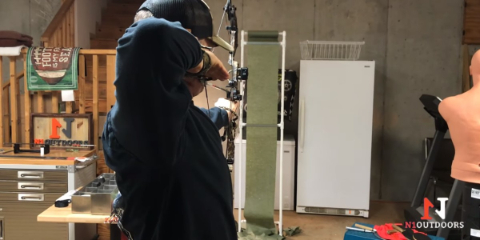
To find the balance point of your hunting arrow, first be sure you have already installed your nocks, vanes, inserts and broadheads/points onto your arrow.
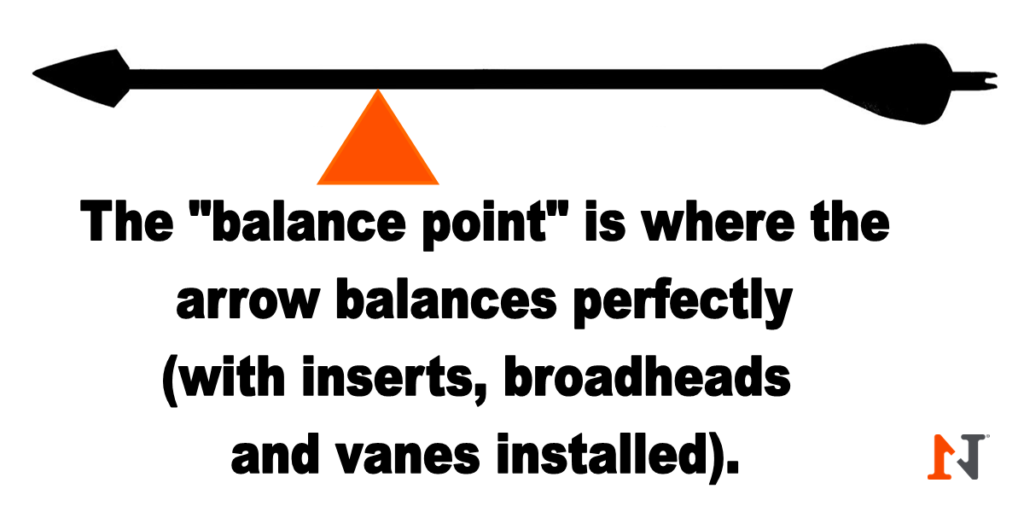
Using a triangular block of wood, find the exact place that your arrow balances perfectly. (If you don’t have a triangular block, you can also balance the arrow on your finger).
Once you have found the balance point of your arrow, measure from that point to the throat of your nock. This will be your balance point measurement.
-
N-Tune™ Arrow Shaft Cleaning Cloths
$4.99 Add to cart -
N1 Outdoors® N-Tune™ Nock Tuning Fluorescent Arrow Tracers (24-pack)
Price range: $18.99 through $27.99 Select options This product has multiple variants. The options may be chosen on the product page -

N1 Outdoors® N-Tune™ Nock Tuning Reflective Arrow Wraps – Silent Smash™
Price range: $18.99 through $27.99 Select options This product has multiple variants. The options may be chosen on the product page
Conclusion
Once you have measured your arrow’s length and balancing point, you can use the formula provided in the diagram above to calculate the FOC of your arrow.
Certainly bowhunters want to be the best they can be so that they can get an ethical kill. But, when it comes to FOC, there are varying opinions on whether higher or lower FOC is better.
Some bowhunters want a lighter overall arrow weight, so that the arrow is as fast as possible. The intent is often to keep the deer or other game from “ducking the string.”
The desire for a lighter arrow is often why some hunters don’t want a “higher FOC” arrow (since adding more weight to the front of the same arrow, with inserts or heavier broadheads would increase FOC, but also slow the arrow down.)
Consider heavier broadheads and/or inserts when seeking a higher FOC. An arrow with an FOC of 8-12% FOC could be considered “normal,” while a “high FOC” arrow would start around 15% and can go up to even 30%.
Others want an arrow that has a higher FOC %, (you may have seen The Ranch Fairy discuss this) so that the arrow hits the animal with a heavier impact. This can increase the odds of a “pass-through” shot. It can also help increase the chances of a mortal wound in the event you encounter bone or other stiff tissue that might impede the arrow’s progress.
Hopefully you find our FOC calculator helpful and we hope you have an arrow that’s Just Pass’N Through!