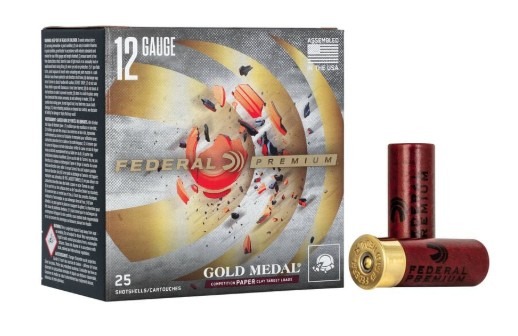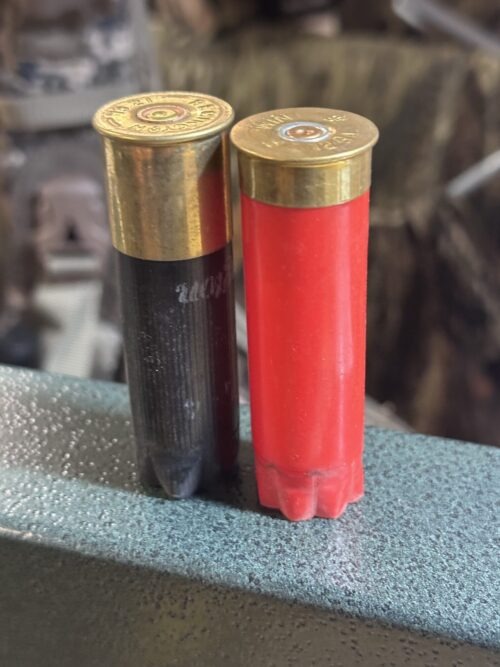
Core-Lokt 223 Rem, 62 Grain

Can the .223 Remington Really Work Well for Deer Hunting?

Every hunting season, hunters argue about the .223 cartridge, and both sides bring valid points.

Some hunters prefer larger rounds because they provide wider room margin for mistakes. Others value lighter recoil because accurate placement decides far more than caliber arguments.

The .223 Remington can certainly take deer cleanly under the right conditions. However, your success depends heavily on bullet design and sensible distance limits.

Check Your Local Rules Before Buying

Getting clear on your local game laws must come before any range work or field planning. For example some states allow centerfire rifles when hunters use bullets designed for expansion. Missouri follows that approach and doesn’t allow full metal jacket projectiles for deer. Elsewhere, Virginia prohibits rifles below .23 caliber, which excludes this cartridge statewide. Local county rules can also add further limits inside otherwise legal states.

So, review your state’s current wildlife booklet before every hunting season begins. Regulations can change between seasons and the article you read on the internet giving details on the legality may be obsolete. Your conservation department provides the final answer for your hunting area.

Why The .223 Cartridge Can Make Sense For Deer

Low recoil helps many hunters place shots with better control. After, all there’s nothing like flinching and prior to the shot to kill your shooting accuracy. Lower recoil also supports longer range practice sessions, and more practice builds confidence, so you can be ready when the moment of truth comes on the hunt.

whitetail deer running

Younger hunters and smaller adults can benefit from reduced recoil during training, and also allow for more consistency in the field.

Bullet Construction Decides Everything

Standard practice rounds should never enter your deer rifle magazine. Full metal jacket bullets are built differently from expanding hunting bullets. Varmint bullets can also open too quickly and limit penetration.

Good .223 ammo should use bonded cores or controlled-expansion designs. Monolithic copper bullets provide another dependable route for deeper penetration. Heavier projectiles around sixty grains also give hunters useful construction options.

Bullet weight alone cannot be the determining factor of whether or not it’s suitable for deer hunting. A sixty-two-grain target bullet differs greatly from a sixty-two-grain bonded bullet. Read the factory specs before trusting any box in the field.

Keep Your Distance Conservative

A .223 cartridge gives hunters less forgiveness than larger deer rounds. Range should match your verified accuracy and the bullet’s performance. For many hunters, one hundred fifty yards provides a sensible maximum range.

Your own range may need to be shorter. Practice from kneeling positions and field rests before determining your range. Shooing bench groups cannot account for every scenario you may face outdoors.


Shot Placement Requires Extra Discipline

Broadside shots provide the clearest path through the vital area. Slight quartering-away angles can also work with proper bullet construction. Steep angles demand more penetration and reduce your available margin of error.

Passing on a questionable shot could prevent you from wounding a deer, resulting in hours of tracking and unnecessary suffering of the animal. Waiting on a good shot opportunity can also help preserve your confidence on the gun.

Aim through the heart and lung area behind the shoulder. This path gives expanding bullets useful tissue without excessive bone. Heavy shoulder impacts can challenge smaller projectiles from difficult angles.

Wait until the deer offers a stable broadside presentation. Your rest should support the rifle without adding unwanted pressure. Your trigger control should match the practice you put in before the season ever began.

When you make the shot, mark the exact location where the animal stood before attempting to track. Watch the departure direction and listen after the shot. Give the deer ample time to expire before beginning to track.

Top .223 Hunting Loads Worth Testing

Federal Fusion 62-Grain

Federal builds this load around a bonded soft-point bullet. The jacket connects with the core for better weight retention. A skived nose helps the projectile open in a controlled pattern. Federal lists a muzzle velocity of 3,000 feet per second.

This option makes sense when you want balanced expansion and penetration. Your rifle still needs accuracy testing before hunting season begins. Buy one box before ordering several cases for future hunts.

Barnes VOR-TX 55-Grain TSX

Barnes VOR-TX 55-Grain TSX 223

Barnes uses an all-copper bullet inside this factory load. The company describes expansion near twice the original bullet diameter. Copper construction also supports high weight retention during penetration.

This load deserves attention where lead-free ammunition receives preference. Check your barrel and group size before making decisions.

Winchester Deer Season XP 64-Grain

Winchester designed this product specifically around deer hunting needs. Its Extreme Point bullet uses a large polymer tip for rapid expansion. Winchester lists 3,020 feet per second from its test setup. Muzzle energy is listed at 1,296 foot-pounds from that barrel.

This choice may suit broadside shots at modest distances. Faster expansion can produce a wider wound channel near impact. Test several groups because every barrel has different preferences.

Winchester Power-Point 64-Grain

223 Remington 64 Grain power point

Winchester offers another sixty-four-grain option with a traditional soft point. The company markets this design for deeper penetration on whitetail game. Its simple construction has served hunters across many cartridge families.

This load provides a familiar choice without a polymer tip. Accuracy should decide between factory options with similar hunting purposes.


Test Your Final Choice Properly

Start with three-shot groups from a solid bench rest. Repeat those groups after the barrel cools.. Record group size and point of impact for each load.

Next, shoot from positions you may use while hunting. Include kneeling shots and supported standing shots during practice. Field practice exposes balance problems hidden by a stable bench.

Your final choice should meet several practical standards:

  • Every round should feed and extract without mechanical trouble.
  • Groups should stay inside your chosen vital-zone limit every time.
  • Point of impact should remain predictable after a cold bore.
  • Recoil should allow controlled follow-up shooting whenever another shot proves necessary.
  • Your chosen bullet must be legal within your location.

Confirm your zero with ammunition from the same purchased lot. Keep enough matching boxes for practice and your hunting season.

Know When Another Cartridge Works Better

Larger deer and longer distances call for more margin. Heavy cover can also limit shot angles and tracking visibility. A bigger cartridge may serve those conditions more responsibly.

Hunters who cannot wait for broadside shots need another option. The same advice applies when field accuracy exceeds four inches. Equipment should match realistic ability rather than hoped-for performance.

Is .223 The Cartridge For Your Next Deer Hunt?

The .223 ammo debate will probably continue for many years. However, we can still reach a fair answer through practical limits. Proper bullets and disciplined shot selection make this round viable in deer hunting scenarios.

Your best results begin with legal research and careful testing. Keep your range conservative and pass when you have uncertain shot angles. Remember, deer hunting rewards patience far more than bold caliber claims.

The .223 cartridge can serve capable hunters who understand its narrower margin. Choose purpose-built ammunition and practice from real field positions. Your preparation will often determine your success long before opening day arrives.

Safe hunting!

rifle pointed from high point

Low-Light Hunting: Optics and Setup Tips for Better Visibility at Dawn and Dusk

Hunters spend a large chunk of the year waiting for deer season to begin. And, once it does, early mornings and late afternoons become part of life. This time of year is often marked by that first cup of coffee, the hike-in to the perfect hunting spot, the wait for a whitetail to step into just the right position, so you can settle the crosshairs and enjoy the thrill of a successful hunt.

Seasoned hunters know that simply purchasing top-of-the-line equipment and hauling it into the woods doesn’t necessarily equal success. They also know that the windows of opportunity often occur near dawn and dusk, when deer and other animals are most active. 

In this guide, you’ll learn how to maximize low-light hours, choose the right optics, and set up your rifle.  

Why the Golden Hours are Prime-Time for Hunting

sunrise and clouds

Dawn

Deer spend most of the first light heading back to their rest areas after eating vegetation during the night. They feel safer moving in the morning shadows, as cooler temperatures make them even more comfortable. During the rut, they are even more active, as bucks are searching for does to breed.

Dusk

Dusk is quite similar to dawn in that deer, and other animals, feel safer moving when the light is low, and will seek food sources to feed on throughout the night. Deer will often move in groups at dusk to graze and return to their bedding areas at dawn. This is another good time to observe or hunt deer, as they are most active and visible (always be sure to check your local game laws for legal shooting hours).

How to Overcome the Low-Light Hunting Challenge 

elk at dusk

1. Use Objective Lens Diameter 

The objective lens diameter, measured in millimeters, is the size of the lens of your optic that is farthest from your eye and faces the object you are observing. The objective lens gathers incoming light and focuses it, to provide a bright and clear image. So, when you see specs of a set of binoculars that say 10×28, the objective lens diameter would be denoted by the 28. This measurement dictates the optic’s light-gathering power, resolution, and overall physical bulk. When it comes to purchasing an optic for low-light hunting, larger lenses may be heavier and more expensive, but they also let in more light for brighter vision and a clearer view of your target. They also deliver better use of higher magnifications and improve scope alignment time for faster target acquisition. 

When looking for a lens to purchase, go for an objective lens diameter of around 50mm to 56mm to guarantee a larger exit pupil at bigger magnifications. Keep in mind that these lenses can be bulkier than most, so plan accordingly.

2. Exit Pupil Diameter

Exit pupil is the diameter of the light beam that passes through the optic and into your eye. It determines the target image’s brightness. 

Ideally, the exit pupil of your optic should be the same size or bigger than the pupil size of your eye for maximum brightness and visibility. Our pupils tend to enlarge, or dilate, in low-light situations to a maximum diameter of about 4-8mm. This means that the ideal exit pupil diameter for low-light hunting is 5mm to 7mm. This delivers the maximum amount of light for your vision.

3. Use Lens Coatings

A lens coating is a thin film applied to an optic’s surface to reduce reflections, maximize light transmission, and provide specialized outer layers that protect the glass from scuffing or scraping. 

While there is a vast range of coating types and levels available, the best option for low-light hunting is a fully multi-coated optic with anti-reflective coatings to reduce reflection and increase light transmission. For context, fully multi-coated means that all the optics’ air-to-glass surfaces have several layers of anti-reflective coatings. This delivers the maximum light needed for low-light hunting success.

Along with your lens coatings, look for high-quality glass, which maximizes light transmission and quality, helping you to distinguish animal outlines from their surroundings.

Types of Magnification Ranges for Low Light

When hunting in low light, it is typical for hunters to use lower magnification ranges. These magnification ranges can be fixed or variable.

1. Fixed Magnification: 

Fixed magnification means the scope has only one magnification, which cannot be changed. They are lighter, due to the lower amount of internal glass lenses, and more portable, but not as versatile. Popular fixed magnification configurations are 8×56 and 7×50.

2. Variable Magnification: 

Variable magnification allows hunters to adjust magnification based on target distance. For low-light settings, look for magnification ranges of 2.5-10x or 3-9x. These ranges allow for lower magnification, which increases the exit pupil diameter for a brighter image, plus the right amount of zoom for medium distances.

How to Set Up Your Rifle Up for Low-Light Excellence

Optimizing your rifle for the best possible low-light hunting outcome involves careful attention to the interface between the hunter and the optic. For a successful hunt, a hunter needs to be able to fully see their target without being hampered by their equipment.

1. Use Optics for Low Light Hunting  

The two most relevant choices for low-light hunting are red dot sights and low-power variable optics.

  • Red Dot Sights
  • LPVO
lpvo

An etched reticle is an aiming line directly engraved onto the lens glass, providing shock resistance and durability, and can be used to aim if the battery fails. Many LPVOs also come with illuminated reticles to improve visibility considerably in low-light conditions.

If you are looking for close-range accuracy in low-light settings, a red dot sight delivers faster target acquisition and ease of use. However, if you’re looking to be more accurate in fading light at longer ranges, an LPVO with enhanced magnification is the wiser choice.

2. Consider the Mounting Height

After you have selected your optics, the next thing to consider is the mounting height. 

In low light, it is common for hunters to use a larger objective lens diameter, meaning your riflescope should be mounted higher to avoid the objective bell coming into contact with the barrel. Getting this right ensures proper eye relief, which affects how quickly and comfortably you can spot a target in fading light.

Generally, mounting heights range from 0.75 to 2.33 inches. To stay comfortable while shooting, use medium-to-high mounting rings. For bolt-action rifles, 1 to 1.2 inches are more effective, while for flat-top rifles, look for mounting rings in the 1.4 to 1.6-inch range.

3. Eye-Relief Considerations

Eye relief refers to the space between your eye and the eyepiece of a rifle scope in which you can maintain a clear view. It affects your comfort, target acquisition speed, and accuracy. Modern rifle scopes offer eye relief of between approximately 3 and 4 inches, meaning if your eye is too far forward or back from this “sweet spot,” the image you see will begin to distort or develop dark shadows around the edges.

You can ensure perfect eye relief by following these steps. For practical reasons, try to do this with a friend or expert nearby:

  • Unload your rifle, keep your finger off the trigger, and point it in a safe direction. Set your scope to its highest magnification. 

Then, move the rifle up to your shoulder, settle into a comfortable cheek weld on the stock, close your eyes, and then draw your rifle to aim. Closing your eyes prevents you from subconsciously adjusting your position

  • While keeping your head absolutely still, open your aiming eye. You should see a full, clear image. If you do not, you need to adjust your scope.
  • To adjust, stay in this position and have a friend or expert adjust the scope. Loosen the scope rings and slide them back and forth until a full, clear view comes into your frame. Once you find this, tighten the mount.

Tip: Do this test as if you were out in the backcountry. Wear your full gear to simulate real hunting conditions. This will help you identify issues before hunting day, and more importantly, allow you to fine tune your setup to what works. 

Low-Light Hunting Field Setup Tips

In most areas of life, preparation is everything. This is no different in hunting. For success during the “golden hours” of dawn and dusk, you need to do your homework before heading out. 

Here are some tips to increase your chances of success:

1. Scout Your Location

This may not always be possible, depending on how far you live from where you plan on hunting. But if it is in the vicinity, it is useful to spend some time out in the field for a few days or weeks before the hunt. 

Take note of the trails and terrain, the vegetation, spoor (animal droppings), tracks, and anything else you think is important. Also, keep an eye on how the target animals move, where they bed, and where they feed. This will maximize your readiness when it comes time to hunt.

2. Practice Makes Perfect

If you plan to shoot in low-light conditions, you need to practice in them. This builds your experience, improves your accuracy, and refines your instincts in darker conditions. This leads to faster target acquisition while out in the field, increasing the chance of an ethical shot. 

Tip: Place your practice targets at different distances and use targets of various sizes, shapes, and colors to better simulate the conditions you will face at dawn or dusk.

3. Position Yourself Strategically

While hunting at dawn or dusk, you can use the sun’s position to your advantage. Shadows created by the rising or setting sun can obscure a crafty hunter’s position from observant prey. This allows you to get closer to your target undetected. 

In addition, try to keep the sun at your back wherever possible, as this keeps you concealed in the shadows while illuminating your target. It also decreases strain on your eyes and prevents you from staring into the sun.


4. Tailor your Setup to the Hunting Time

The time of day you plan to shoot determines how you set up: 

  • Dawn

This is the time of day when deer are returning to their bedding areas after spending the night feeding and foraging. Try to arrive at your spot (as quietly as possible) half an hour to an hour before sunrise to allow yourself time to set up and get settled. Set your stand or blind up near a food or water source, or about 100-200 yards from where the animals bed down.

When approaching your spot, take note of the wind to make sure your scent isn’t blowing toward where you believe the target is. Also, when setting up, ensure you use as much natural cover as possible and have a clear shot path.

  • Dusk

For hunting at dusk, it is pivotal that you research local hunting laws first. Some locations require specific permits or restrict the usage of specialized optics

And while hunting, prioritize ethical shots to ensure the target is harvested as humanely as possible (this applies to dawn hunting as well). Use optics with light-gathering capabilities and position yourself strategically between where the target animals bed and where they eat.

In addition, be as quiet as possible and use natural cover to conceal yourself from the target.

As mentioned previously, pay close attention to the wind, and, more importantly, be patient. Most crepuscular animals only emerge from the thick brush minutes before the end of legal shooting time, when it is far darker.

4. Consider your Clothing  

When hunting in low-light conditions, wear clothing that can help conceal you from animals. Also, try not to wear clothing that gives off a “shine” or “glare”. Go for high-contrast camouflaged clothing made of fleece or lightweight synthetic blends for concealment and flexibility. 

If you expect a change in weather, wear highly weather-resistant fabrics so you are dry, warm, and comfortable in the rain or snow. Keep in mind that wool is an excellent choice for sound control while moving or in pursuit. For the best “invisible and comfortable” feel, go for merino wool as it stays warm even when wet and is naturally scent-resistant.

5. Choose the Right Gear

The right optics are equally important for gathering the light needed to make a clean, ethical shot. You can use: 

  • Large objective lens diameters in the 50mm to 56mm range to allow more ambient light in. 
  • Illuminated reticles or red dot sights to allow you to find your aim more quickly and provide increased contrast against dark targets.  
  • A fully multi-coated lens makes sure that as much available light as possible reaches your eye.

Depending on how much you can carry and the length of your hunt, it’s advisable to bring other necessary items such as: 

  • A GPS tracker to keep track of where you are, or a reflective tape  
  • A powerful flashlight (1,000+ lumens) for visibility and any potential tracking after a shot. 
  • Extra batteries and a power bank for longer hunts 
  • A first-aid kit for emergencies.

The best low-light hunting optics prioritize large objective lenses and illuminated reticles because they deliver peak performance in dim conditions. 

If you’re looking for a comprehensive range of premium hunting optics and accessories, one place to check out is freedomgorilla.com. They offer some of the best prices, as well as personalized advice on which optics to choose for hunting. 

Here are some of the best low-light hunting optics that you might find there or other sites: 

1. Leupold VX-5HD 3-15×56

The Leupold VX-5HD offers a 3-15x magnification range and delivers exceptional reliability and performance in any hunting situation. Its FireDot illuminated reticle has multiple brightness settings, so you never lose it in low-light conditions. 

This riflescope also delivers exceptional clarity and glare reduction for sharp images in harsh, direct light, as well as high accuracy for any type of shot.

2. Vortex Viper PST Gen II 1-6×24

If you’re looking for a budget-friendly option that delivers brilliant low-light performance, the Vortex Viper PST Gen II is a good bet. This optic has an illuminated reticle, fast-focus eyepiece, and premium anti-reflective lens coatings. It’s designed to withstand a range of weather conditions and deliver clear, high-contrast images.

The Vortex Viper PST GenII also offers 1-6x magnification, which is perfect for low- to medium-range targets. 

3. Trijicon AccuPoint 2.5-10×56

The Trijicon AccuPoint 2.5 is known for its extreme light-gathering ability and 56mm objective lens. It features multiple lens coatings and high-quality glass for a clear, high-contrast image in low-light settings. 

Also, it has a large exit pupil of 5.6mm for precise and comfortable viewing even in challenging lighting conditions. This scope comes with fiber optics and tritium for an always-on, vivid aiming point.  

4. Sig Sauer Tango SPR 4-16×44

Another budget-friendly option is the Sig Sauer Tango SPR. It comes with a factory-installed SPR mount to attach to your rifle right out of the box. 

Also, it features high-quality glass and advanced lens coatings that preserve clarity and brightness throughout the entire magnification range. 

Taking Full Advantage of Low-Light Hunting

Low-light hunting is demanding. So, get the optics you are comfortable with and that accommodate your preferred shooting range and time. Also, make time to practice with them at least 3 – 4 times before heading out into the field. And with the tips above, you’re definitely on the path to success when hunting at dawn, dusk, or both!


vintage guns

The Rise of Gun Collecting: Trends in the Vintage Market

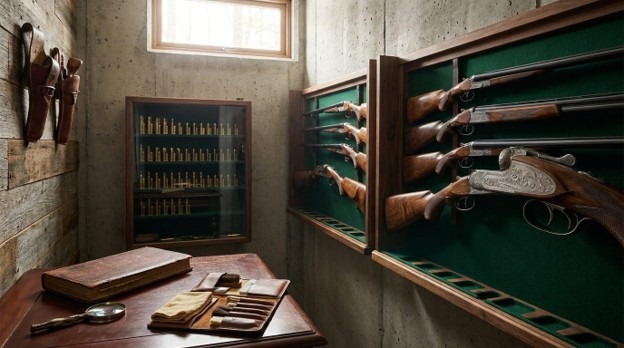
Gun collecting balances history, craftsmanship and investment like few other hobbies. In recent years, specific interest in old guns and antique firearms has risen steadily due to collectors looking at these as more than just firearms, but rather as tangible links with yesteryear.

The appeal is layered. If time-based significance, mechanical finesse and real rarity coexist in an object, then vintage firearms is the market that preserves or appreciates value over years to come. Market trends clearly indicate that desirable examples from important periods in history are taken seriously by both seasoned collectors and newcomers alike.

Broader access has certainly contributed to the popularity. Online marketplaces and auction platforms have enabled participation from a significantly larger participant pool, while making it easier to study, buy or sell across regions.

The Rising Popularity of Old Guns

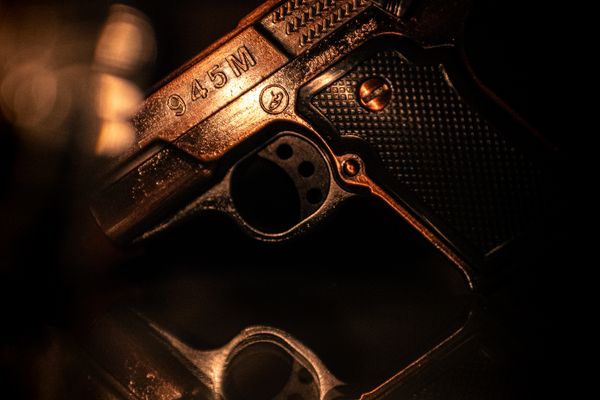
vintage hand gun

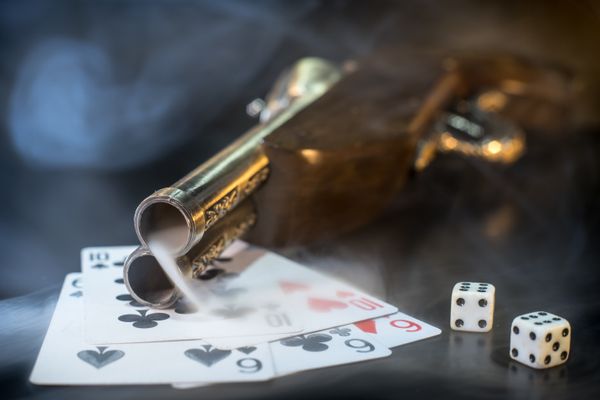
Buyer motivations range from personal to long-term value, and that pairing is a strong foundation for longevity and continued growth as the number of buyers wanting things like vintage firearms and antique firearms increases.

The wider reach pipeline enabled by online marketplaces and auctions has unlocked participation at a level that is far beyond the traditional collector base, drawing new buyers who may have never explored engagement in the hobby through older channels.

What Is Driving Demand

It’s more than nostalgia that is improving today’s vintage market. From the pull of military history to a generational shift in who is collecting, many specific demand drivers are expanding the market and pushing prices for the right pieces ever higher.

History and Originality Carry the Most Weight

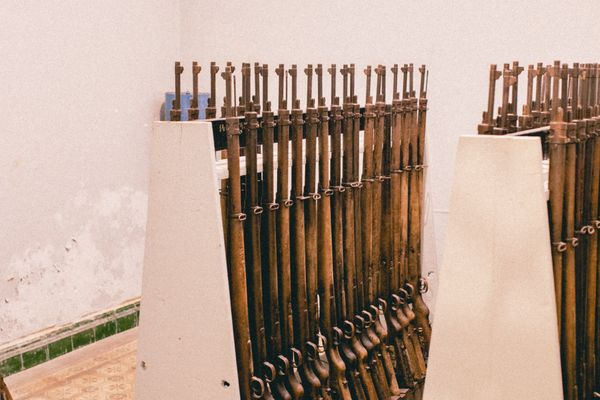
historic picture with vintage firearms

There are three things never fail to shift vintage gun prices:

A rifle with matching serial numbers, parts that are original and unaltered, and a detailed provenance will outperform a comparable piece, even if the other has been refinished or modified.

The best experience, as any collector quickly learns, however, is that originality at the high end of this market is rarely negotiable. That’s why models like the M1 Garand and Mauser still serve as benchmarks; surviving examples in original condition are increasingly hard to come by.

Expanding the Market Among Younger Collectors

There has been a marked demographic shift in gun collecting in recent years. Driven partly by the interesting history of gunpowder and the mechanical legacy upon which many firearms are based, younger collectors are entering the hobby in increasing numbers, adding demand into what was once niche categories.

Importantly, improving more zones of the market instead of redirecting it is a generational change in perception and long-term focus for anyone following these decisions.


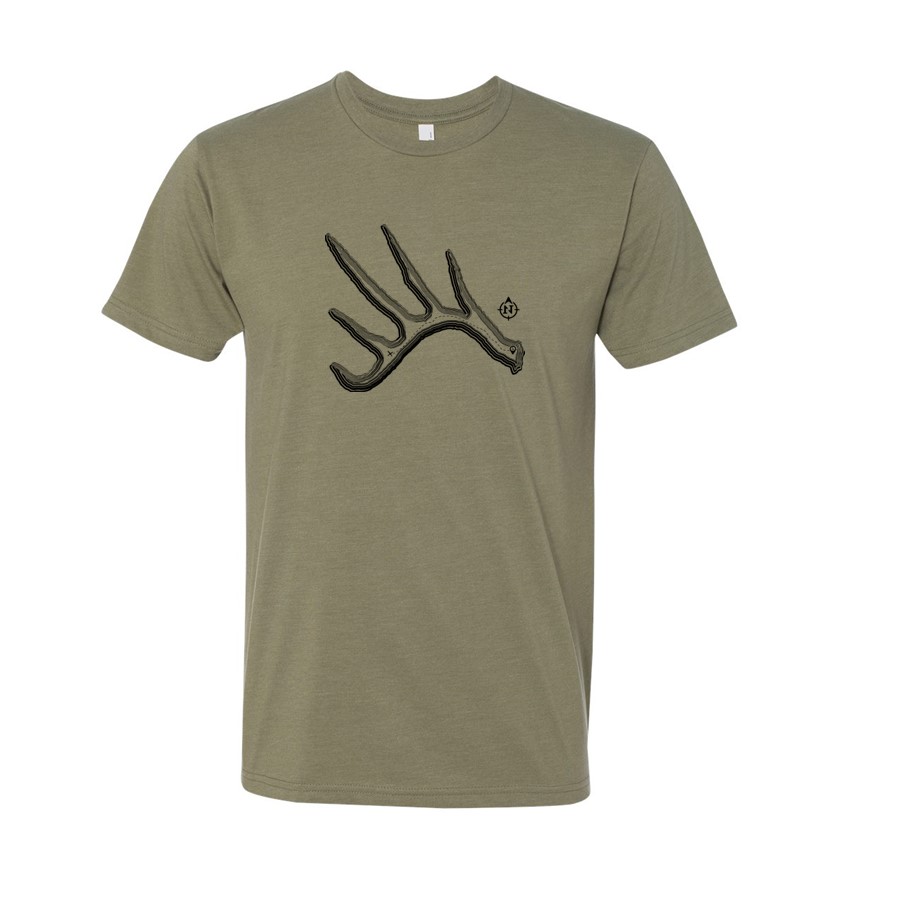
Hunting shirts for the outdoor lifestyle


How Buyers Find Collectible Firearms Now

The market for collectors has been revolutionized through online auctions. Instead of buyers depending on local gun stores, regional shows and word-of-mouth networks, platforms devoted to online buying have thrust collector firearms into a national and even international marketplace in ways that weren’t possible just decades ago. This easier access to market data also allows enthusiasts to compare current firearm values alongside other collectible firearms, helping buyers make more informed purchasing decisions. For example, you might want to find the current MAC-10 prices and values, and, with the growing number of online auctions houses, it’s not difficult to do.

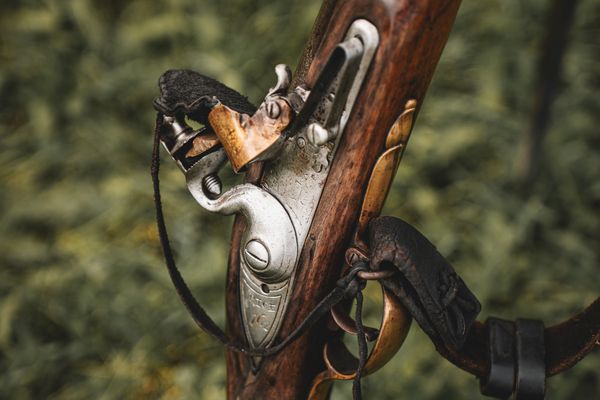
vintage firearm collecting

Establishing institutional structure around high-value transactions has made the market for them more legitimate and auction houses like Rock Island Auction Company have played a central role in this. Reported results provide a real standard for market trends to give both buyers and sellers an accurate idea of where collector firearms trade.

What Makes a Coveted Article Stand Out From the Crowd

Not every collector gun appreciates at the same pace. As illuminated by the demand drivers touched on above, a couple of defining characteristics tend to chalk up the diff and are considered non-negotiable by seasoned collectors.

A firearm that has never been discharged, is in pristine condition, but also retaining unaltered internal components and matching serial numbers to all parts will always be better performing than one which has undergone cosmetic cleaning or other changes.

This is clearly illustrated by models such as the Winchester lever-action and the Colt Single Action Army wherein original-condition survivors command far stronger prices than examples that were refinished or fitted with replacement parts.

Provenance, and the documentation of provenance reinforce that originality by providing an historical trail to be verified. Only through a verifiable chain of custody, period documentation and/or factory records can we find trustworthiness — and rarity — where mere numbers cannot.

Provenance also registers as a tangible potential investment for serious buyers, who understand that firearms with documented history correlate directly to long-term appreciation in value: particularly so when such arms adhere to the federal C&R definition of collector interest and appeal.

The Next Destination for the Vintage Market

Demographics, accessibility and increasing compliance requirements are driving the evolution of gun collecting with no indications that these factors will subside.

In addition, new buyers are getting involved with real excitement, while older collectors’ focus is still more towards originality and documented ownership.

What is developing, though, seems to be a market where passion and an understanding of value co-exist — one in which folks who love vintage guns as well as investors still have traction.

Interest in vintage firearms shows no signs of slowing, highlighting the limitations of market supply and demand dynamics, with asset value continuing to rise.