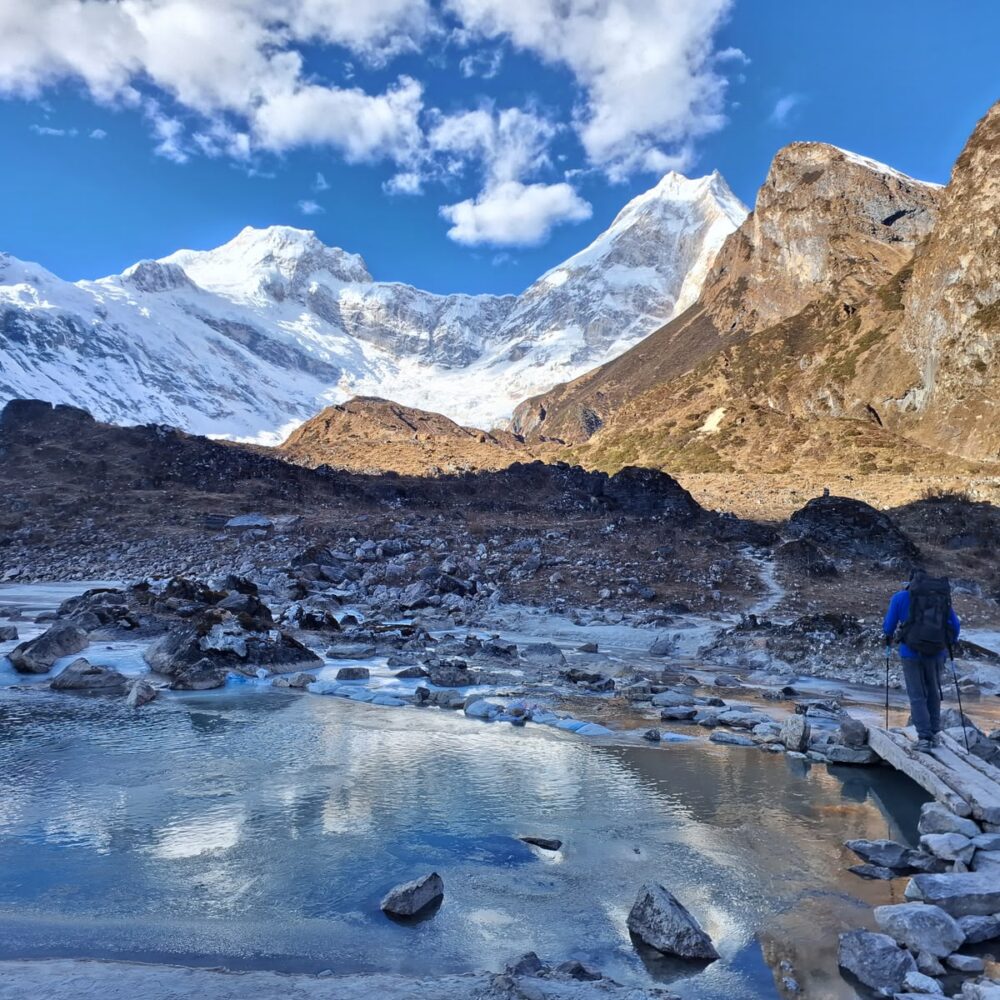
There has never been a shortage of well-known trekking routes in Nepal. The region famous for Everest Base Camp and the Annapurna Circuit is one of Nepal’s most popular long-distance treks.
But, not all travelers who visit Nepal are interested in traveling the busiest trail. While for many trekkers the Annapurna Circuit Trek remains a wonderful option, others are seeking a less noisy and less steep path through the Himalayas. For this reason, the Manaslu region is gaining more popularity. The Manaslu Circuit routes trekkers around the 8,163-meter tall Mount Manaslu, the world’s eighth highest peak.
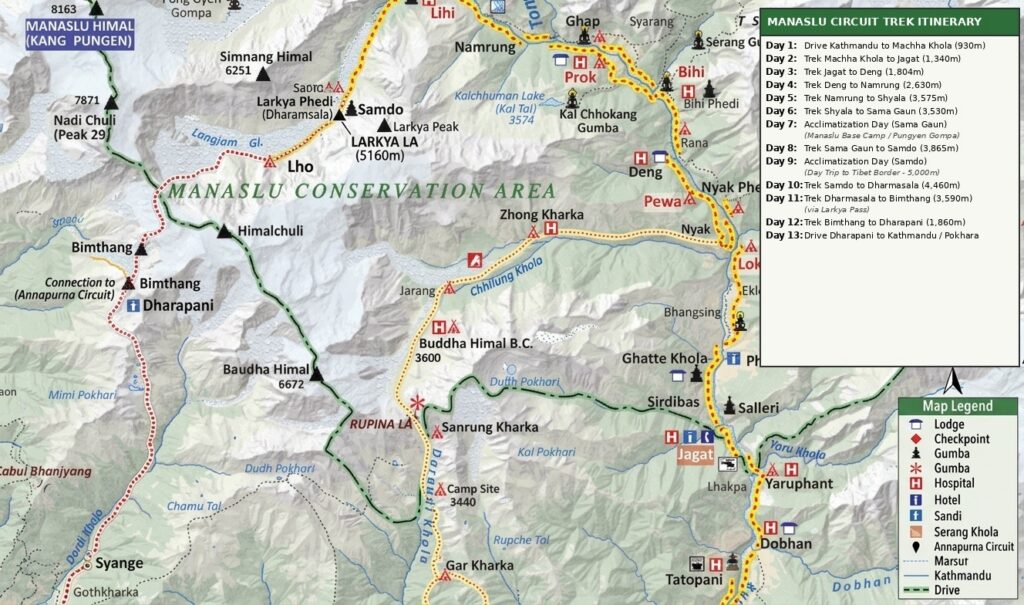
The trail, which appears as a mountain circuit on the map, begins in the lower Budhi Gandaki valley and crosses forests and river gorges to traditional villages, then the high settlements of the Nubri valley, and finally Larkya La Pass. The trail then descends towards Bimthang and then merges into the Marsyangdi Valley.
You transition from one landscape to the next, from one person to the next, from one day to the next in thin air and, ultimately, you find yourself in more at an elevation of more than 5,000 meters with a wholly new perspective of Nepal down below.
Manaslu Circuit: A Journey, Not A Destination
The topography of the hike towards Manaslu is one of the attractions for trekkers.
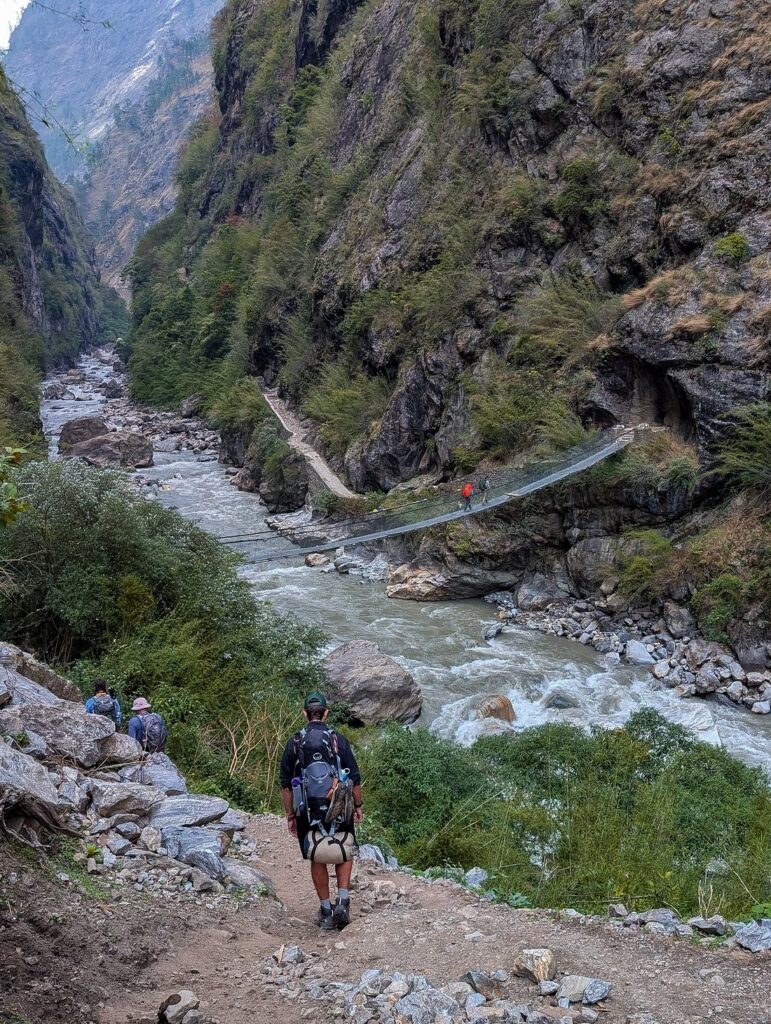
It usually starts around Machha Khola, an area that is still green and fairly warm. The trail takes a narrow path through forest, suspension bridges, waterfalls and narrow valleys along the Budhi Gandaki River.
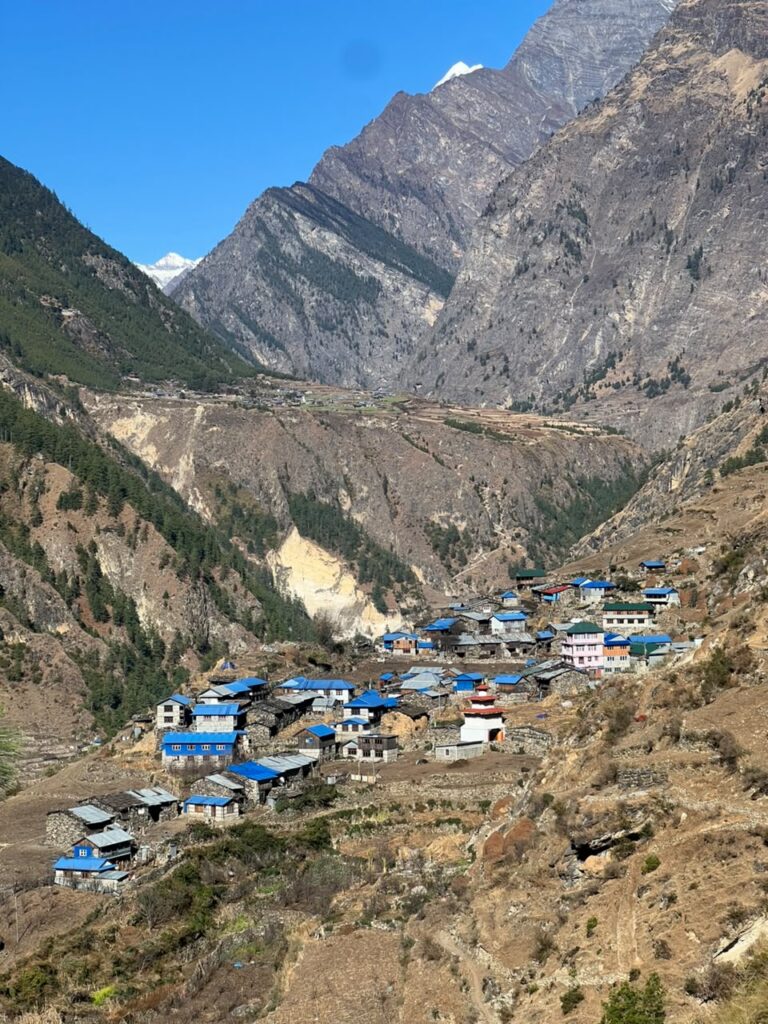
Machha Khola is fairly green and warm.
Moving further on the road to Jagat and then on to Deng and Namrung, the terrain slowly begins to get more mountainous. The course is graded harder and the villages and vegetation start to change.
By the time you get to Lho and then Samagaun, it’s easy to tell the difference. The valley is open, the air is chilly, and the mountains are much closer.
The trail then heads further to Samdo and Dharmasala, then crossing Larkya La Pass. The scenery after the pass is also quite different, with the trail meeting Bimthang.
It is difficult to capture this constant change in one picture. It’s a process that you learn about by doing the actual trek.
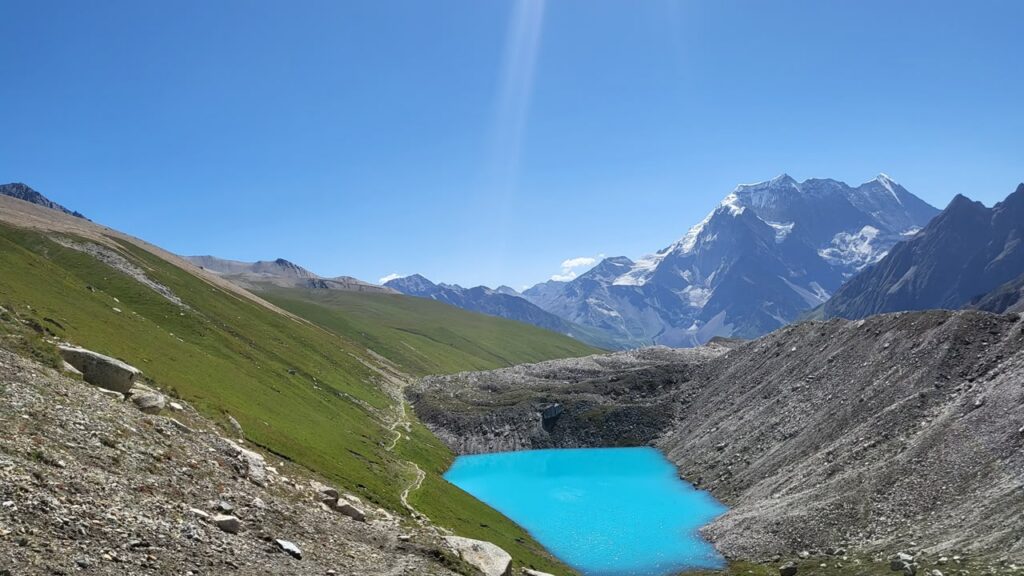
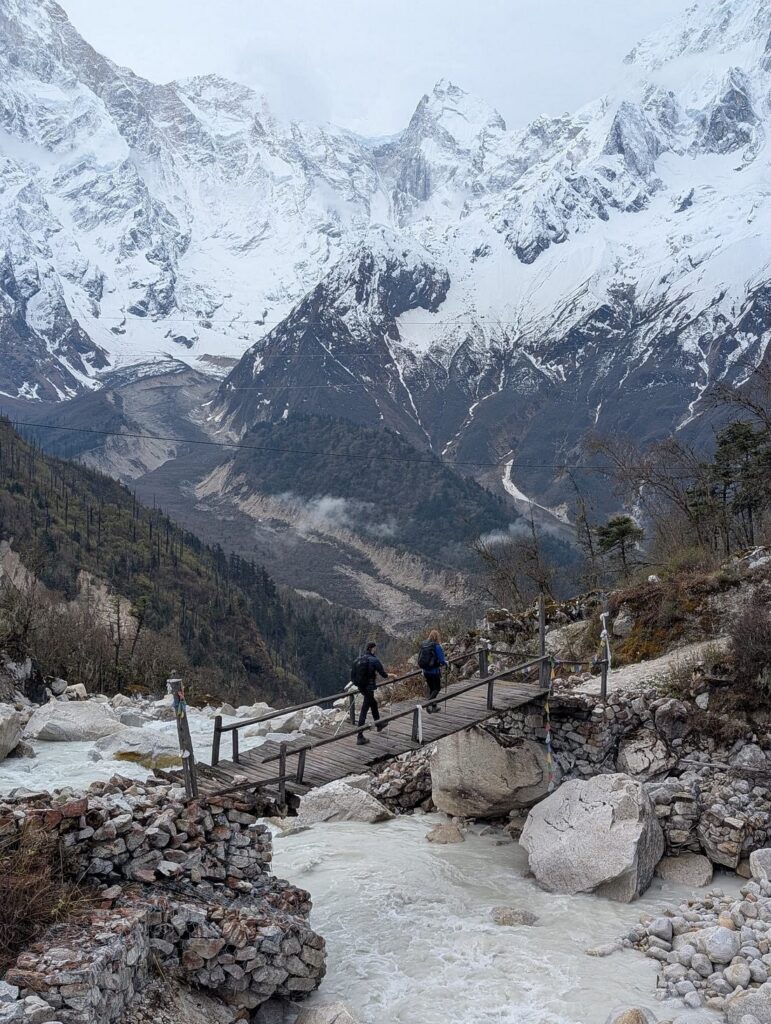
On the way to Larkey Pass…
The Experience Is The Villages
While the mountains are the draw for some, the villages add much to the character of the trek to Manaslu.
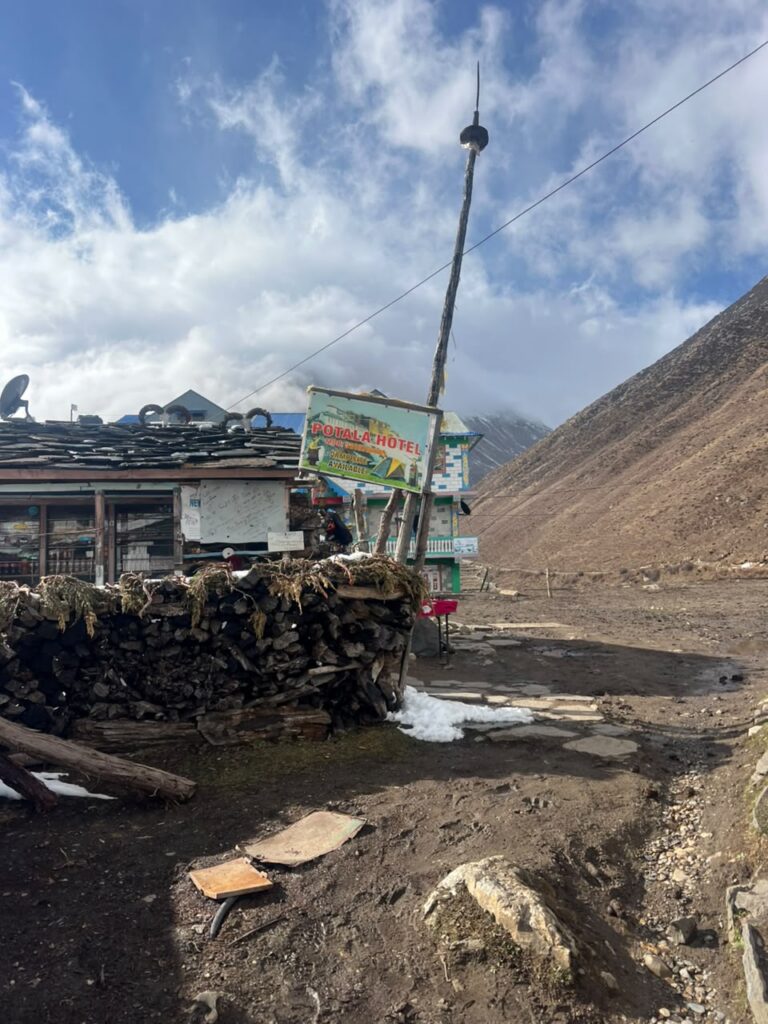
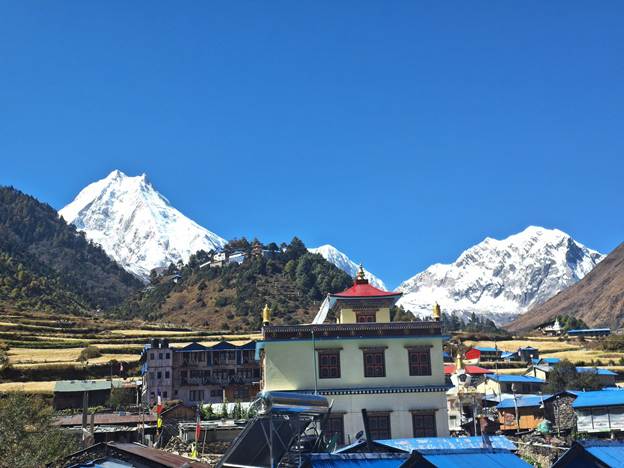
The cultural aspect of the trip is particularly striking at places like Lho, Samagaun and Samdo (pictured here). The higher settlements are dotted with stone houses, mani walls, prayer flags, chortens, monasteries and Tibetan Buddhist traditions that are all a part of everyday life.
For this reason, Samagaun is especially significant as a natural stopover to acclimatise to the region’s higher altitudes before proceeding onwards. Trekkers may camp here another night and on the day they go hiking to sites such as Birendra Lake or Pungyen Gompa, depending on their itinerary and the weather.
An acclimatization day isn’t just about a day off. By taking a well planned acclimatization day before heading towards Dharmasala, Samdo and Larkya La, you will give your body more time to adjust to the altitude. It is also one of the most beautiful ways to see the environment while not having to haul around your central gear.
Higher Elevation Means Landscape Changes
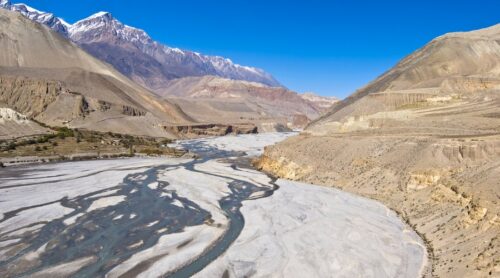
It is clear that the transition takes place after Samagaun. The trees thin out and the valley appears broader and the character of the landscape becomes much more alpine. Samdo, the surrounding area, is dry and open, and there are high mountains in almost all directions.
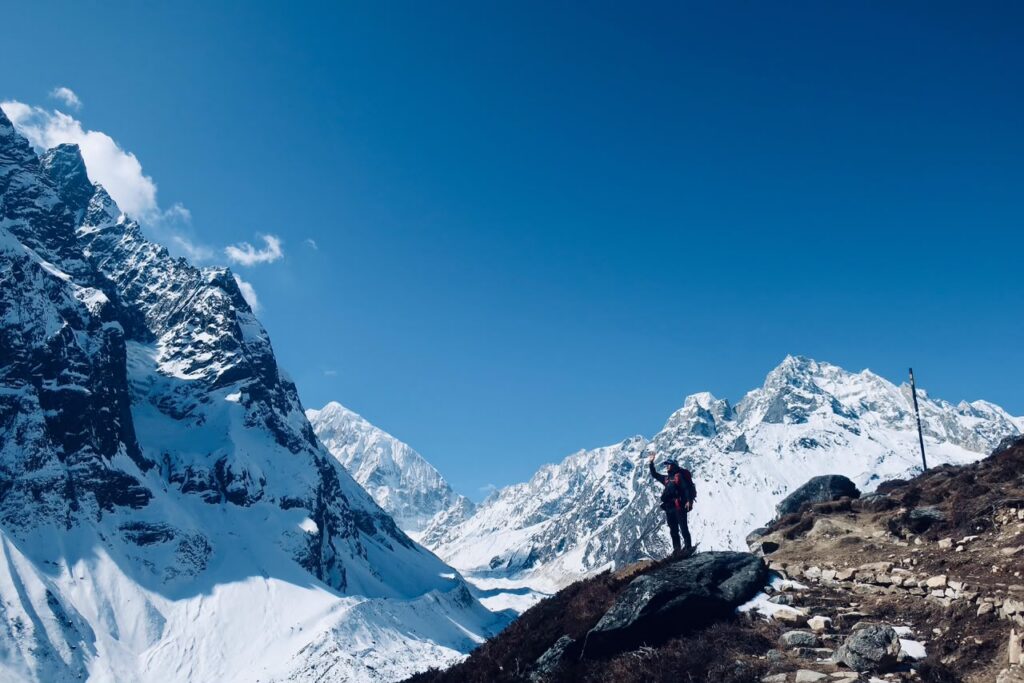
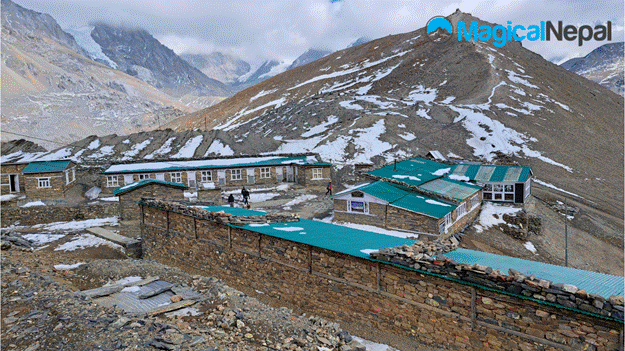
From Samdo to Dharmasala (pictured hered) is no longer a trek as the day goes in comparison to the day before, but it is not something that should be taken lightly. The last overnight stop before the pass is around 4,460m.
Accommodations here are very simple. It’s not a place for comfort or the amenities of a lodge in Kathmandu or even a lower elevation trekking village. Rooms can be very plain and basica and there are limited facilities due to location and the short trekking season at this height. But, that’s a part of what makes the Manaslu travel experience; what it is. Walking deeper into these mountains requires you to change your expectations more and more.
Larkya La Is Where Pacing Matters
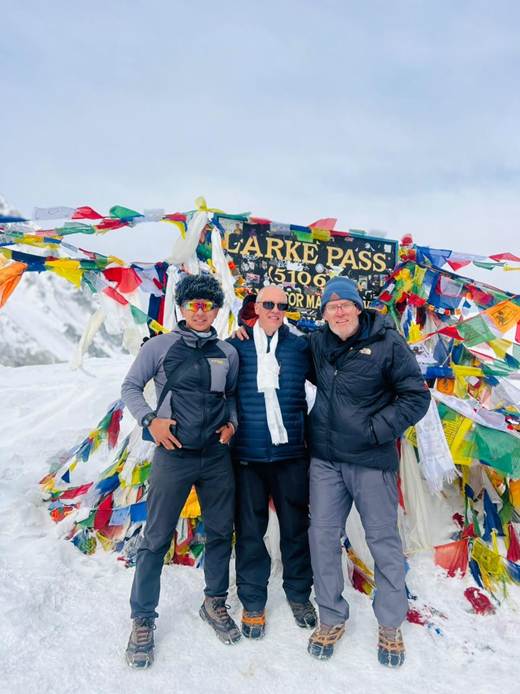
Larkya La Pass is the day many trekkers think about before embarking on this trek. It’s a crossing that reaches a height of approximately 5,106 meters, and typically begins very early from Dharmasala.
The practical reason for the early departure is the weather at high elevation is unpredictable, and if you leave too late, you may miss the opportunity to cross the pass and come down to Bimthang.
On the Manaslu Circuit, it is a common practice amongst experienced guides to advise trekkers that they should try not to follow the strongest hiker when crossing the Larkya La. It’s generally better to take it easy rather than getting too far ahead and pushing it in the early morning, particularly if there’s a long climb still to come. If you can save energy for the higher sections, then the pass day will be a lot easier.
There’s a very simple but good tip to have on a pass day. The speed of a group can be influenced by snow and ice. Microspikes can be helpful in areas with heavy ice or compacted snow and trekking poles are alos helpful for added support on rough or slippery terrain.

The conditions may change from one season to the next, and it is advisable that trekkers check what the trail conditions are locally and not take it for granted that it is the same trail each year.
The Descent Is Not an Afterthought
Achieving the summit of Larkya La is a significant feat, but that’s not the end of the day.
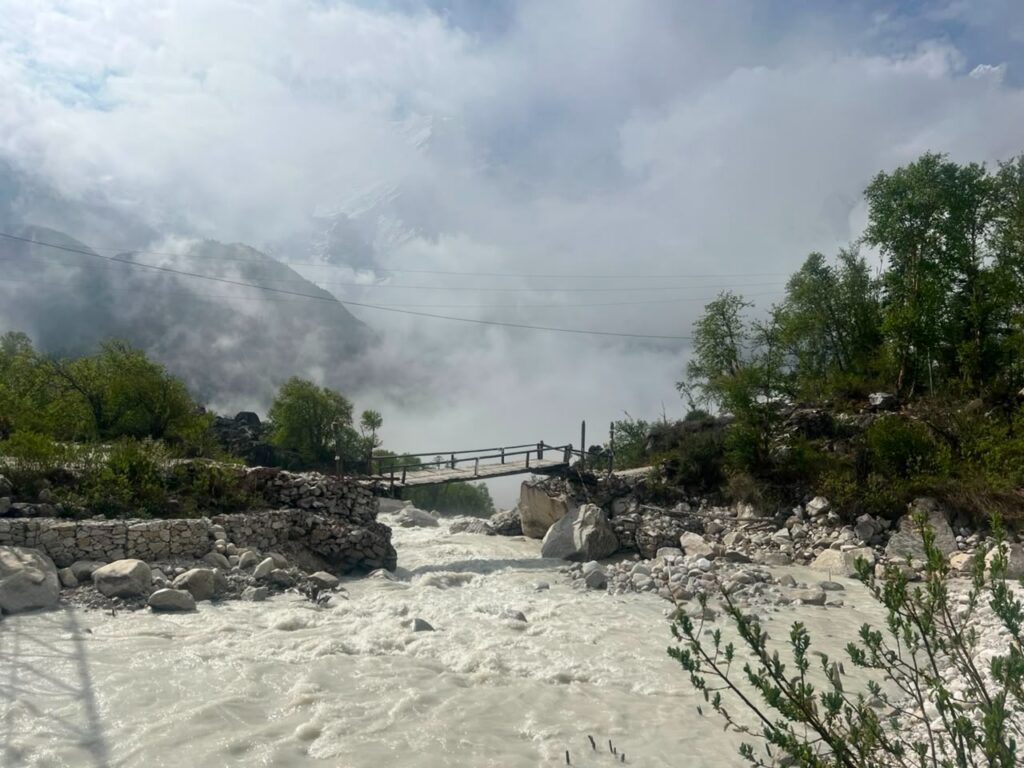
Going downhill to Bimthang (pictured here) may be a long process and the tired legs can make some descents very uncomfortable. When climbing at altitude for hours it can be tempting to relax once the pass is behind you. However, this is a time where focus is required to put your foot on the right ground.
Trekkers should use shorter steps and trekking poles for loose and slippery sections of the trail. A psychological transition is also experienced once across the pass. You’ve now reached the highest point – but you still have a few hours of walking to get to a proper overnight stop.
At the end of the day, when Bimthang finally shows up, it’s more, “where are we going to get another record-breaking day?”
The Manaslu Region is a popular destination for people who dislike too many tourists
People who like to avoid tourists often opt for the Manaslu Region.
The Manaslu Circuit is neither deserted nor an unknown trek, but there is still a different ambiance from the busiest trek spots in Nepal. One of the most appealing aspects of trek to Manaslu Circuit is the gradual escape from the more developed sections of Nepal, and the retreat into the mountains.
The trek goes through small towns and high valleys and villages very different from Kathmandu. You can’t just show up in Nepal and decide to take a circuit trek on your own as you would on an ordinary hike. Specific permits are required and the current rules for the area must be adhered to on the route. It is a trek that must be made with a licensed guide and organized through a registered trekking agency.
The Best Himalayan Treks In Nepal… You Still Have to Be Prepared
The increasing popularity of Manaslu should not lead anyone to believe that it is an easy choice rather than Everest and Annapurna. This is a very serious high elevation hike.
Many days and several hours of walking through rough and uneven terrain are required. There are long ascents and descents, and a challenging day crossing Larkya La. During all of this, the most important factor to consider is the altitude.
But, you don’t have to be a professional athlete to prepare. To get your legs ready for consecutive days on the trail, try some regular hill walks, stair training, longer weekend hikes, and, don’t forget your day pack! But, more than anything else, let’s keep our expectations realistic while trekking. Being a slow walker doesn’t mean you aren’t a fit. Even the best of the hikers must vary their speed at altitude.
A smart travel itinerary is also essential. It is important that you don’t avoid “acclimatization days” just to make the hike shorter, as this can make for an unnecessarily hard trip.

Food and Accommodation Are Integral To The Adventure
One of the reasons the Manaslu Circuit is possible without carrying camping equipment and food for the whole trek is teahouse trekking.
Generally, there are more options and better amenities in the lower villages. The menus become less complex the higher you go and the accommodations are less luxurious.
The dal bhat is a good option for trekkers as it is a filling meal that is common in many trekking trails in Nepal. Simple dishes like noodles, soups, potatoes, eggs, momos are also common.
However, the higher the elevation, the more you will learn that a mountain teahouse is certainly not a city hotel.
Electricity and hot water may be limited or unavailable in certain areas, and WiFi and cell phone reception may be spotty. In Dharmasala, in particular, the accommodations are rather basic, since the settlement is essentially a transit point before Larkya La crossing. However, the lack of amenities spells adventure for many trekkers. And even better, the people you meet on the way can make it one of the best experiences of your life.
Altitude Isn’t Everything
What was the altitude of the pass? What were the reviews of the view? How difficult was the trail?
Yes, those are important questions that you will likely answer for people, but not necessarily the things you’ll remember about this circuit.
The memories could be about the trekker that says, “You’re going too fast, slow down!” Or, it might be the tea house owner recalling what you had for dinner yesterday. Or, maybe it’s a discussion with another trekker while waiting for breakfast in the morning. Remember, the Manaslu Trail runs through communities, and tourism isn’t the only part of their life. Visitors can experience the way people live, work, travel and survive in a challenging mountain environment.
In respect of the local customs, asking permission before taking photographs of people and avoiding unnecessary disturbances while on the trail are all small things that can make a difference.
What’s The Best Time Of Year To Go On The Manaslu Trail?
The trek in Manaslu is mostly popular in Autumn and Spring. October and November are especially interesting times, as the weather can be very settled and there are many days of superb mountain views. These months are also the preferred time for tired trekker local guides to trek around the Larkya La crossing.
The weather is different in the Spring. There may be blooming rhododendrons along lower sections of the route, but quantity of flowering depends on elevation and the specific time of the Spring. The upper regions are more about the the scenic views of the mountains than the forests of flowers.
The trail below the pass may be cold and snowy during winter, and wet and more complex during the monsoon months. Ultimately, the best month will be determined by what you like the most: the more clear the mountain views, the warmer the temperatures, the chance of seeing snow, or even the chance of seeing fewer people.
Why Manaslu Is Becoming a Serious Alternative
The Manaslu region does not need to replace Everest or Annapurna. It is all about being different. While you are there, you’ll enjoy the lower valleys, traditional villages, and Buddhist culture, as well as the scenery and serene stretches of trail you’ll see along the way.
For those who want travel to be a complete adventure, that combination is hard to pass up. The trip is also much easier to arrange than it used to be. The primary trail runs through teahouses for lodging, road access has been improved in some parts of the lower regions, and trek masters/guides can arrange permits, transportation, guides and logistics for experienced trekking agencies.
It’s an evolving area, but it remains the attraction that drew adventurous trekkers to it in the first place.
So, Should You Trek Manaslu?
Is Manaslu the place to trek? Well, yes, for the right traveler.
The Manaslu Circuit is no easy trek, and it’s not supposed to be. It invites you to walk for days, stay in simple mountain lodges, accept the weather, honor the elevation, and avoid getting impatient when the path gets challenging. You, in turn, receive a very diverse trip.
You begin next to a fast-flowing river in the Himalayas then pass through green valleys and forests, through traditional mountain communities, and up to the more barren land, staying overnight under the high peaks at Dharmasala, and crossing the Larkya La before descending to Bimthang.
The hike is unique because of that development. Many travelers seek something more than a famous name on a bucket list and that’s why more trekkers are finding the Manaslu region.
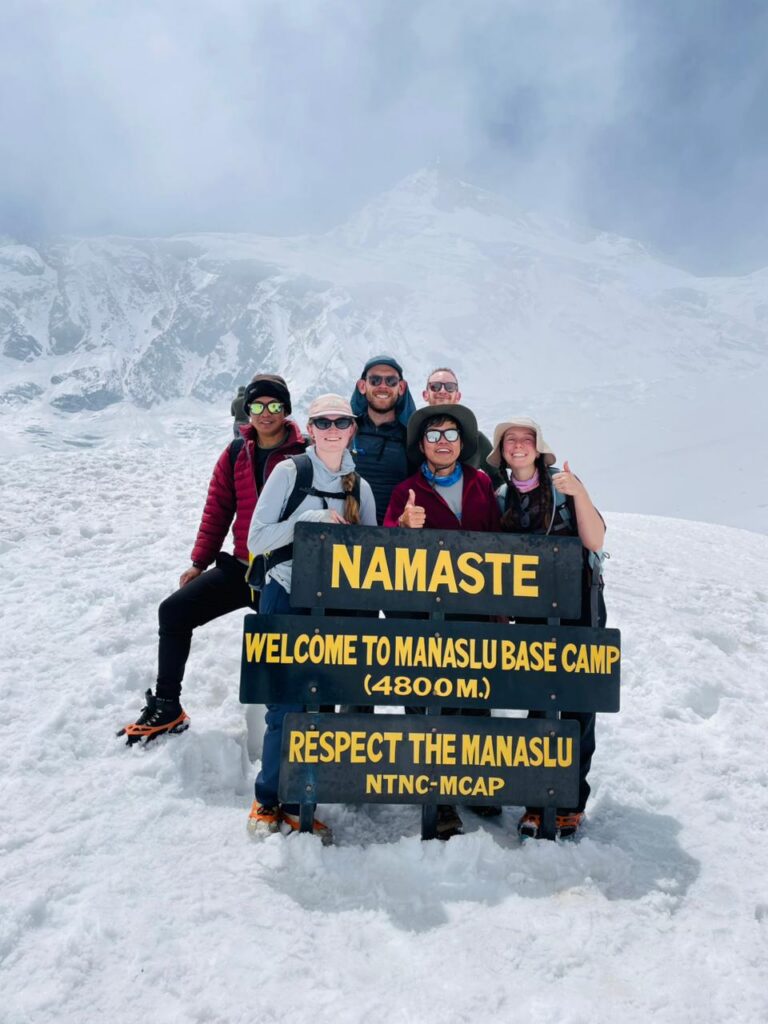
Hikers wish to experience the landscape which is constantly changing every few days, meet the people on the way and feel like they’ve not just arrived at a viewpoint, but walked through a part of Nepal.
That’s the kind of trip Manaslu has to offer. But maybe it’s best to think about it this way: The mountain is grand, but the road around it is what makes it memorable!