Turkey hunting is not solely about the excitement of the chase. The thrill of the hunt can also be full of countless hours of waiting, walking maintaining a state of readiness for when that gobbler makes its appearance. So, when you are in the field, the gear you use can make or break the hunt. The unsung hero of many turkey hunts could likely be your turkey vest.
Whether you’re an experienced turkey hunter or a beginner, it’s important to have the appropriate vest in order to maximize your chances of success.
A turkey vest should be comfortable, practical, and durable; the ideal combination that will enable you to remain focused and ready during your hunt. In this guide, we explore the best features to consider in a turkey vest that will not only keep you comfortable and agile during the hunt, but also provide what you need to hopefully be able to capitalize when the moment of truth comes.
Fit and Comfort: The Keys To Waiting Patiently
A turkey vest is more than just a piece of hunting apparel; it’s your second skin when you’re deep in the woods. Turkey hunting can be a very time-consuming activity, with hours of sitting or crouching in different positions, so a comfortable vest can make all the difference. A vest without proper fit and comfort can impede your ability to get set up in just the right position.

Preparing for turkey hunting often focuses on patterning guns and practicing calls, but you should also give thought to the type of turkey vest you’ll be hunting in.
When choosing a turkey vest with legs, the first thing to consider is adjustability. An effective vest will be designed with adjustable straps so you can adjust the fit to your body. Adjustable shoulder, chest, and waist straps allow the vest to be snug without being too tight or loose. The fit must be like a second skin, without any limitations on movement.
In addition to being adjustable, breathable fabrics are an important consideration when choosing a turkey vest. The last thing you would want on a long day of hunting is to be drenched in sweat under a vest with heavy fabric. Lightweight, moisture-wicking vests or mesh panel vests are also designed to keep you cool, allowing air to pass through and moisture to be carried away. This not only makes it more comfortable but also helps avoid chafing and discomfort.
Hunting apparel for your next adventure!
-
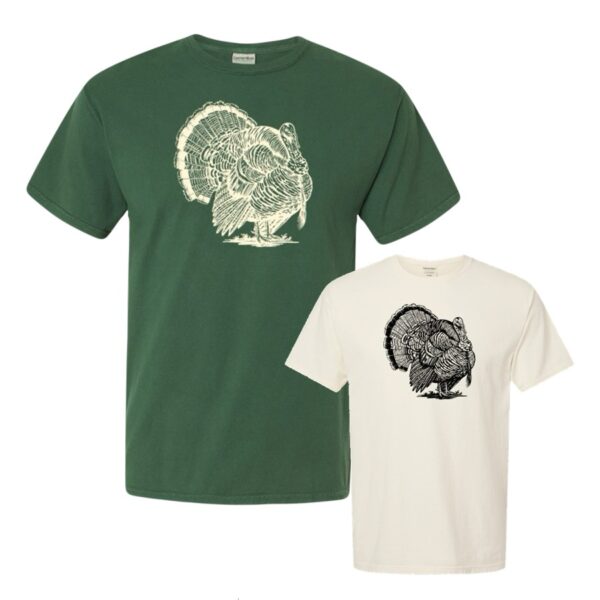
N1 Outdoors® Spring Showman™ Turkey Tee
Price range: $26.99 through $32.99 -
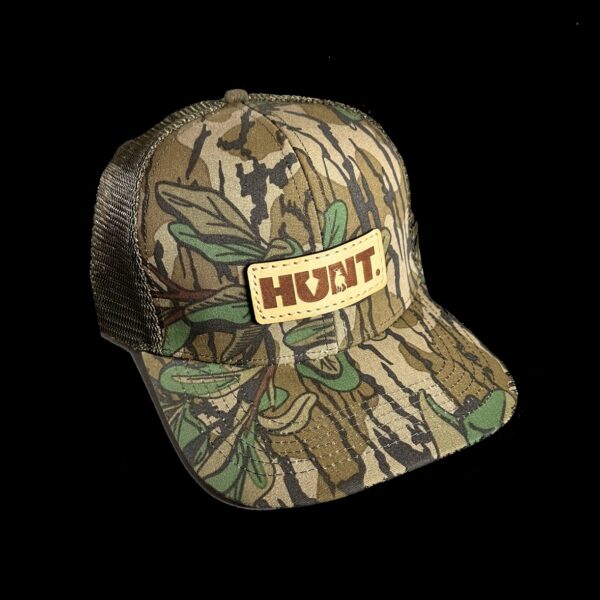
N1 Outdoors® HUNT. Mossy Oak Greenleaf & Olive Camo Leather Patch Trucker Hat
$29.99 -

N1 Outdoors® Est. 2014 TriBlock Bottomland Camo Performance UPF 50+ Shirt
Price range: $37.99 through $39.99
Pocket Preparedness
Another key feature to consider when choosing a turkey vest is how effectively it can help with the organization of your hunting accessories. You may be carrying several calls, shells, snacks, or even a flashlight, but your vest must have pockets that will keep all your items well-arranged and accessible during the hunt.
Find a vest with multiple pockets, but also take note of the size of the pockets. The vest should have big pockets to hold additional clothing or a hydration pack, as well as smaller, more specialized pockets to hold your turkey calls, maps, shells, etc. The more compartments the vest has, the more flexibility you’ll have to sort your gear and keep from having to rummage around in search of what you need.
Another important feature of a good turkey vest is having silent closures. Accessing pockets with noisy zippers or large Velcro closures can quickly alert turkeys to your presence. Look for a vest that has silent zippers or small Velcro flaps that let you access your gear without making unnecessary noise.
The Seat Pad: Wait in comfort
Unless you are “running and gunning,” turkey hunting is not always a fast-paced activity. In many cases, it is a matter of calling, waiting, and even sitting for hours before that wiley gobbler closes the distance. It is here that a built in seat pad can be a game-changer.
If you’re waiting on Mr. Gobbler, being uncomfortable can make the time crawl. That’s where a padded seat can come in extremely handy.
Discomfort makes it difficult to sit still. And extra movement is something you can’t afford when trying to blend in to a turkey’s environment. With that in mind, the cushion of a well-padded seat can truly be the difference between harvesting a turkey and coming home empty-handed.
Even better, most seat pads are waterproof, so you won’t have to worry about sitting on wet ground.
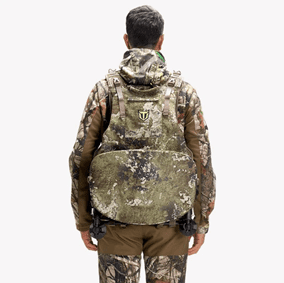
Blending in with Nature
Being successful at turkey hunting hinges, in large part, of your ability to be as inconspicuous as possible. The right camouflage pattern on your vest is one of the most important features that can help you blend into your environment.
Whether you’re hunting deep in the woods, on field edges, or creek beds, you should have a camo pattern that blends in with the area you’re in.
Ideally, try to select a vest that has a flexible camo pattern that can blend in with various hunting scenarios and settings. Turkeys have incredible vision, and you need a vest that will help you melt into the background.

Durability: Be Prepared For The Roughest Hunts
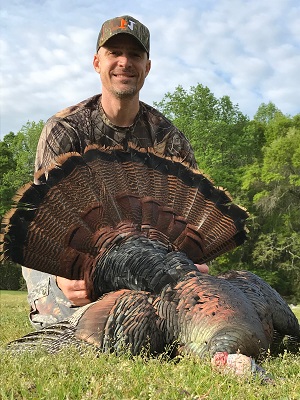
When it comes to durability, you need a turkey vest as strong as your love of hunting. Opting for quality materials and craftmanship can contribute immensely to the number of seasons you can hunt in a particular vest. Why not have turkey harvest pictures that show you wearing the same vest year after year!
Choose vests crafted from durable, waterproof materials such as ripstop nylon or tough polyester. These materials durable and resistant to wear and tear. Also, the reinforced stitching in high-stress areas (such as the straps and pockets) can help prevent the vest from unraveling after a few seasons of rigorous hunting.
The Significance of Light and Functional Design
Turkey hunting can require a lot of walking over hilly terrain, so it is important to have a lightweight, feature-packed vest that’s high on toughness, yet low on bulk.
Price vs. Features: The Right Balance
Although you may be tempted to buy cheapest turkey vest you can find, it is worth spending more for higher quality. A good vest will serve season after season, be comfortable, durable, and useful – all of which will make your hunting experience that much more enjoyable.
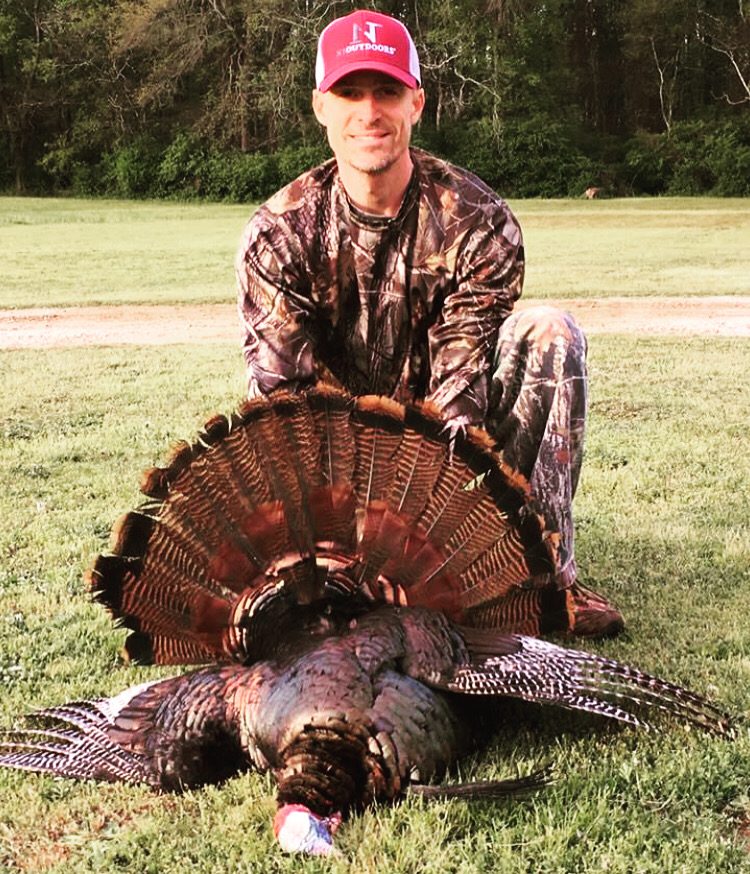
So, when turkey season is on the horizon, consider these important turkey vest features. You’ll be well-prepared to take on anything turkey season throws your way. And, if everything goes right, maybe you’ll be posing for a picture behind a big gobbler’s fan!