The Trilene knot, which is sometimes called the “Two-Turn Clinch Knot,” is a very strong fishing knot that every angler should know. Let’s show you how step-by-step!
Want to learn this strong fishing knot called the Trilene Knot? Well, let’s get started!
Time needed: 1 minute
How to tie the Trilene Knot
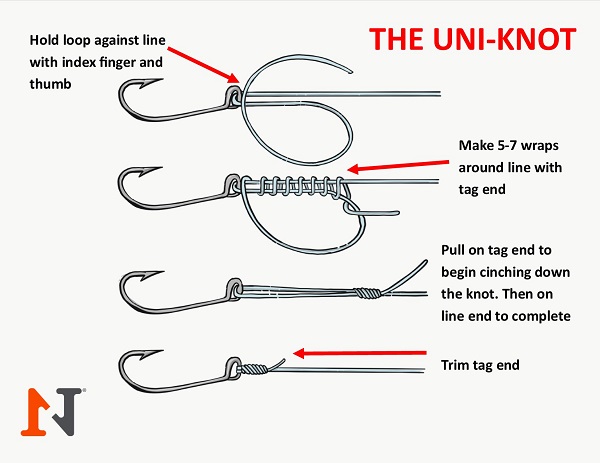
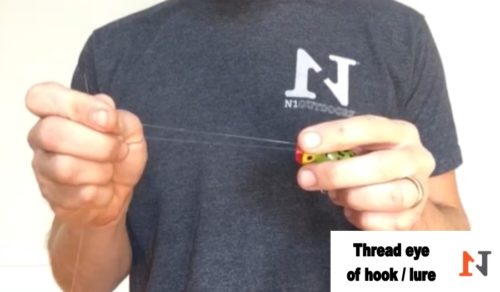
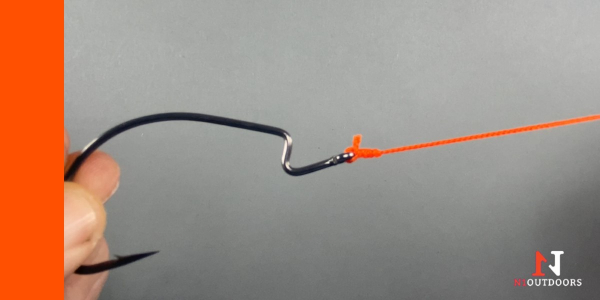
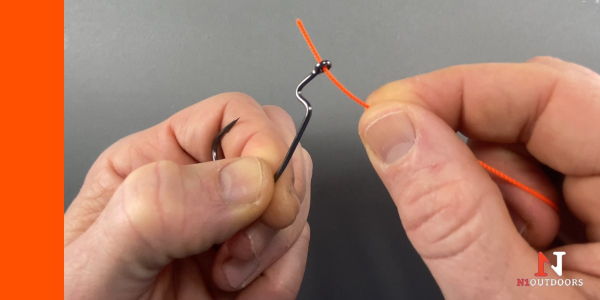
- Insert tag end of line through hook eye.
Insert line through hook eye, leaving about 8 inches to work with.
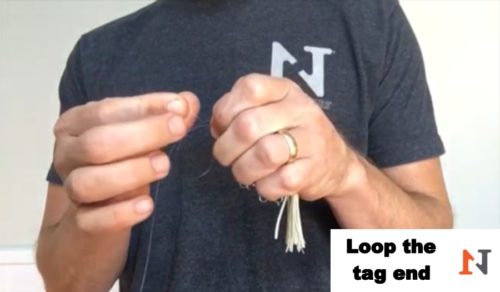
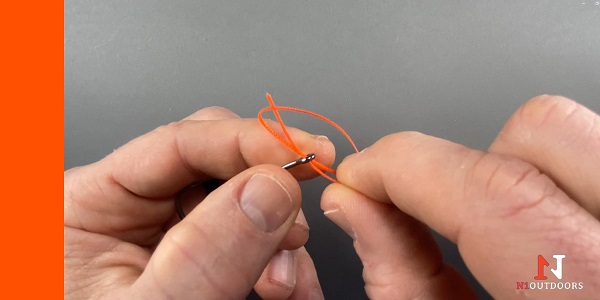
- Insert tag end through the hook eye a SECOND time.
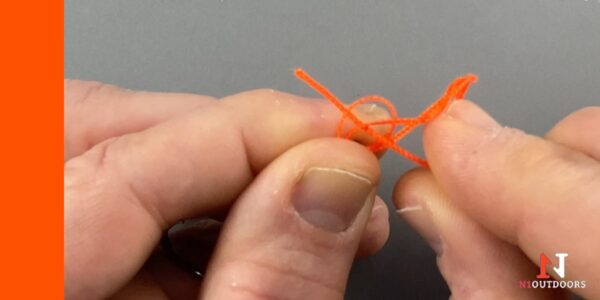
Insert the line through the eye of the hook a second time, making a loop.
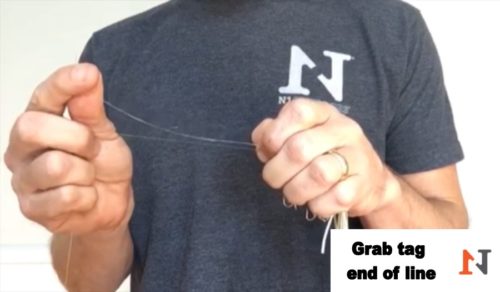
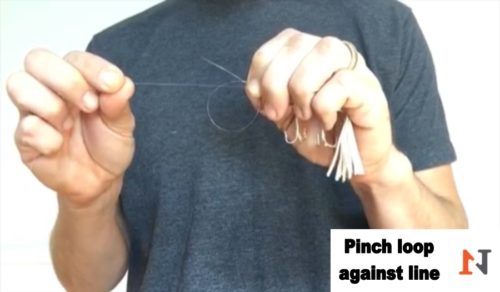
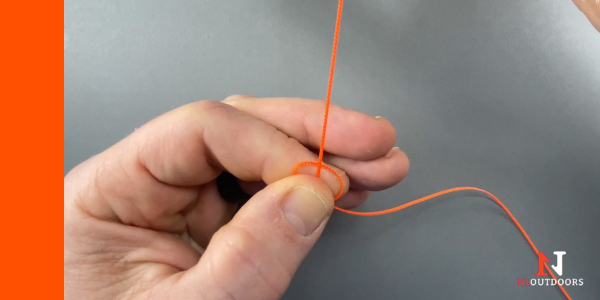
- Pull tag end to make loop smaller.
Pull the tag end of the line until the loop shrinks down to the top of your thumb and hold the loop in that position.
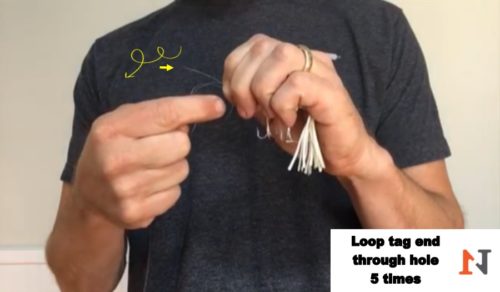
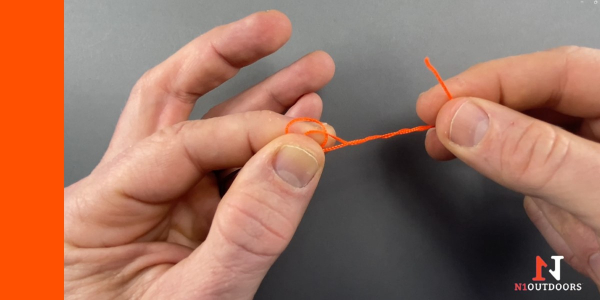
- Wrap tag end line around main line.
Wrap the tag end of the line around the main line 5-8 times.
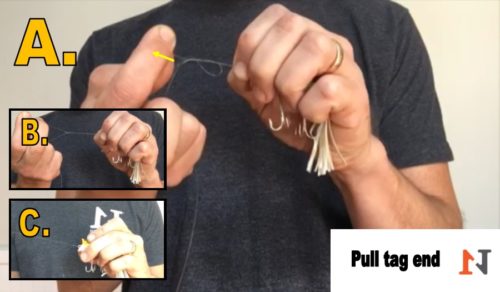
- Insert tag end through both loops.
After wrapping the tag end around the main line, take the tag end and insert it through both loops that you have been holding with your other hand.
- Lubricate and cinch down.
Lubricate the knot area with water or saliva and while holding the tag end, pull the main line to cinch down the knot.
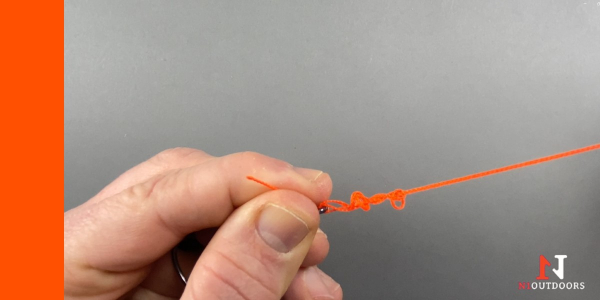
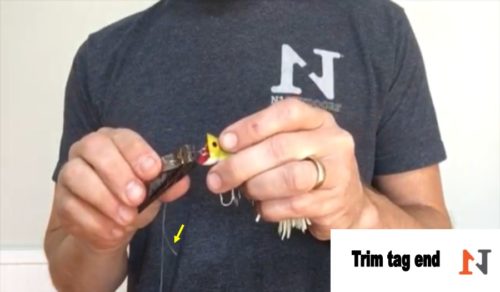
- Trim tag end.
Trim the tag end of the line to desired length… and you’re done! You’ve just tied the Trilene knot! We hope you put a hook N1!
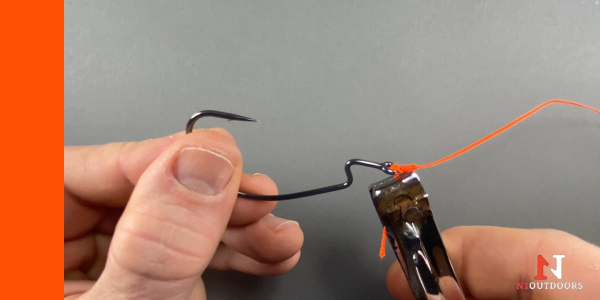
May all your Trilene knots yield big fish!
-
Sale!
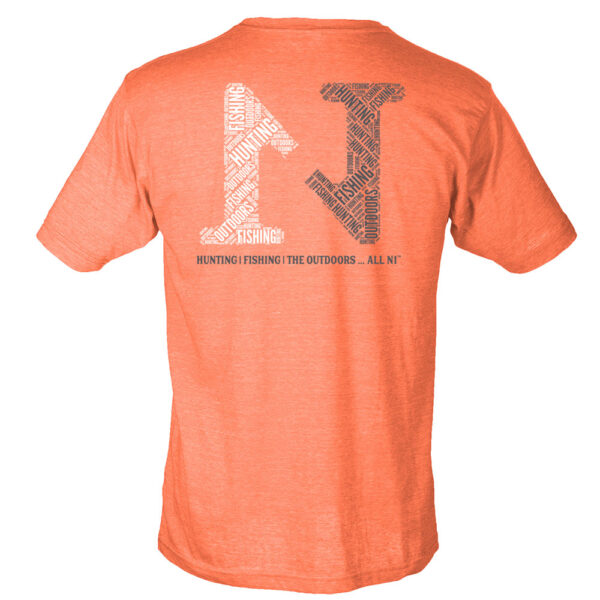
N1 Outdoors® Put A Hook N1™ Trout Short-Sleeve Tee
$5.00 Select options This product has multiple variants. The options may be chosen on the product page -
Sale!
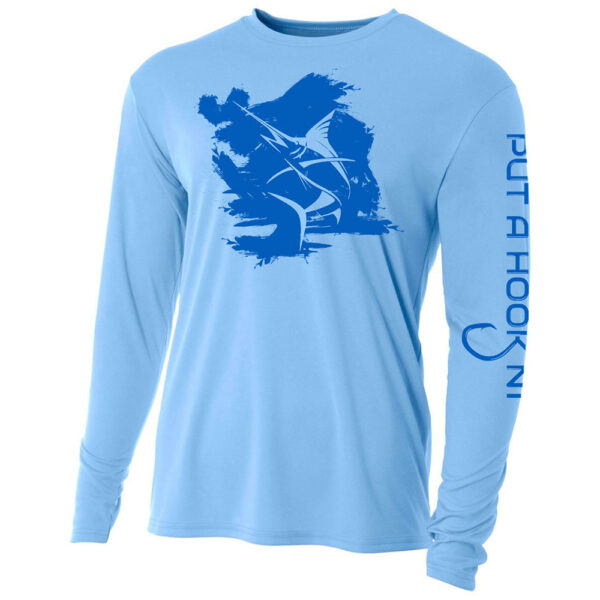
Put a Hook N1™ UPF30 Marlin Performance Fishing Shirt (Lt Blue)
Original price was: $34.99.$9.00Current price is: $9.00. Select options This product has multiple variants. The options may be chosen on the product page -
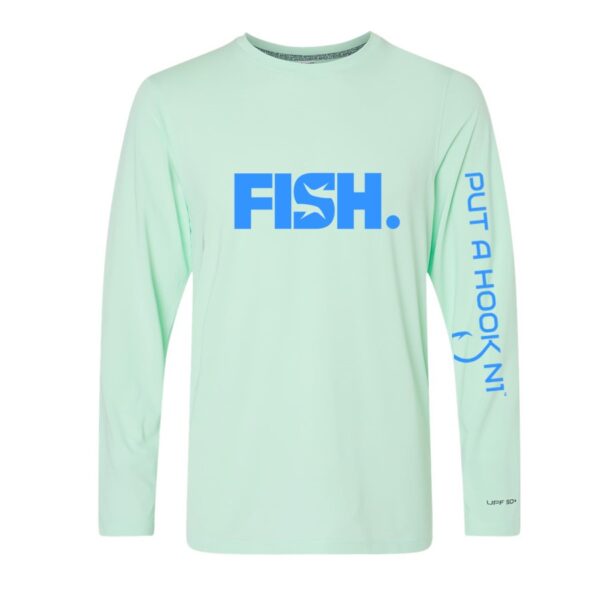
N1 Outdoors® FISH. Performance UPF 50+ Shirt
Price range: $37.99 through $39.99 Select options This product has multiple variants. The options may be chosen on the product page
Other fishing knots you should know: