After months of dreaming, your hiking adventure in your dream location is just around the corner. You have probably meticulously planned your hike, researched the perfect route, and packed your essentials, including your newly bought hiking boots.
However, amidst the excitement, there is a slight problem: your new hiking boots. Why? Because those brand new hiking boots are too stiff and uncomfortable because they have not yet been broken in.

If you ask any seasoned hiker, they’ll tell you that this is an important step to take before you commence your trip.
But no worries—we’ve got you covered!
This guide explains some simple and fast techniques to break in your hiking boots so that you can hike in comfort. and, even though the majority of hiking footwear from reputable online shops don’t take too much work to break in, you should always try your hiking boots out before you embark on your big adventure.
So, let’s get started!
Choosing the Right Hiking Boots
Before you can even think about how to break in hiking boots, it’s important to choose the right pair for your needs in the first place. Here are some useful tips to help you make the best choice:
Type of Hiking
First things first… determine the type of hiking you’ll be doing. Here’s why this is an important first step… Lighter boots will be good for day hiking, and sturdier hiking boots with ankle support should be used for trips like backpacking.
Material
Leather boots have long been long known for their excellent durability and support, but they require more breaking in. On the other hand, synthetic materials are easy to break in and also lightweight and breathable, but they don’t provide the same level of support as leather boots.

Support
Always select hiking boots with adequate ankle support and soft soles, especially when planning to hike in rugged terrain or carrying a heavy backpack.
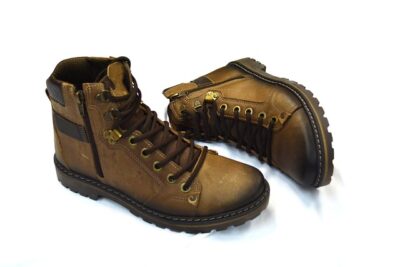
Fit
The most important factor when buying hiking boots is getting them in the right fit. You can get your footwear from reputable online shops or professionally fitted at an outdoors store.
-
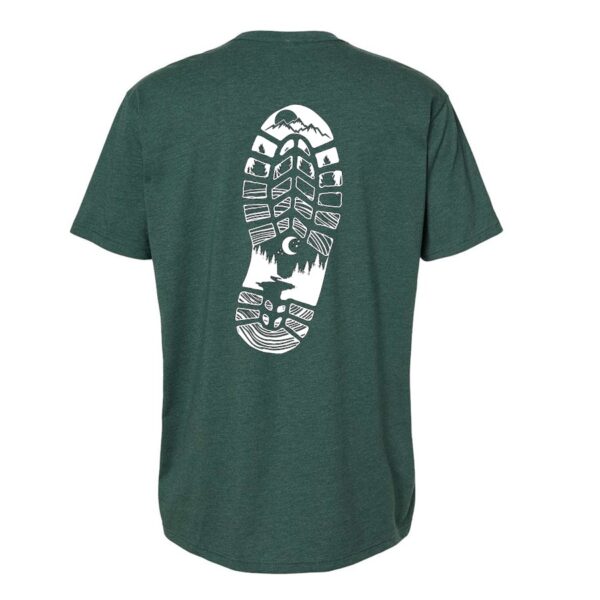 N1 Outdoors® “Outdoor Npressions™” Boot Print TeePrice range: $24.99 through $28.99
 -
Product on sale
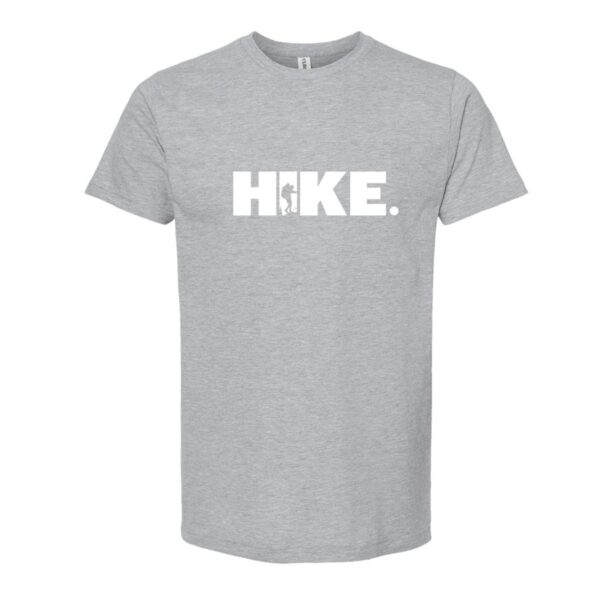 N1 Outdoors® HIKE. Tee$19.00
 -
 N1 Outdoors® Mountain Colors Tee (Various Colors)Price range: $24.99 through $28.99
Breaking In Your New Hiking Boots
Now, let’s now explain how to break in hiking boots. Here are some simple and effective ways to break in your boots for those hiking adventures that await you!
Around The House
This one’s easy… simply put on your new hiking boots and simply walk around inside your house. This is probably one of the most common methods used to loosen up the boot material, but it’s quite useful! So, whether you’re doing laundry, cooking in your kitchen, or doing daily household chores, keep wearing your hiking footwear to help with the breaking in process!
Also, be sure to tighten the laces and wear the socks and insoles – in short, the same way you plan to wear them outside, do just the same inside.
This “around the house” process could take from an hour or two to a day or two, depending on the boot. This will help you to note any discomfort or friction and identify any potential issues early on. You can typically return or exchange for a more comfortable pair if you need to.
Go for Short Walks

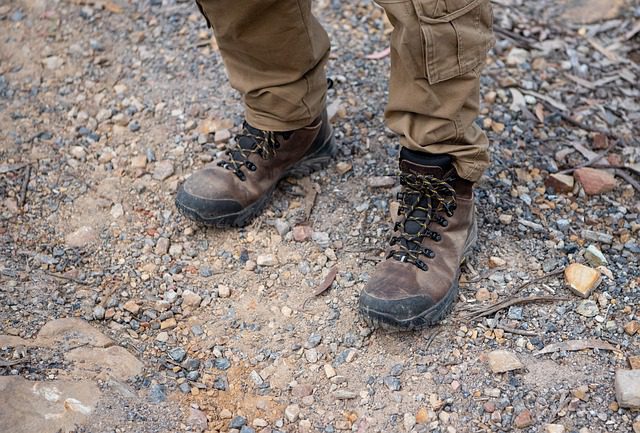
Now that you’ve worn your brand-new hiking boots for a few hours and gotten used to what they feel like, it’s time to wear them outside! that’s right, put on those hiking boots (the same way you plan to wear them on your hiking trip) and go for walks outside your home.
Start with short and simple walks around your neighborhood or your nearest park. After some time, increase the distance and try various terrains and activities as your boots soften.
Be sure to try different surfaces, such as pavement and grass, and walk on even slightly uneven terrain to simulate trail conditions. If the boots feel good, you’re ready for your adventure!
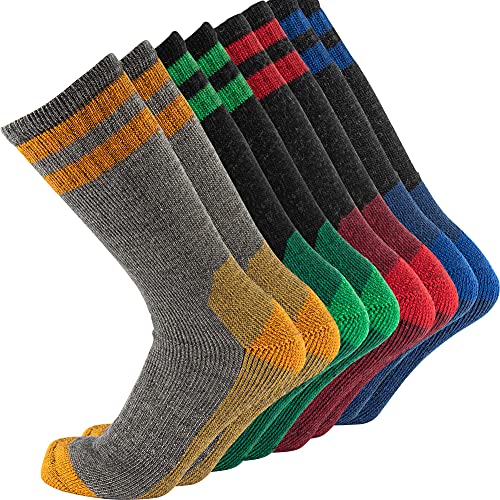
Wear the Right Socks
Are you new to hiking? If yes, you are probably thinking, “I’ll just throw on my cotton socks, and I’m good to go.”
Not so fast!
You likely will not be comfortable, since cotton retains moisture, which can create friction and lead to severe blisters.
So, what kind of socks should you wear?
Always wear thick, moisture-wicking socks, like merino wool socks, when hiking. If you’re planning a thru-hike or any long distance, buy liner socks for extra comfort. If pressure points arise, try wearing two pairs of thin socks for a short period of time to create more padding.
Use a Boot Stretcher
If you feel that some areas of your boot are still tight, you can use a boot stretcher. That’s right, a high-quality boot stretcher will help to loosen specific areas of your boots, such as the toe box or heel. If you have leather hiking boots, this simple tool can gently stretch the leather to alleviate discomfort.

Tighten Your Laces
Another helpful way to assist in breaking in your new hiking boots is to simply lace them up snugly.
To keep your foot comfortable inside the shoe, you have to tighten your laces carefully so that your foot doesn’t move much. More movement means more friction, which can result in serious blisters.
Yes, while this seems pretty basic and obvious, many people don’t know to tighten their hiking boot laces, which can cause discomfort and blisters.
So, make sure to tighten those laces well, but not too tight, before you start walking around in your boots. Pay attention to different sections of your foot, adjusting the tightness as needed.
You can also experiment with different lacing techniques to find the most comfortable fit.
Final Thoughts On Breaking In Hiking Boots
The information listed above will not only help you select the right hiking boots, but also assist you in being able break them in. This way, you can quickly turn your brand-new, not-so-comfortable boots into comfortable companions for your outdoor adventures!
Just remember that breaking in hiking boots takes time, and some boots take longer than others. Also, if you experience persistent pain after breaking in your boots, don’t hesitate to seek professional advice or get new hiking boots.
Happy hiking!