So, you’d love to ice fish, but aren’t quite sure how to do it?
Well, I’m going to cover the basics of ice fishing – an Ice Fishing 101 – so you can get out, safely fish, and share moments on the ice with your family and friends.
Ice Fishing For Beginners
You can navigate to any part of the article more quickly by clicking the links below:
- Locate an ice fishing spot
- Be sure ice is safe
- Ice fishing clothing
- Ice fishing gear
- Drill hole in ice
- Bait the jig
- Jig the lure
Step 1: Locate your ice fishing spot
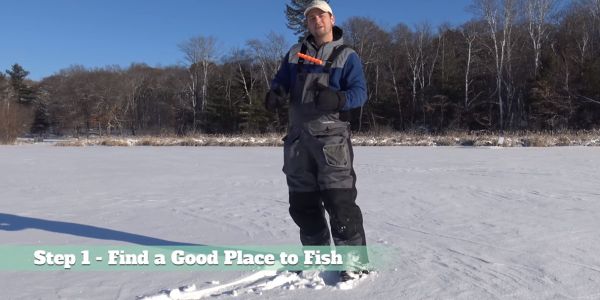
Now, the first step to getting on ice fishing is to find a good place to ice fish. Once you do that, you’re going to want to start to fish in the first 50 to 100 yards from shore.
You’re going to typically target 10 to 15 feet in depth and that will allow you to catch panfish, crappie, bluegill as well as pike and hopefully largemouth bass as well.
If you are ice fishing for the first time in a particular location and don’t know exactly where to fish, a good move is to get started right next to some other shelters. There are great communities out on the ice and everyone is fighting the cold and usually love fishing next to each other.
Step 2: Check for safe ice conditions
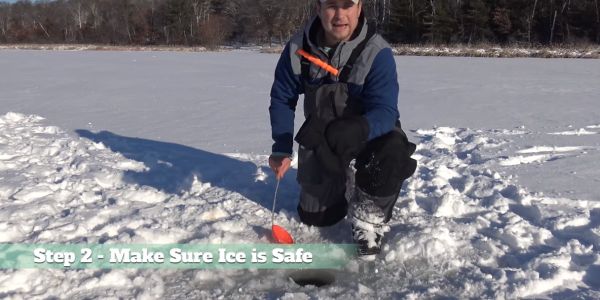
You should always be sure that the ice conditions are safe before attempting to fish a certain location. I highly recommend that you call or stop into your local bait and tackle store and make sure that the lake you picked out has safe ice conditions.
You can typically see where other people are safely fishing as well as sticking to the foot paths that they’ve already created, so you know it’s generally safe ice.
I highly recommend drilling holes (we’ll get to that further down) every 10 to 20 yards to double check the ice thickness.
I don’t recommend going out on any water that has under 5 inches of ice. If you have 5 inches, you’re going to be good, but you want to keep checking to make sure that there’s no variation in thickness.
If you do get to an unsafe spot, get off that lake. Five inches is the minimum.
-
Sale!
The N1 Outdoors® “OUTDOORS™” Tee
$15.00 Select options This product has multiple variants. The options may be chosen on the product page -
Sale!
N1 Outdoors® Put A Hook N1™ Trout Long-Sleeve Tee
Original price was: $28.99.$5.00Current price is: $5.00. Select options This product has multiple variants. The options may be chosen on the product page -
Sale!
Put a Hook N1™ UPF30 Marlin Performance Fishing Shirt (Lt Blue)
Original price was: $34.99.$9.00Current price is: $9.00. Select options This product has multiple variants. The options may be chosen on the product page
Step 3: Wear appropriate clothing
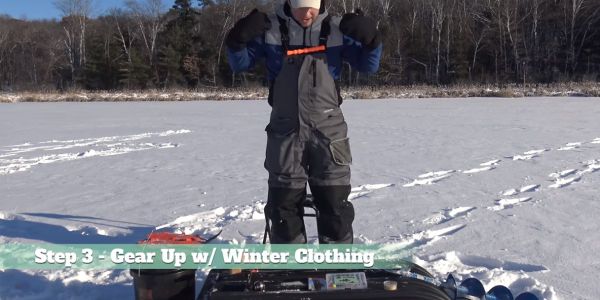
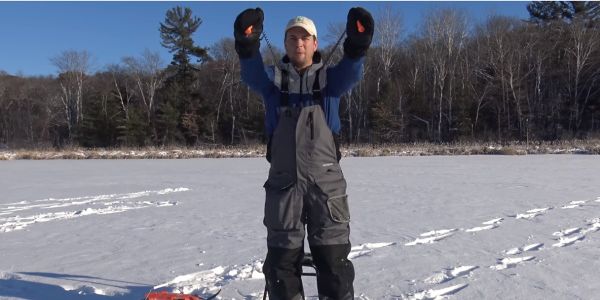
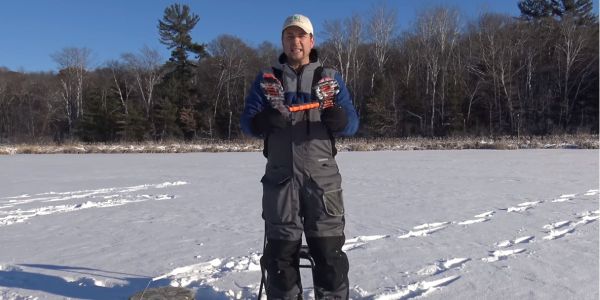
Before you go ice fishing, be sure to gear up with warm winter clothing. It’s a good idea to dress in multiple layers as well as a coat, mittens, hat, snow pants and snow boots.
Safety gear is an essential part of your clothing
Safety spikes and ice cleats and floating bibs are very important components of proper ice fishing clothing.
The cleats help you walk on the ice without slipping and the safety spikes allow you to pull yourself up out of the water in the event that you fall in.
The floating bib has material in it that will allow you to bob back to the surface if you were to fall through the ice.
Now, if you don’t have higher end ice fishing bibs that can float, I highly recommend taking some sort of floatation device with you, most notably, an inflatable life preserver that’s easy to carry and lightweight.
-
N1 Outdoors® HIKE. Foam Trucker Leather Patch Rope Hat
$29.99 Select options This product has multiple variants. The options may be chosen on the product page -
N1 Outdoors® “Bowhunt” Leather Patch Hat (Desert Camo/Brown)
$29.99 Select options This product has multiple variants. The options may be chosen on the product page -
N1 Outdoors® Elk Antler Leather Patch Hat (Brown/Khaki)
$29.99 Select options This product has multiple variants. The options may be chosen on the product page
Step 4: Ice Fishing Gear Inventory
Once you get your winter clothing taken care of, you need to get your ice gear taken care of.
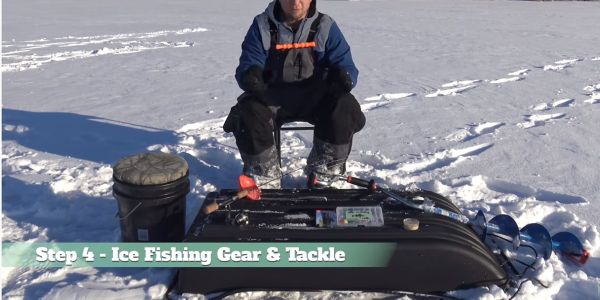
There are a few pieces of gear that are rudimentary and essential to getting out on the ice to fish.
Sled: First, because you will likely need to drag your gear and equipment with you for long distances, you will need a sled.
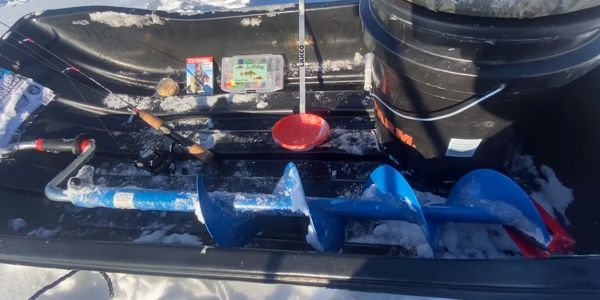
Auger: Secondly, you will need an auger. An auger is a drill that will cut through the ice. It goes from 6 inches to 10 inches, and some even go up to 12. If you’re just getting started, I highly recommend just having a 6-inch hand auger.
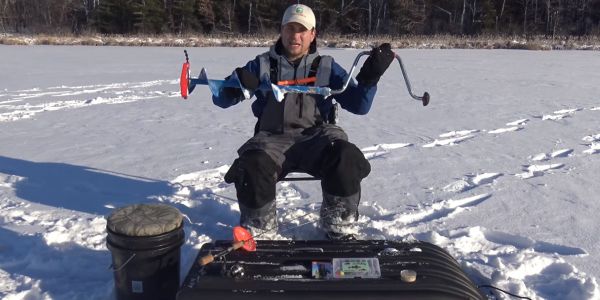
Bucket: Another important thing to have is a bucket. This bucket is going to carry all of your tackle, your bait, all in one thing. And it also serves as a stool so you have a place to sit when you’re out on the ice.
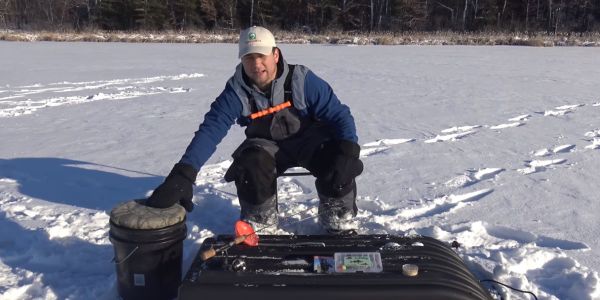
Scooper: Next, you need a scooper. This is going to allow you to hold the ice out of your hole, clean it up and fish that hole consistently without having the ice interrupt your fishing or the fish coming through the hole.
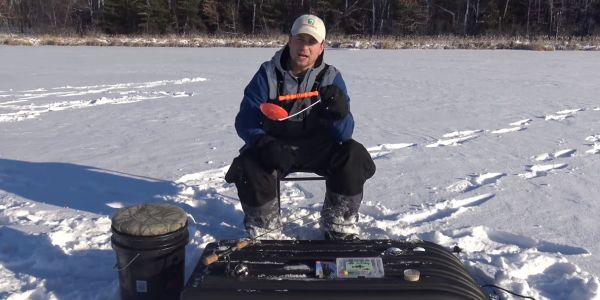
Ice Fishing Rod: When you’re ice fishing over a hole that’s right in front of you, you don’t want a long freshwater fishing rod, because it will put you too far away from the hole. You won’t be able to fish with it inside of a shelter. Plus, they have very low sensitivity. I recommend a 28″ ice fishing rod.
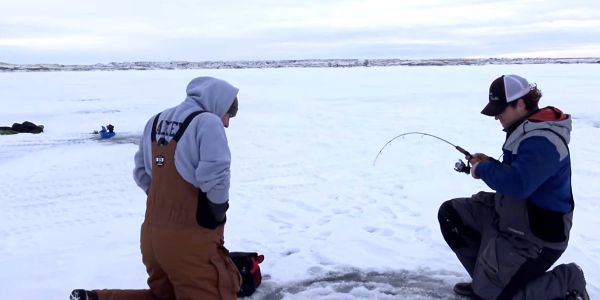
Jigs: Next, you need some jigs. The Tailored Tackle Multispecies Ice Combo allows you to jig or deadstick for a multitude of species. It includes micro jigs, tungsten jigs and others that you’re typically going to be using.
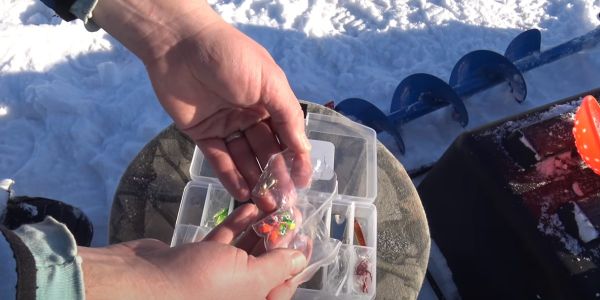
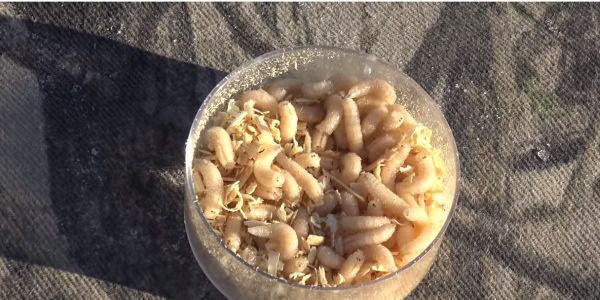
Bait: Lastly, you’re going to need some bait. Spikes are maggots that are used in ice fishing. You tip two to three of them on your jig and you jig them up and down to catch all sorts of species; primarily panfish, like perch and crappie.
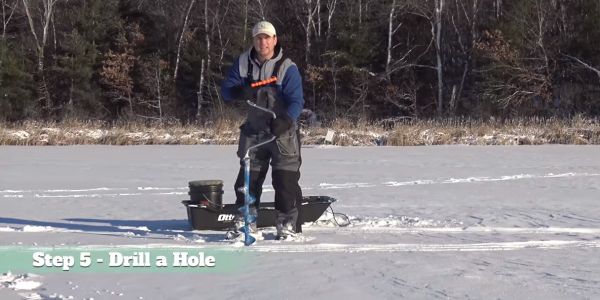
Step 5: Drill A hole in the ice
Once you arrive at your spot, you’ll need to drill a hole in the ice. You will need to take the safety device on top of the bottom of the auger and remove it. Drill down into the ice by moving it clockwise.
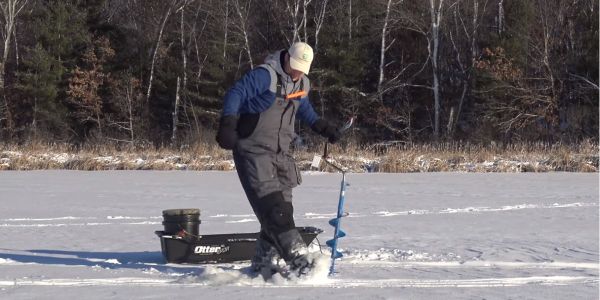
Once you have drilled your hole, remove the excess slush with your boots.
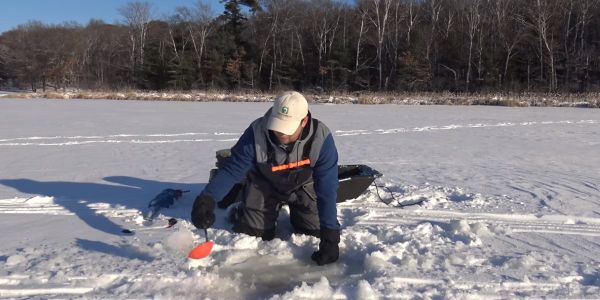
Scoop the hole
After drilling the hole, you’ll need to scoop it, using your scooper. Dip the scooper slowly into the hole and pause.
-
Sale!
N1 Outdoors® Duck Camo Block Logo Heavyweight Hoodie
$34.00 Select options This product has multiple variants. The options may be chosen on the product page -
Sale!
N1 Outdoors® “Sunset Mountain” Pullover Hoodie
$34.00 Select options This product has multiple variants. The options may be chosen on the product page -
Sale!
N1 Outdoors® Est. 2014 Forest Camo Heavyweight Sweatshirt Hoodie
$34.00 Select options This product has multiple variants. The options may be chosen on the product page
Step 6: Bait the jig
Once you have drilled the hole and scooped out all the ice, it’s time to bait the jigs.
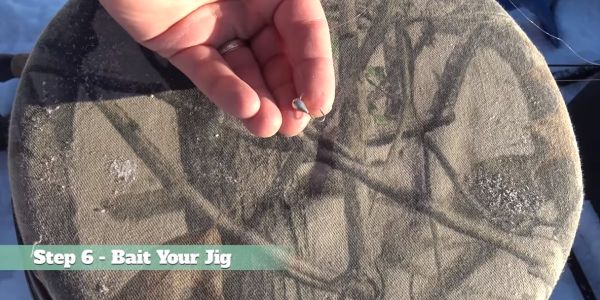
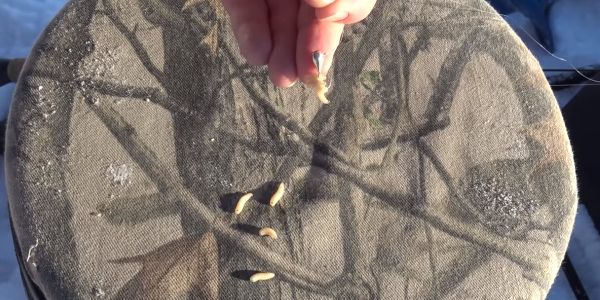
Once you have baited your jig, lower the lure down into the hole. Open the bale on the reel and let the line out. Fishing one to two feet off the bottom is very effective.
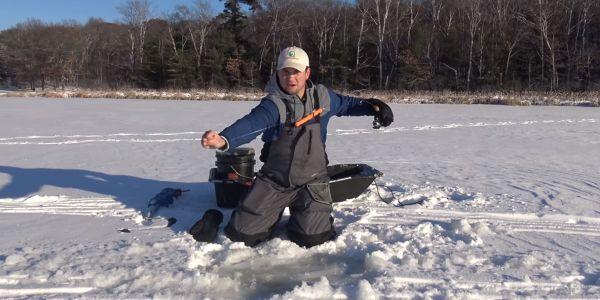
Step 7: Jig the lure
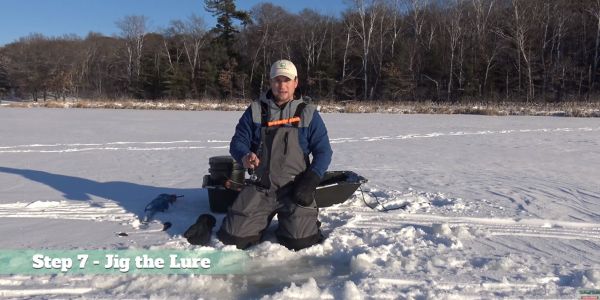
The next step after lowering you lure and getting it off the bottom is to jig.
Lift your rod tim up and back down and then pause 2 to 3 seconds. That’s just a basic jig. Lift up. Drop it down. Pause 2 to 3 seconds.
You can even last a couple of seconds longer, maybe 5, 6 seconds for the pause. The bites are going to happen on the pause. So, the jigging is calling in fish and the pause is letting them come up and take a bite.
Another jigging cadence you can try is to softly jiggle it in place or work it upwards in little blips upwards just like that. So mix your jigging cadences. Try different techniques, big swoops, lift-ups, jiggling in place, or just the regular jig. Pause.
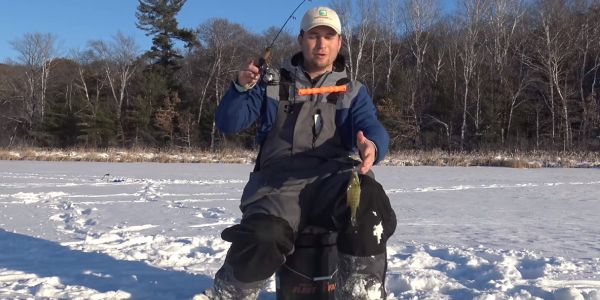
Now, when a fish comes through and is interested in the bait, you’ll feel a tap, tap, tap.
It will be easier to handle the fish by taking off your mittens and using your bare hands.
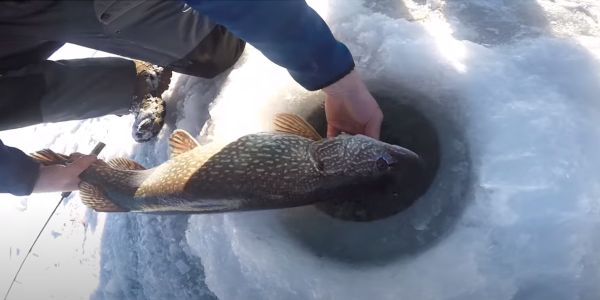
When releasing the fish, kneel down and drop it into the hole. Sometimes a bigger fish will need a tail wag in the water and it will be on its way for someone else to catch!
More related content from N1 Outdoors:

