Edge Matters | How to Sharpen a Hunting Knife

on . Posted in Blog, Hunting

The morning fog rolls in, and a bull hangs somewhere in the timber. If your knife pops hair now, the work ahead feels lighter. If it doesn’t… well, you’re about to invent new swear-words. So, let’s keep the edge singing…

What we’ll cover:

Why Edge Sharpness Matters in the Field

Edge gets dull—even on custom blades. Try separating a deer’s atlas joint with a butter-knife-dull blade.

Tendons fray… patience frays faster.

A clean edge slices, not wedges, so you stay in control and blood on the hide stays where it belongs—off your fingers.

4 hunting knives on stump

Sharp steel also means fewer strokes, which matters when daylight fades and the meat has to cool before the pack out.

I’ve watched guys baton through bone to compensate for a lazy edge. That’s a cracked tip waiting to happen. Keep it sharp from the start; save the drama for campfire stories.

Understanding Your Knife: Steel, Grind, and Angle

Steel: 1095 holds a toothy bite but oxidizes if you so much as breathe near salt water. D2? Semi-stainless, stubborn to sharpen but stays keen halfway through an elk. CPM S30V? Slick stuff—vanadium carbides ride the edge like skateboard bearings, so go slow on coarse stones or you’ll skate right past the apex.

Grind: Hollow grinds whisper through hide; full flat likes to wedge in hardwood but splits pelvis clean. Sabre gives spine strength when prying joints. Know which you have—grind controls how the edge thins out toward the apex.
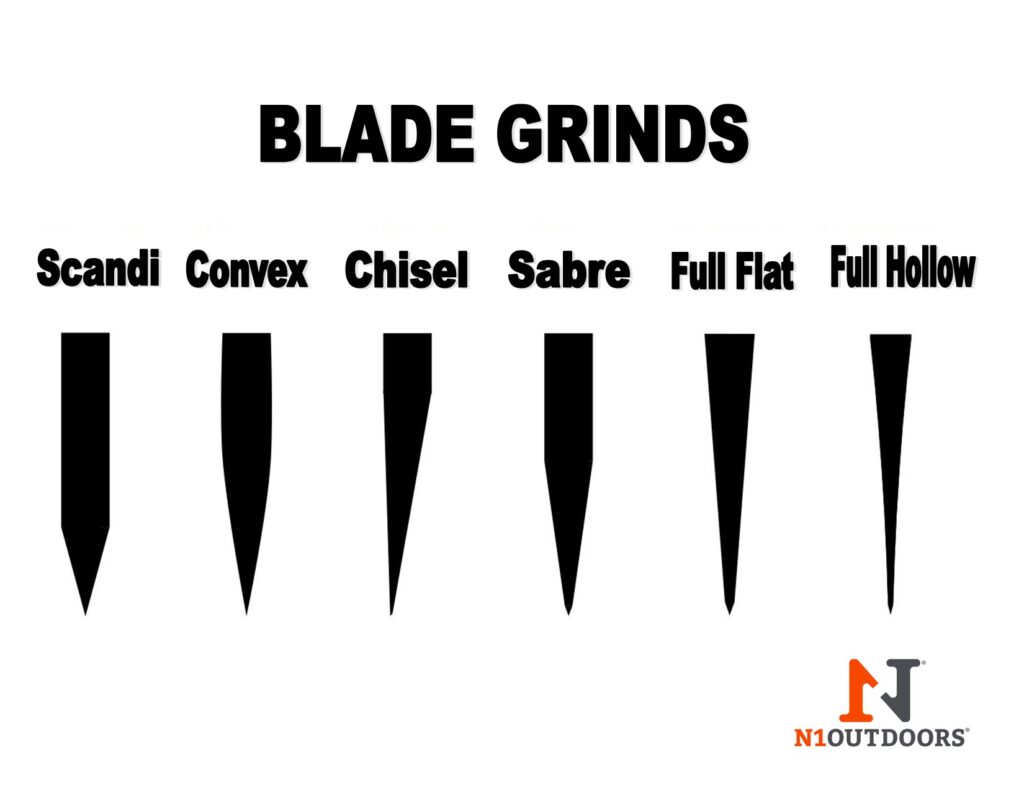
KNIFE BLADE GRINDS DIAGRAM

Angle: Most factory hunting knives sit around 20° per side. I chase 18° on carbons, 22° on tough stainless like 420HC when I expect bone contact. The marker trick tells you the truth: black the bevel, make one light pass, see where the ink’s gone. That’s your real angle, not the catalog’s promise.


Essential Tools and Sharpening Setup

  • Coffee stained 1000/6000 water stone is good middle road.
  • 320 grit diamond plate for the “oh man I hit a rock” days.
  • Leather strop glued to maple, with green chromium oxide compound rubbed in like linseed oil on a gun stock.
  • Fine ceramic rod that rides in the pack; weighs less than a granola bar.
  • Black Sharpie, shop towel, headlamp, and something to catch water—an old baking tray works.
sharpening knife on stone

Sharpening Procedure: From Dull to Razor Edge

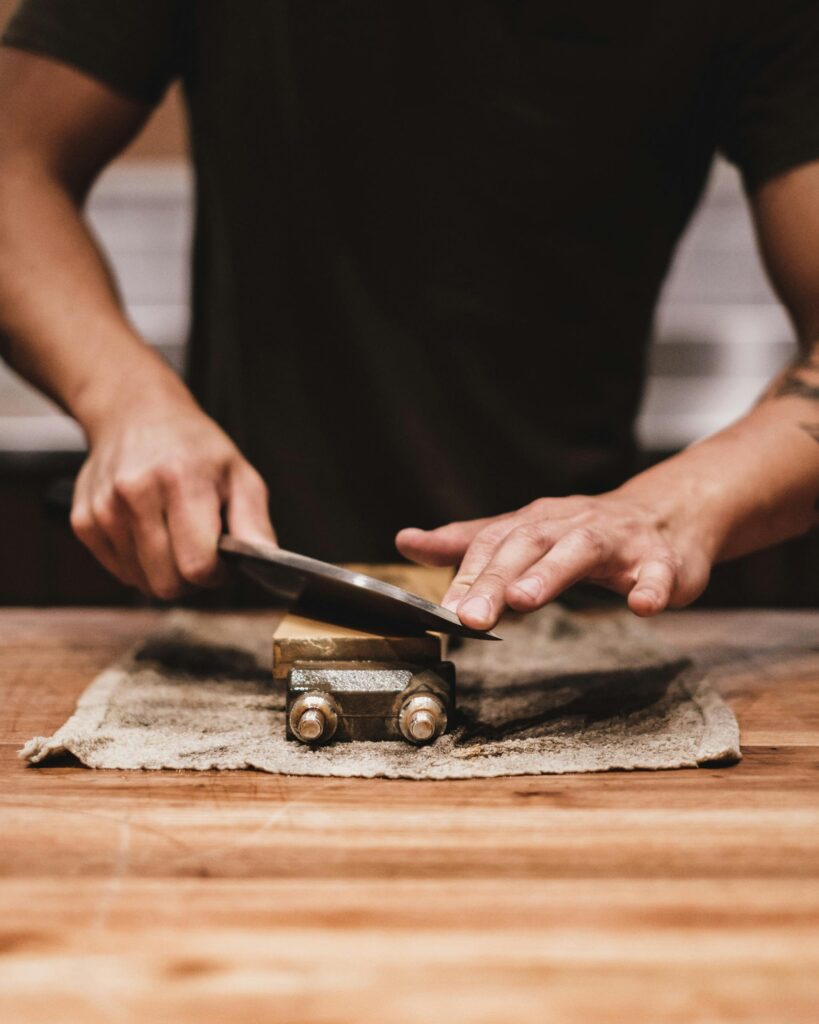
1. Fix the flats. Start coarse—320 diamond or 600 if the edge isn’t wrecked. Lay steel down like you’re slicing a tomato-thin slice off the stone. Push away, raise a hair until marker disappears spine-to-edge. Repeat until a wire-thin burr shows the full length.

2. Flip and match. Burr tells you apex reached. Roll it over; chase the same burr to the opposite side. Consistency beats speed. If the knife sounds like sandpaper in stereo, you’re doing fine.

3. Walk up the grits. 1000 smooths, 3000 polishes, 6000 turns reflections into a mirror. Wipe swarf; muddy slurry helps carbides tuck in. Pressure lightens as grit climbs—pretend the blade would bruise if you press too hard.

4. Neutralize the burr. Light edge-leading passes, almost weightless, alternate sides. Feels like shaving peach fuzz off the stone. Finish with two edge-trailing strokes to align grains.

Finishing Touches: Honing, Stropping, and Edge Testing

Run the edge down a ceramic rod at the same angle—two passes each side. On the strop, the spine leads, so draw back like drying a paintbrush. The compound turns black quickly; that’s metal, not dirt.

Edge tests I trust:

  • Arm hair float: blade pops hairs without skin scrape.
  • Phonebook page push-cut: quiet tsssk sound, no tearing.
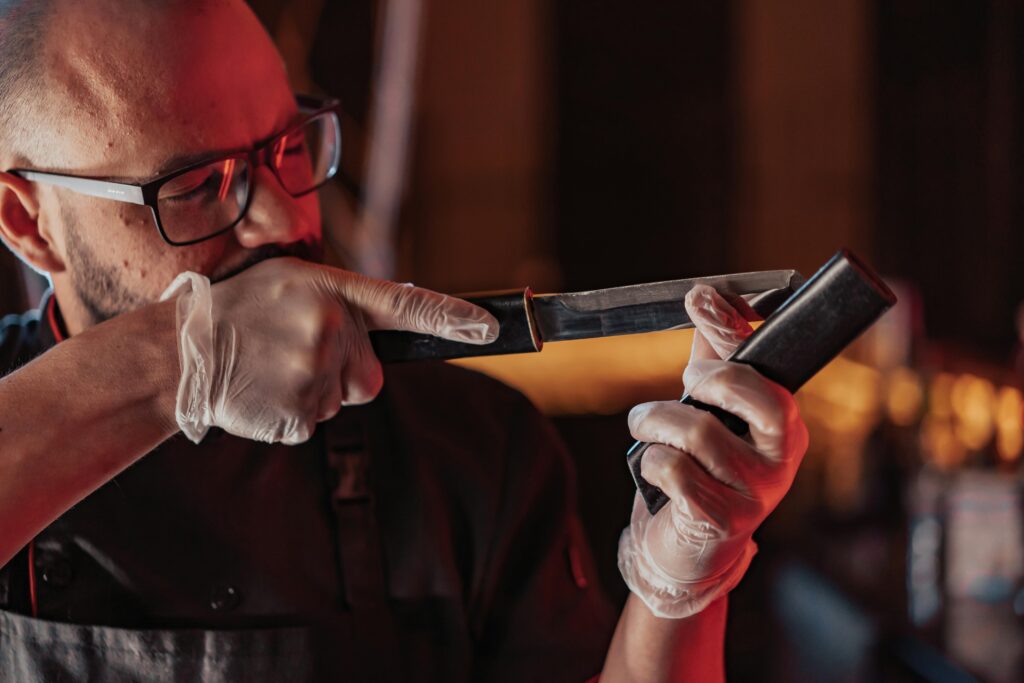
  • Flashlight glint: shine at the edge; any light reflection = flat spot. Chase it away.


Field Maintenance and Edge Preservation

As previously mentioned, pack a ceramic rod or pocket strop. Ten light licks at lunch keep you from a full re-profile later. In camp, in case you forgot your sharpening stones, you can sharpen the knife up on a coffee mug rim—makeshift ceramic.

Remember, after dressing any game, rinse off any residue and dry on your shirt. If you are carrying any oil, apply a dab of it to the blade.

Troubleshooting: Chips, Burrs, Angle Errors

Micro-chips: Looks like glitter on the edge under a magnifying glass. Drop two grits coarser, apex fresh steel. Steels high in chromium carbides (S30V) chip if you dig into frozen hide; slow down.

Never-ending burr: Likely too much pressure or you’re chasing it in circles. Stop. One light pull on a wood block can snap it off, then strop.

Uneven bevels: You changed angle mid-stroke. Paint the bevel again, correct before polishing or you’ll burn daylight flattening cosmetic mistakes.


How To Sharpen a Hunting Knife [Frequently Asked Questions]

man looking down blade of knife

How often should I sharpen my hunting knife?
Touch up after every animal. Do a full sharpening maybe once a season, depending on the steel and how gentle you are on bone.

Can I use pull-through sharpeners?
I’d rather chew tinfoil. Pull-through sharpeners rip steel, set random angles, and don’t remove burrs cleanly.

What grit should my final stone be?
6000 gives a shaving edge. If you prefer tooth for fibrous hide, stop at 1000 then strop.

Is stropping necessary?
For carbons—absolutely. For high-vanadium stainless, it still refines but gains are smaller. I strop anyway; feels wrong not to.

Best field sharpener?
A 6-inch ceramic rod wrapped in paracord. Lightweight, no water needed, survives backpack abuse.

Now, let’s hope that elk comes in


man surfing under wave

When Was Surfing Invented and Who Rode the First Wave?

Surfing is a global phenomenon and one of the most popular watersports. People, both young and old, are riding waves everywhere from Sydney to California. For many, it’s a weekend hobby, and for others, it’s an Olympic sport and a professional career. But, long before its current popularity, it was part of a rich and ancient culture.

So, let’s take a look at surfing’s roots, learn where it all began, and discover who may have been the first to ride a wave!

Surfing’s Origins in Polynesia 

palm trees on polynesian island

Chiefs and warriors carved massive wooden boards from local species of trees, like koa, wili, and ulu. They’d often compete in front of entire villages in a show of skill, strength, and social status. There were strict customs; boards were crafted ceremoniously, and certain beaches were even reserved for royalty.  

Fast forward to today, and you don’t need royal blood to get on a surfboard. However, you do need some guidance, whether it’s from a friend who already knows how to hang ten or from professionals, like at this surf school in San Diego

Who Was the First Known Surfer?

surfing giant wave

Nobody really knows who first stood up on a wave; it was far too long ago to have any accurate records. However, some stories go back centuries. When Captain James Cook arrived in Hawaii in 1778, he and his crew were amazed at the sight of locals riding waves with such speed and control. One of Cook’s officers, Lt. James King, described surfers gliding “with astonishing velocity” on wooden planks. This is the first known written account of the sport we now call surfing. 


Wavestorm 8ft Classic Surfboard // Foam Wax Free Soft Top Longboard for Adults and Kids of All Levels of Surfing
$235.00
Buy Now
We earn a commission if you make a purchase, at no additional cost to you.
07/03/2025 11:00 am GMT

How Surfing Spread to the Western World 

As Westerners colonized Polynesia, traditional surfing was called frivolous, or even sinful, by missionaries. This led to a decline in the sport. By the early 1910s, it began making a comeback thanks to one man, Duke Kahanamoku. He was a Hawaiian swimmer and Olympic gold medalist, and is responsible for the global popularization of surfing. Celebrated as the father of modern surfing, he brought the sport to California and Australia. He gave public demonstrations, built boards, and inspired the first generation of surfers outside the Pacific islands. 

surfing at sunset

However, he wasn’t the first person to surf in the US. Decades earlier, in 1885, three Hawaiian princes held the title as the first people to surf in the continental United States. David Kawānanakoa, Edward Keliʻiahonui, and Jonah Kūhiō Kalanianaʻole surfed the mouth of the San Lorenzo River in Santa Cruz on boards they crafted from local redwood.


Surfing Today 

man in wetsuit holding surfboard

From Bali to Brazil and Cape Town to Cornwall, millions of people paddle out each year. It’s even an Olympic sport, making its debut in the Tokyo Olympics in 2020, with plenty of other regional surfing competitions televised around the world. 


Be A Part Of A Oceanic Tradition

Surfing was born from nature, tradition, and skill. So, the next time you paddle out, think about how you’re part of something much bigger than a sport. Riding waves is a significant historical practice that stretches back over 1,000 years and was even captured in ancient cave paintings.

Whether you’re right at home on the waves or just getting started, when you’re out on the water, now you can surf with a newfound respect for how it all began! 


woman looking through rifle scope in field

Eye Relief in Rifle Scope: Keys to Comfort and Precision in Hunting

Rifle scope eye relief is important when you want to improve shooting accuracy and be comfortable in the field.

As a hunter in the wilderness or a sport enthusiast taking part in a shooting contest, you can have a better shooting experience if you have a thorough knowledge of eye relief.

This guide will tell you what rifle scope eye relief is, why you need it, and how much you should have.

Rifle Scopes: So What Is Eye Relief Anyway?

Eye relief is the distance, or the gap, between your face and the eyepiece of your rifle scope. This distance is what enables you to see the full field of view clearly. When looking through the rifle scope, you need to find the best place where your eye can see your target in the scope without blackout areas or vignetting.

rifle recoil scars on forehead

If you are shooting high-powered rifles that have lots of recoil, you can get hurt (i.e, serious cuts) by not having enough eye relief. Having too much distance between you and the rifle scope, however, can decrease your field of view, making it difficult to aim and concentrate your target. Proper eye relieve can also increase your accuracy.


What’s The Right Amount Of Rifle Scope Eye Relief?

man shooting from sitting position

Adjustable eye relief may provide additional versatility to the hunter who spends many hours in the field.

Adjustable rifle scope eye relief refers to the ability to change the distance between rifle scope’s eyepiece lens and the user’s eye, allowing for a clear and full field of view. This feature can be helpful in accommodating different shooting styles, a shooter’s physical characteristics, as well as personal shooting preferences. 


JTS 5-30x56 Shadow Series IR FFP Riflescope, 1/4 MOA, 34mm Tube
$999.99
Buy Now
We earn a commission if you make a purchase, at no additional cost to you.
07/03/2025 07:06 am GMT

Why Is Rifle Scope Eye Relieve Important?

There are a number of reasons why eye relieve is so important to a shooter:

  1. Avoids Recoil Injury: 

High-powered rifles can create an extraordinary amount of recoil, which can be harmful to the shooter. Knowing the proper eye relief in order to prevent injury is paramount.

  1. Comfort During Shots: 

Being comfortable during the shot can lead to better accuracy. Proper eye relief is a big part of that. If you’re comfortable, you’ll be able to shoot longer.

  1. Good Sight Picture: 

Eye relief gives you a clear picture of what you are aiming/shooting at. Being too close to the scope an cause target distortion or blackouts, negatively impacting accuracy.

  1. Ease of Target Acquisition: 

Proper eye relief creates a stable, comfortable sighting position and therefore allows you to better acquire your target and increase your precision when shooting long-range or moving targets.


Adjusting your Rifle Scope Eye Relief to Maximize Performance

marine looking through rifle scope
  1. Mount Your Scope Correctly: 

Be sure that the rifle scope is mounted on the gun so that it allows for your face to be in a comfortable position and at a safe distance away when shooting. Adjustable eye relief allows for the shooter to adjust the scope appropriately, in order to provide the proper eye relief.

  1. Full Field of View: 

Place your eye near the scope and ensure that the total field of view is seen, including the target and the reticle. When some portions of the sight picture are blocked, alter the scope location so as to attain the correct eye relief.

  1. Avoid Scope Bite: 

It’s imperative that you have enough eye relief to prevent scope bite. Pay careful attention to this especially when shotting high-powered rifles.

  1. Test Your Eye Relief Settings: 

After you have set your scope, fire a couple rounds and see how your eye relief is. Again, be sure the scope position allows you to be able to see the full field of view.

Eye Relief Things to Remember

Proper eye relief is critical to safe and accurate shooting. Learning to make the proper adjustments to your eye relief distance, will lead to safer and more accurate shooting, whether in the field or at the range.

Remember:

  • You should check your eye relief every time before shooting in the field or at the range.
  • Utilize scopes with variable eye relief.
  • It is necessary to consider the amount of recoil your rifle generates and choose your optics and eye relief distance accordingly.
  • Change your scope position to accomodate your shooting conditions and position.

Safe shooting, and good luck on your next big hunt!