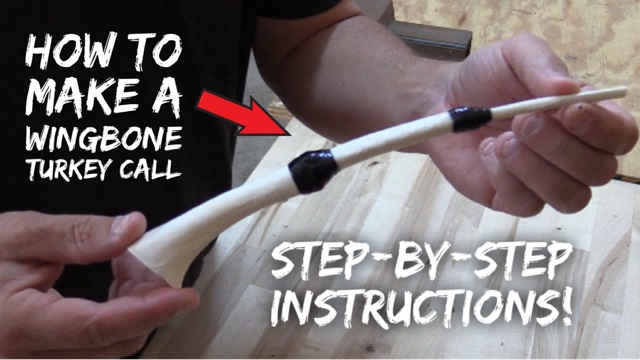
Hi, Josh Wells here, of N1 Outdoors, and I’m going to show you step-by-step how to make a wingbone turkey call!
Why Make A Wingbone Turkey Call?
You might want to make a wingbone turkey call for a couple different reasons.
Practically speaking, you might want to use one to locate turkeys (sounds logical, doesn’t it?)

The fan and beard of a gobbler are prized possessions for a turkey hunter, but the wings can provide what is needed for a DIY turkey call!
Now, I’m not crazy about using one to call turkeys (I prefer a mouth call, pot call or box call). And, while a wingbone turkey calls will work to call birds, I prefer using it to locate birds because of its high pitch.
Secondly, you might want to make a wingbone call for a keepsake, which is why I’ll be showing you how to do this process.
I’m making one for my son Micah, as a way to commemorate his first turkey.
What You’ll Need
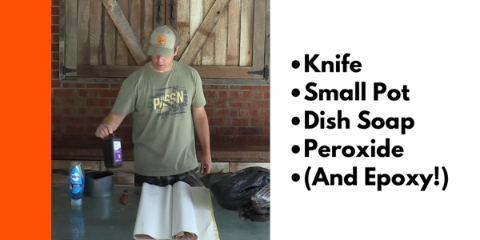
You don’t need much in the way of supplies to make your own wingbone turkey call.
Before we get into the specific steps of making a wingbone turkey call, here’s what you’ll need to get started:
- Pocket knife (for fleshing out the bone)
- Paper (to cover work table)
- Small pot
- Dish soap
- Peroxide
- Epoxy
Be sure to check out these and other hunting and fishing shirts!
How To Make Your Own Wingbone Turkey Call
The process of making a wingbone call is similar in some regards to another instructional I have done on how to make a European mount for a deer skull. But, the cleanup is a lot easier and the boiling takes less time.
Time needed: 4 hours
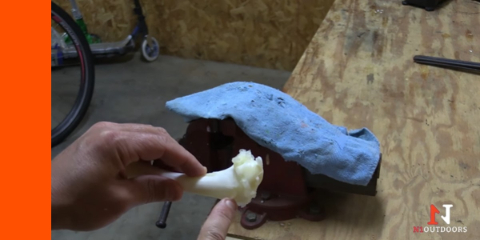
When you cut the big bone, you want to cut it right about here and at an angle (see above). We want that end to be as wide as possible so it will project the sound effectively.
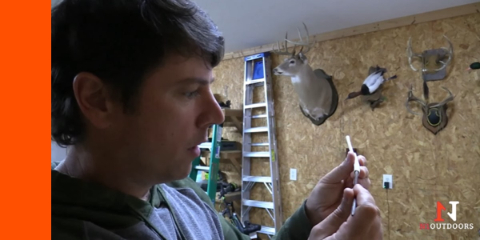
You can get the marrow out several different ways. Once easy way is just to blow it out like a straw. Just pretend like you’re blowing spit balls like you used to in elementary school.
You can use a chainsaw file and insert it into the bone to remove the hardened marrow.
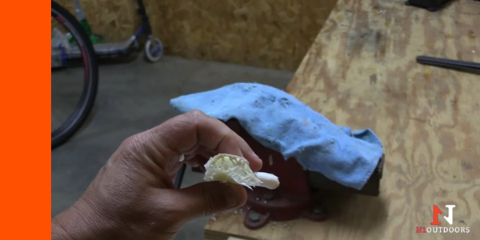
You’ll notice how the larger bone has much more that needs to be cleaned out. You can work at it with the same chainsaw file. If you have a Dremel or similar tool, you can work on removing the marrow fiber that way.
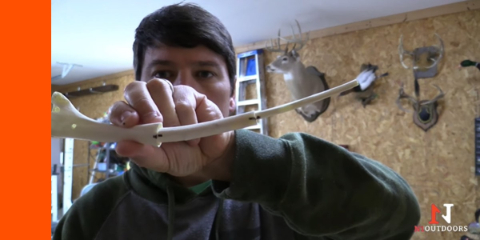
Piece the bones together so that they follow the same crown line and mark the ends of each, so that when you take them apart to glue them, you’ll know how they go back together.
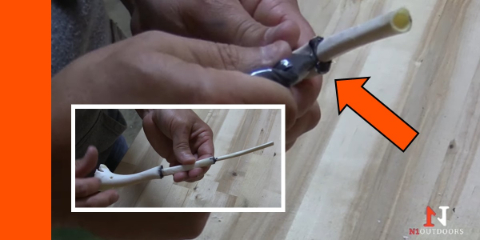
Use epoxy or other adhesive to glue the joints of the wingbones together.
Once you fit the glued pieces together, backfill any holes or creases so that the joints are airtight. The sound will be better, the more airtight it is.
You can use your finger to smooth out the adhesive.
Let them dry according to adhesive directions. Once it dries, you can lightly sand any undesired leftover adhesive residue.
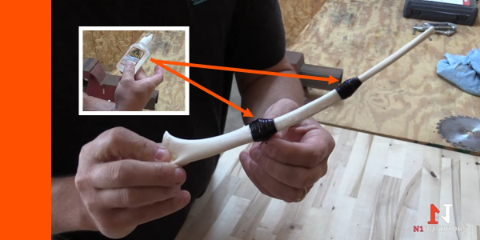
You don’t have to use thread on the joints, but it does give it a nice touch. Add a touch of adhesive and simply start wrapping around the joint until you reach the desired thickness/appearance.
Once you have finished wrapping, you can add some clear adhesive, so that it saturates the threaded section, hardens, and keeps the thread securely in place once it dries.
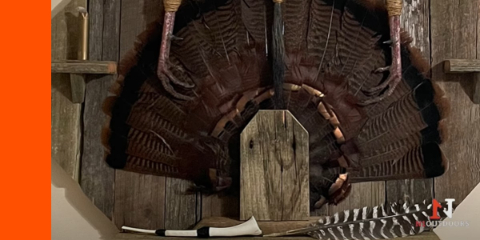
Final Thoughts On Making Your Own Wingbone Turkey Call
We hope this tutorial has been helpful in teaching you how to make your own wingbone turkey call. They not only make great keepsakes to remember special moments, but they are functional as well.
Be sure to check out more great hunting and fishing tips videos on our YouTube channel!
Good luck in the turkey woods!

