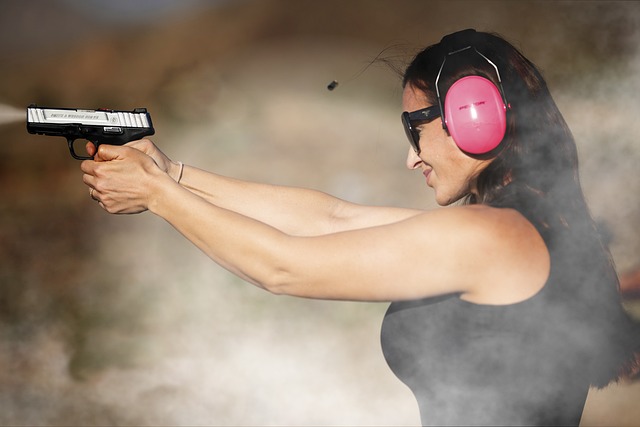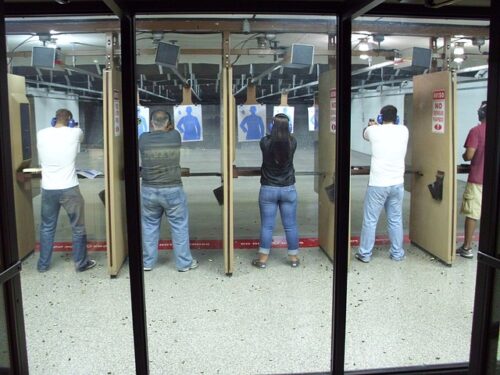
Whether you’re a seasoned pro or a novice, gun safety is paramount when operating a firearm. The rules of gun safety apply not only to real-life shooting situations, but also at the shooting range when practicing.
Responsible gun owners are encouraged to practice their skills at a shooting range. It’s even a requirement in some states.
Shooting range rules are instituted to ensure everyone’s safety, including the shooter and those around them. If these rules are not followed, there could be disastrous, and even fatal, consequences.
Shooting Range Rules You Should Know
There is more to shooting at a range than just knowing the the inner workings of a rifle, revolver or glock and whether it’s comfortable and accurate to shoot.
There are some fundamental firearm safety rules when visiting a shooting range. It’s your job to become familiar with them, as well as the others mandated by your local shooting range.
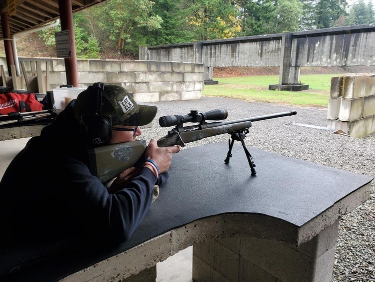
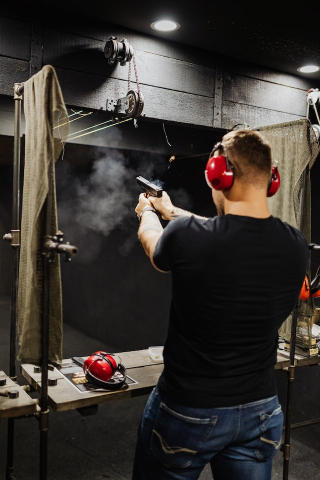
#1. Keep the Gun Pointed in a Safe Direction
This is a fundamental rule, yet some gun owners simply ignore it when on the shooting range.
So, we’ll say it again… Always keep the firearm pointed in a safe direction!
Any firearm should always be pointed in a safe direction!
American Rifleman advises a safe direction would be pointing the gun towards the ground and away from yourself and others. Here’s where situational awareness takes precedence. Before even handling your firearm, consider the environment, because things can become complicated at an indoor or outdoor range. Once again, ask for assistance if unsure of a safe direction.
Note: Some ranges have rules on transporting weapons. Familiarize yourself with it so as not to contravene the regulations and your safety.
#2. Treat All Firearms as if They Are Loaded
Don’t ever assume a gun is not loaded. Instead, treat every firearm as if it is loaded. It’s your responsibility to inspect the firearm while it’s your possession.
At any given time, shooting range participants could be in your line of fire. Accidents can happen and can have terrible consequences. So, inspect the firearm and make sure the safety is intact.
Most novices will try to work out a gun they’re unfamiliar with. Don’t attempt to do this. If you’re unsure how to handle the gun, ask for assistance from staff members. Let them demonstrate the safe and correct use.

#3. Trigger Discipline
This is an acquired skill that’s best taught in the shooting range.
Trigger discipline is a state of mind. The shooter keeps their finger outside the trigger guard until ready to fire.
Practicing trigger discipline is one of the four essential rules of safe gun handling, advises the USCCA.

Essentially, your “trigger finger” must inhabit the same space as your “safety finger”. Keep your finger straight and resting along the side of the frame when picking up the gun.
Your finger stays straight and alongside the gun frame when picking up, loading, reloading, and fixing malfunctions of a firearm. Only when you are ready to shoot can you move your finger from the indexed position.
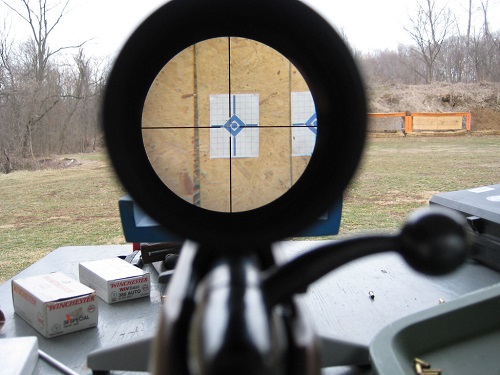
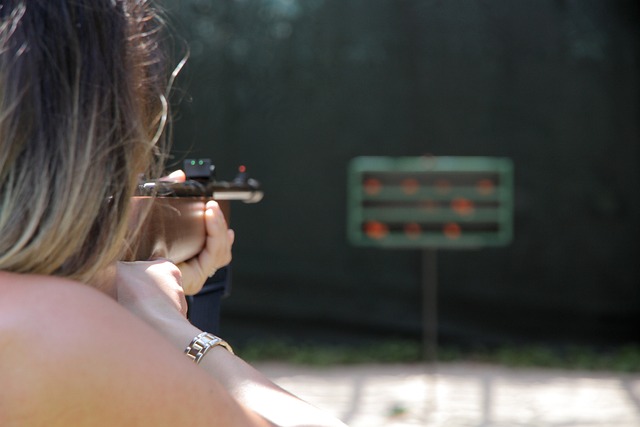
#4. Be Sure of Your Target
Know exactly where you’re going to be shooting. With your target clearly in sight, only pull the trigger once you are confident the intended strike will not harm anyone or anything beyond the target.
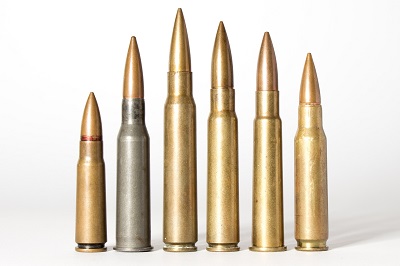
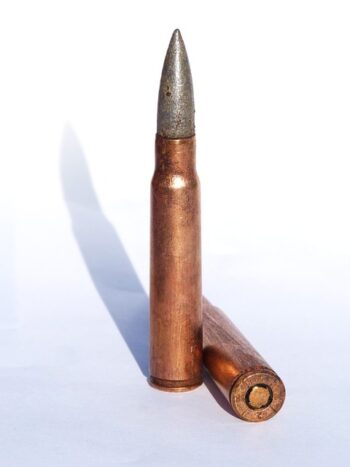
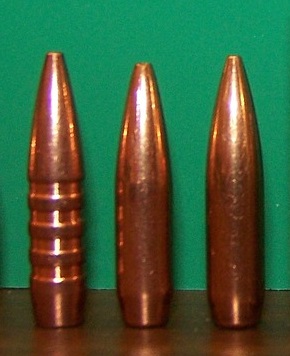
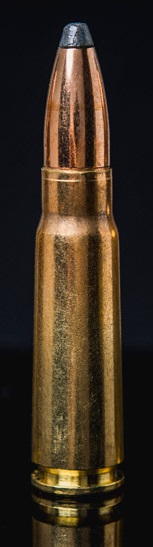
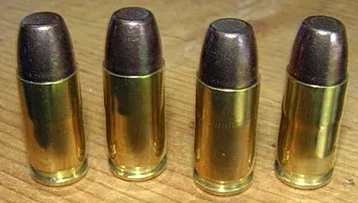
The Firearm Industry Trade Association warns that even a 22-short bullet can travel over 1.25 miles. Shotgun pellets can reach up to 500 yards, and shotgun slugs can exceed half a mile. Great reasons to always be sure of your target.

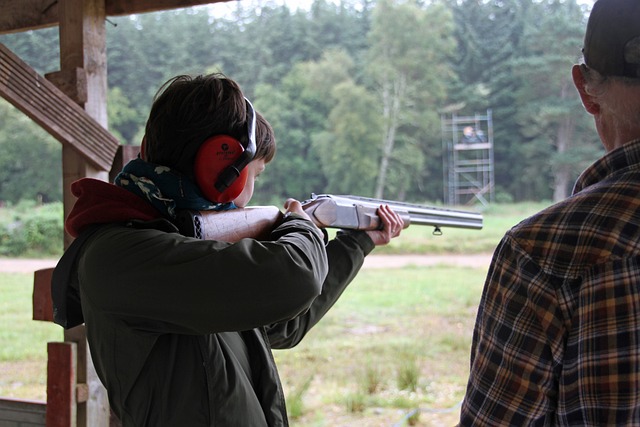
#5. Adhere to Commands by Shooting Range Staff
Range workers are versed in weapons and their safe use. Their job is to ensure everyone has a safe experience. So, listen to range instructors at all times to avoid breaking any rules.
Remember the golden rule: Their range, their laws. If they say you’ve compromised your safety and that of others, you could receive a ban or be asked to leave. When in doubt, ask for assistance.

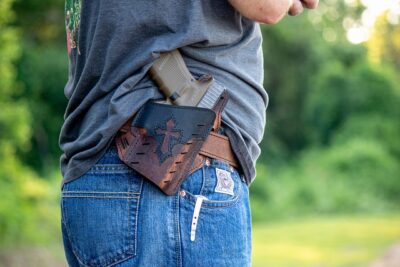
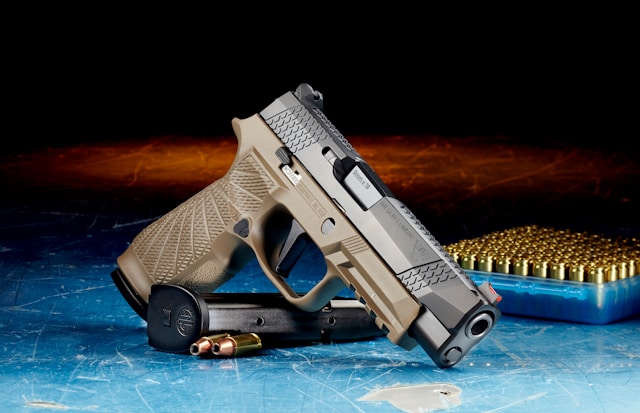
Bonus Info On Gun Selection For The Range
When people get into learning about firearms and shooting, they often want to know what gun they should shoot. One recommendation can be the 2011 pistol. The Staccato 2011 is considered by many to be the most reliable 2011 pistol, as it’s known to be durable, reliable, and accurate, and is used by hundreds of law enforcement agencies in the U.S.
The gun’s popularity has increased in recent years, thanks in part to its role in the John Wick film series. The titular character Wick wields a heavily customized pistol in most scenes.
Ergonomics, increased capacity and less recoil make the 2011 a preferred choice for many gun owners, says Xtreme Guns & Ammo.
Final Thoughts On Shooting Range Rules
Gun ownership isn’t just about wanting to carry guns.
As a gun owner, you have to be an active participant in firearm safety. This applies to in the shooting range and beyond. Note that from sporting events to competitions, additional regulations may apply.
Take the time to review your local shooting range’s rules and remember to always point your gun in a safe direction, treat every firearm as if it’s loaded, practice trigger discipline, be sure of your target, and adhere to all commands by instructors and staff.
Safe shooting!