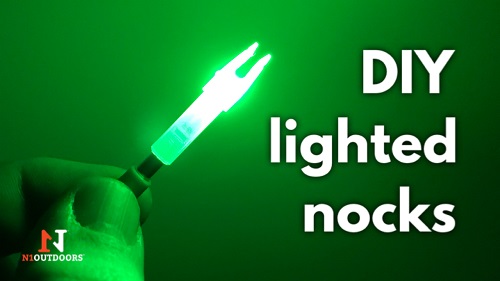
Ever wanted to make your own lighted nocks instead of spending a small fortune on the ones in the store or online? Well, I am going to show you step-by-step how to make your own lighted nocks for bowhunting.
Advantages of lighted nocks
Bowhunters understand that arrows and broadheads can be expensive. On top of that, you never want to lose the animal you just shot.
Now, if you lose your broadhead, your arrow, and your quarry, this can cause full-blown bowhunter’s depression.
That’s where lighted nocks come in.
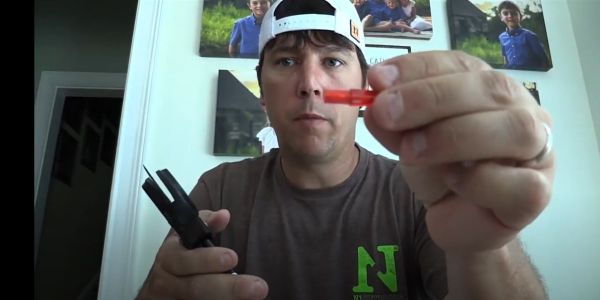
When you get finished, you’ll have something that looks like a regular arrow nock, but when the string impacts it, it will light up. Then, with a little pull back on the nock, you will be able to turn it off… all for about $2.50 cents each!
They can help you not only find your arrow in low light conditions, but in the event that you don’t get a pass-through shot, you will be able to get a better visual on where your deer or other game runs after impact.
For those of you who film your hunts, lighted nocks can also help you see the point of impact and other shot details upon video playback.
-
N1 Outdoors® “USA Antler” Tee
Price range: $24.99 through $28.99 Select options This product has multiple variants. The options may be chosen on the product page -
Sale!
Ntruder Buck Tee by Daniel Cliburn
$9.00 Select options This product has multiple variants. The options may be chosen on the product page -
Sale!

N1 Outdoors® Licking Branch Buck LS Tee
$19.00 Select options This product has multiple variants. The options may be chosen on the product page
What you’ll need to get started making your own lighted nocks
There a few basic things you’ll need to get started making your own homemade lighted nocks:
- Bobber lights (search for “bobber lights” on Amazon)
- Arrow nocks (NAP and Carbon Express Launchpad precision nocks both sell nocks with a diameter large enough to house most bobber lights. They also tend to have a longer shaft, which gives you more room to house the bobber light).
- Super glue
- Sand paper (100-grit works great)
- PVC pipe cutters or box cutter blade
Time needed: 2 hours
Step-by-step instructions to make your own lighted nocks:
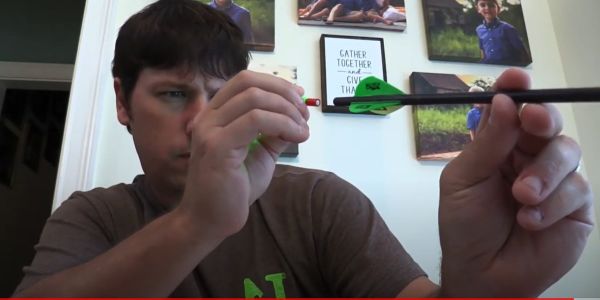
- Remove (cut off) the back of an existing nock
So the first thing we want to do is remove the back of an existing nock with the pvc pipe cutters. Be sure to cut evenly cut all the way around so there’s not a burr on it (if you get a burr, you can use the sandpaper to smooth it out).
- Be sure the end of the cut nock fits into the arrow shaft
Once you have cut the end off of this nock, be sure it fits in shaft snugly. If you have a burr from cutting it, use the sandpaper to smooth it out.
You want this part to be a tight fit in the arrow shaft, because whenever you get this inserted, you don’t want it to move back and forth when you’re pulling on the back of the full nock.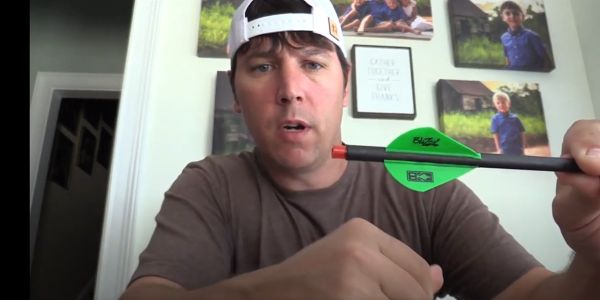
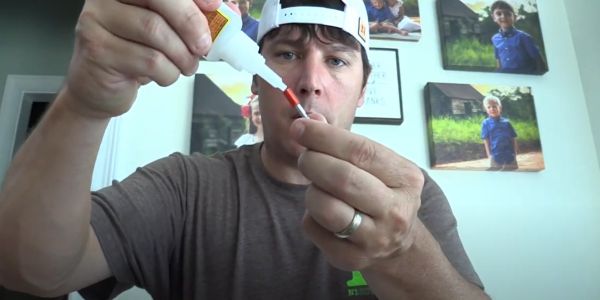
- Super glue the bobber light bottom into the back of the cut nock
Put some super glue on the bottom end of the bobber light battery. Slowly insert the bottom of the bobber light into the cut nock.

- Seal the bottom of bottom end of nock
Put a small bead of super glue on the open end of the cut nock to seal it. You can then set that bottom onto a paper plate to let it dry (2 hours).
- Super glue lighted end of bobber light into the full arrow nock
Carefully put a bead of super glue aright around the top of the lighted part of the bobber light.
Be careful not to get glue in between the lighted portion and the battery part of the bobber light. (This would glue the two parts together and prevent the light from coming on when the string impacts the nock).
When finished, let that part dry 2 hours.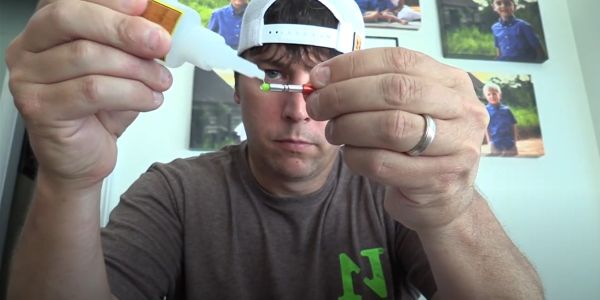
- Be sure a regular nock will twist easily inside arrow shaft
BEFORE inserting the finished lighted nocks into the shaft, take one of your nocks that does not have a bobber light in it yet and be sure that when you insert it into your arrow, that you can still twist/move it back and forth fairly easily.
If it’s too stiff to move/twist, then take your sandpaper and lightly sand around the long part that goes into the arrow shaft (NOT the cut end) until it moves well enough for you to be able twist it fairly easily with your fingers.
- Align nock with arrow fletchings
If you use a rest that requires your fletchings to be pointed a certain direction, be sure you insert the nock in such a way that you will achieve the proper alignment of your arrow with your rest.
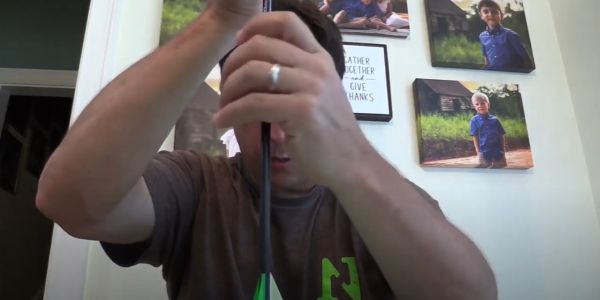
- Insert finished nock into arrow shaft
Once both ends of the lighted nock have dried, and you’ve also sanded the light nocks well enough for the string end of your nocks to move/twist easily, insert the lighted nock into your arrow shaft.
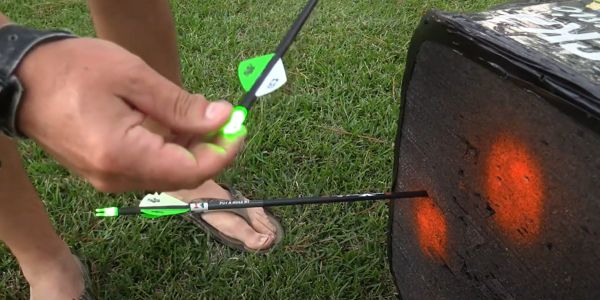
- Test and shoot
Once you have inserted the nock into the shaft, test it by pressing on it to turn the light on, and then untwist the nock until it turns off. Then you’re ready to shoot!
(NOTE: you may need to do some fine tuning of your site, as the added weight at the end of the arrow may slightly impact your current bow site settings.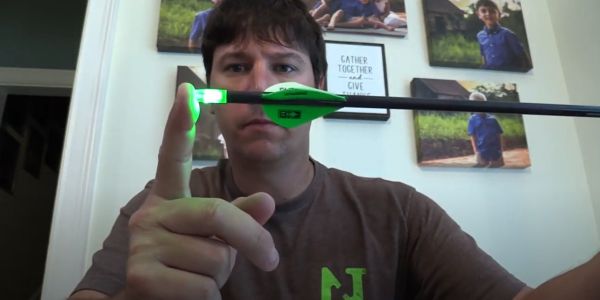

-
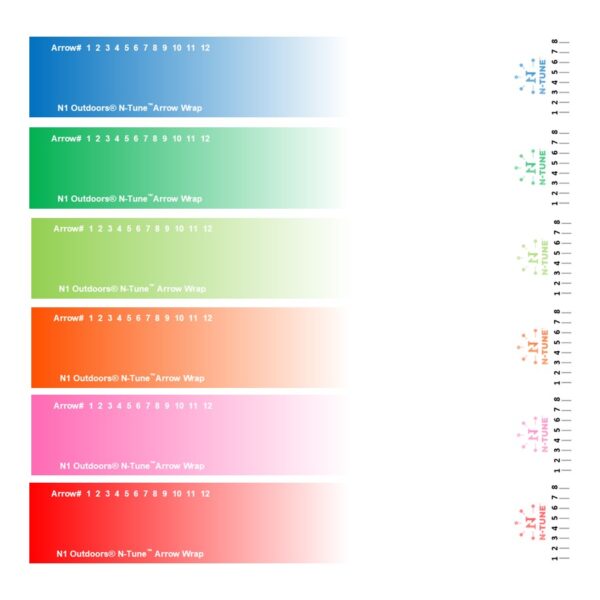
N1 Outdoors® N-Tune™ Nock Tuning Reflective Arrow Wraps – Color Fade (Various)
Price range: $18.99 through $27.99 Select options This product has multiple variants. The options may be chosen on the product page -
N1 Outdoors® N-Tune™ Nock Tuning Reflective Arrow Wraps – Lumber™
Price range: $18.99 through $27.99 Select options This product has multiple variants. The options may be chosen on the product page -
N1 Outdoors® N-Tune™ Nock Tuning Reflective Arrow Wraps – Put A Hole N1™
Price range: $18.99 through $27.99 Select options This product has multiple variants. The options may be chosen on the product page
DIY lighted arrow nocks: Conclusion
We hope that you have fun (and saving some money) making your own lighted arrow nocks. They will help you have a better visual on your arrow and/or wild game on your next bowhunting adventure.
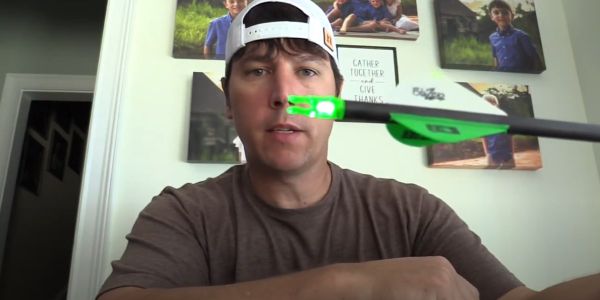
If you’d like to watch a video of this DIY lighted nock process, check this out.
If you are hunting whitetail deer, mule deer, elk or any other game animal, be sure to keep honing your bowhunting skills and we hope you put a hole N1!
(P.S., if you liked this DIY project, check out my DIY deer mineral recipe how to article as well as my DIY euro mount instructions!)
The lighted nocks worked great and they fly great too! You can check out the below video for more help on making your own lighted nocks!