Have you ever been lugging a heavy tree climbing stand through the woods and wondered, “is all this sweat and being out of breath really worth it?”
If you’re like me, you’re often wanting to know, “what’s the lightest climbing stand I can get?”
Thankfully, in the mid-2000s, I discovered the Lone Wolf Hand Climber and my days of struggling through the woods with a heavy (and loud) stand on my back were over.
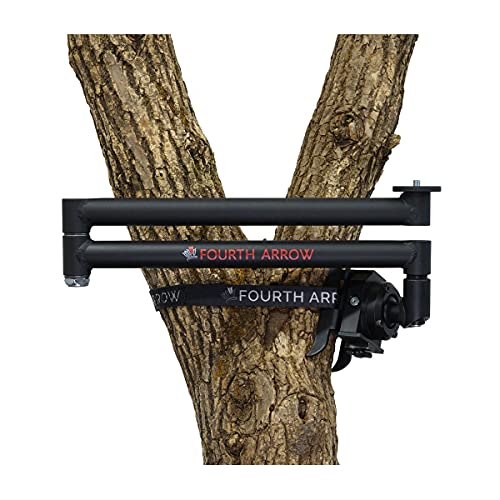
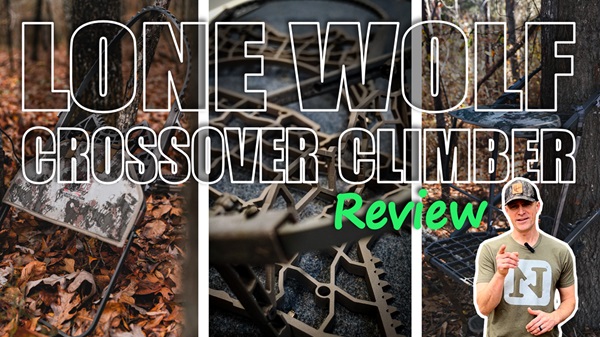
But then, in late 2023, Lone Wolf Custom Gear announced the new Crossover Climber and I just had to find out how they possibly could have improved on what I felt was likely the best and most innovating climbing stand ever for deer hunting.
Lone Wolf Custom Gear’s Crossover Climber (The Details)
Talk about light!
The Crossover Climber from Lone Wolf Custom Gear weighs in at only 11.5 pounds, which is really amazing for a climbing stand. In addition, has a packed profile thickness of only 1-7/8 inches!
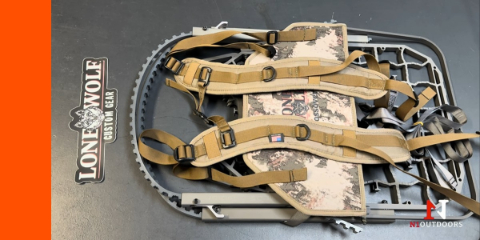
The platform dimensions of the Crossover Climber are 24″ x 16-1/2″ and the seat dimensions are 17″ x 13″. It will fit trees from 6 to 18 inches in diameter, and it was a weight rating of 250 pounds. It carries a lifetime transferrable warranty and it’s manufactured right here in the USA.
It’s evident right away that the creativity and craftsmanship that went into the Crossover Climber is top notch!
Key Features
So, let’s take a look at some of the features of this Lone Wolf Custom Gear Crossover Climber…
The Crossover Climber has an incredibly slim profile!
-
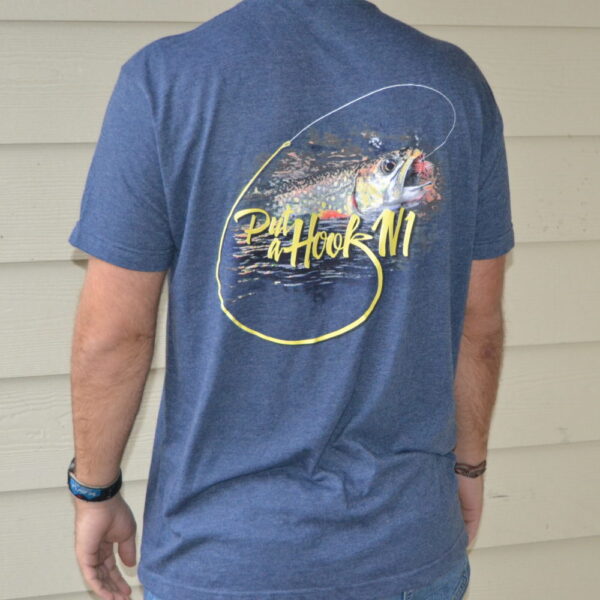
 N1 Outdoors® Just Pass’N Through™ Broadhead Badge TeePrice range: $24.99 through $28.99
 -
Product on sale
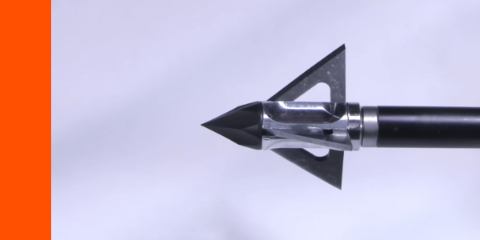
 Just Pass’N Through™ Tee (featuring Magnus Black Hornet Ser-Razor Broadhead)$15.00
 -
 Just Pass’N Through™ Tee featuring Iron Will (Various Colors)Price range: $24.99 through $28.99
>> Shop tons more bowhunting and archery tees
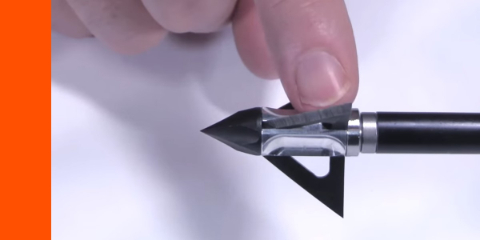
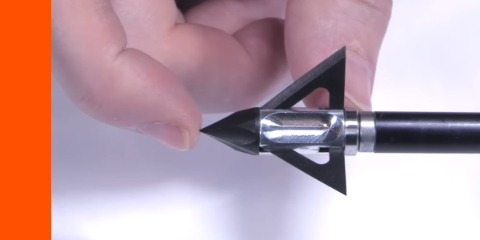
Razor Sharp Teeth (WOW!)
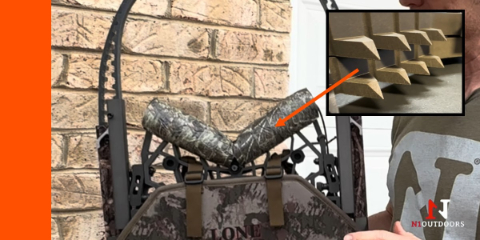
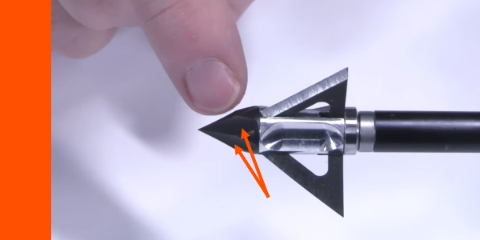
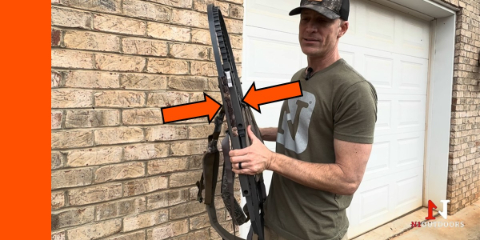
This cover does not come with a stand. It is is something that I made and I will tell you why I did that in a minute. But, it’s just a piece of pipe insulation that I wrapped with some camo tape and attached it with some line to cover the teeth of the stand.
I made the above cover for the teeth because a couple of different times over the years, using the old Lone Wolf Hand Climber, I fell down in the woods while walking with the stand on my back. And, if I didn’t have those shoulder straps cinched all the way tight down on my shoulders, when I fell, that stand slid up my back and those teeth hit me in the back of the head. With the pad, if I were to fall, I wouldn’t be injured by those sharp teeth!
I learned the lesson when I got this stand that I do not want these teeth ever coming in contact with my head for any reason. And so, I made that cover so that if for some reason, I would fall in the woods, the padded cover is what’s going to hit the back of my head.

Now, as for the teeth… super important! If you have used the old Lone Wolf Hand Climber in the past, you will know that the teeth are different than this and the teeth on that stand were great. But they are nowhere near as sharp as the teeth on this stand. These teeth are razor sharp. And when I said they are razor sharp, they are razor sharp! If you press or run your finger too hard on one of these, you could definitely cut yourself open. So, be careful with the teeth!

The Seat
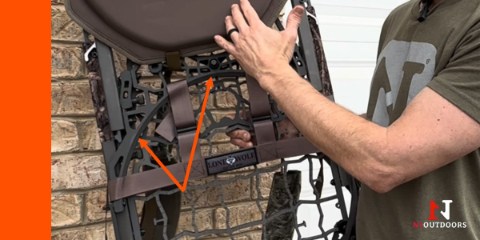
If you are used to the old Hand Climber from Lone Wolf, you will know that this new seat platform on the new Crossover Climber is where they’ve trimmed off some of the weight out of the seat. So now, you’ve got this crescent-shaped seat and a strap seat. As a result, a good bit of the metal frame has been removed (as well as the weight). The foot platform is also smaller on the Crossover Climber than on previous versions of the Lone Wolf Hand Climber.
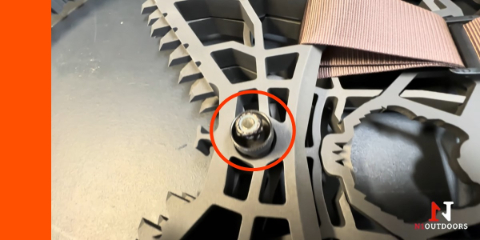
The key to this stand holding together (as you can see the profile is super thin at 1-7/8 inches), is this knob right here.
And on the back here, you can see where the key cinches down in this groove. So, you unscrew this knob, push the key in, turn it vertically, and you can then separate the two pieces.
Now, when I am approaching my stand location or where I’m going to climb, I’m always trying to get there as quietly as possible. So, I will mention that the key sometimes it gets stuck and when you pull the two pieces apart, it can make a little bit of noise. I don’t love that. But, I think that’s something that will probably get better as I get used to using it more.
So, if I had to just mention one little con of the key, that would probably be it. But again, it’s not something I can’t work around. And so, as I use this more, I’ll figure out a way to be better at that.
Using The Crossover Climber
Once you separate your platform using the knob and key, you will loosen the knobs on the platforms and raise the arms to their furthest point and tighten the knobs back. And to break it back down, you loosen your knobs, flatten it back down and tighten your knobs.

Then, take one side of the cable out (you want to be sure that you don’t go past the orange warning markings on the cables). Wrap the cable around the tree and insert the other end into the other tube and lock down the lever.
Always wear a safety harness when using any tree stand!
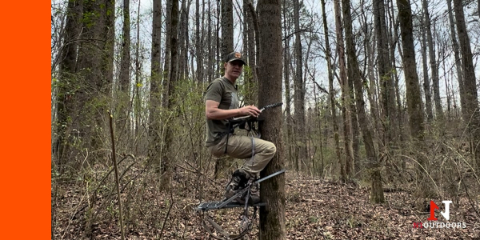
Once the stand is secured by the cables to the tree, you’re ready to start climbing. Insert your feet into the openings in the foot platform.
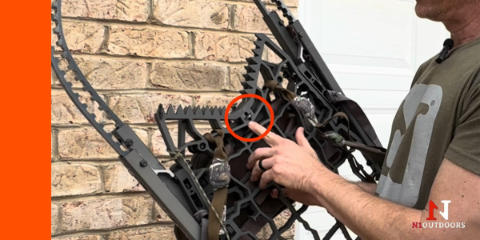
The straps, in addition to holding the two pieces together when you’re transporting, are also what keep the bottom portion of the stand and the top portion connected while you climb because you don’t want to for some reason drop the bottom of your stand down the tree and now in you’re in trouble because you had no way to get down!
Be sure to connect the straps to the knobs on the seat portion of the stand. You can loosen them to give you the proper slack so that you can climb. Once you reach your desired height on the tree, tighten those straps down. It will cinch the two parts of the stand down very snugly against the tree and you’ll feel very secure up there.
-

N1 Outdoors® N-Tune™ Nock Tuning Reflective Arrow Wraps – Topo Lines (Various)
Price range: $18.99 through $27.99 Select options This product has multiple variants. The options may be chosen on the product page -
N1 Outdoors® N-Tune™ Nock Tuning Reflective Arrow Tracers (24-pack)
Price range: $18.99 through $27.99 Select options This product has multiple variants. The options may be chosen on the product page -

N1 Outdoors® N-Tune™ Nock Tuning Reflective Arrow Wraps – Paint The Earth™
Price range: $18.99 through $27.99 Select options This product has multiple variants. The options may be chosen on the product page
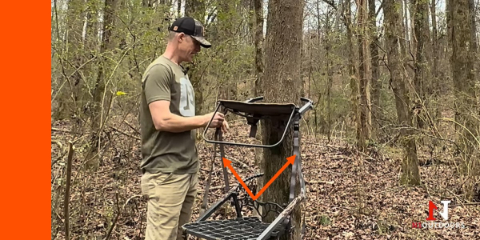
This is the bar that will lean back against and actually sit on as you climb. And of course, the cam levers operate the same way on the hand portion as they do on the foot portion.
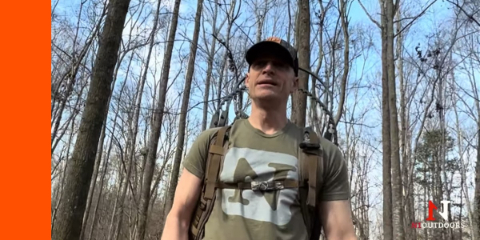
You will slowly advance up the tree using the hand and foot portions of the stand. Remember, the object is not to get to your desired height there super fast. The object is to get there safely!
When you reach your desired height, snug down the straps. You can then fold the climbing bar under the seat if desired. You can then sit down (you can sit on the strap seat or you can sit on the seat pad. Or, you can flip the pad up and use it as pad to lean against the tree.
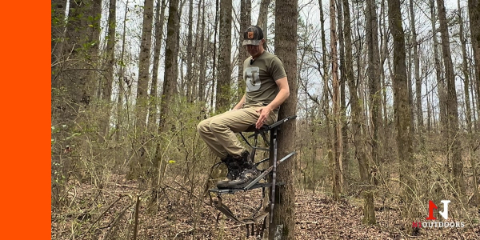
If you are a little wider of a guy or lady, then you might not love this crescent seat. That’s one thing you need to think about. But for me, I’m used to sitting on small seats like this with the old Lone Wolf Hand Climber.
When you’re ready to climb down, loosen the straps, flip the bar back up and start your descent in the same way you climbed.
Well, we hope you’ve enjoyed our review of the Lone Wolf Custom Gear Crossover Climber. Best of luck in your hunting adventures!