Are you an outdoor enthusiast who loves exploring the wilderness? Being able to distinguish between wolves and coyotes is crucial for safety and for understanding these fascinating canine creatures.
In this guide, we’ll delve into their physical traits, behaviors, habitats, so that you can learn to tell them apart and we’ll also look at their conservation status.
Physical Characteristics Of Wolves And Coyotes
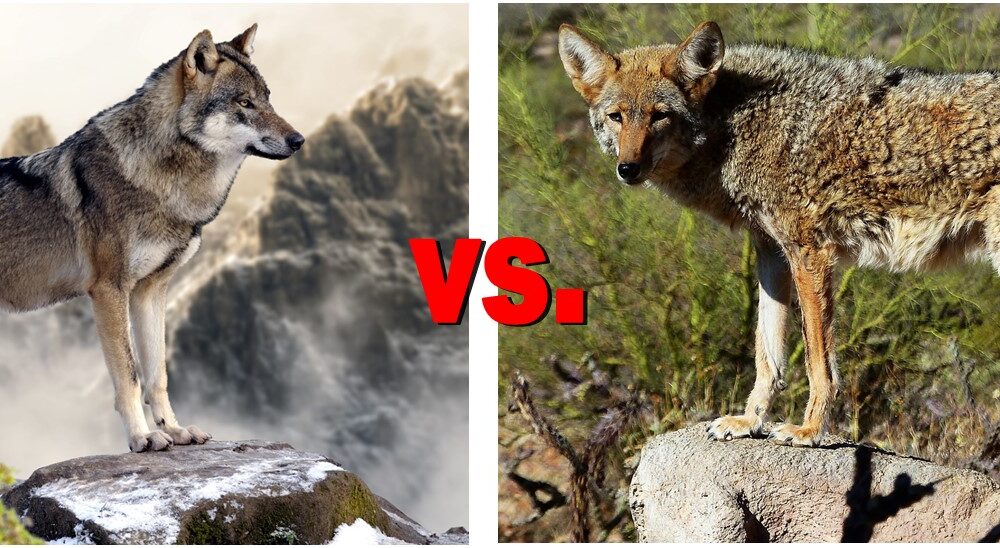
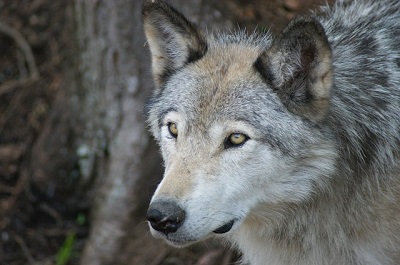
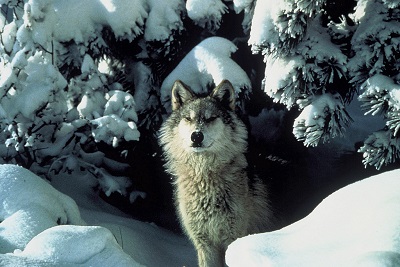
Some distinguishing features that wolves have are that they are larger than coyotes and have thicker tails.
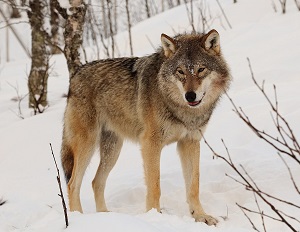
Wolves:
- Wolves are larger and more robust of the two species, typically standing 26-32 inches at the shoulder [1].
- A Wolf’s fur can vary in colors, such as black, gray, white, or brown, often with a mix of these shades [2].
- A defining feature of wolves is their thick, bushy tail, which aids in communication as well as balance [3].
- Wolves have short, rounded ears and a broad head with a pronounced forehead [4].
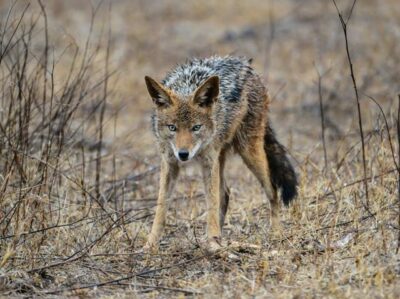
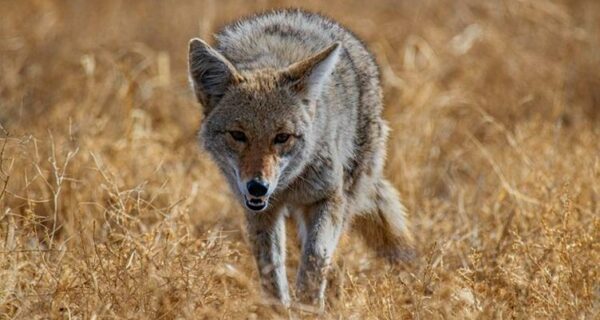
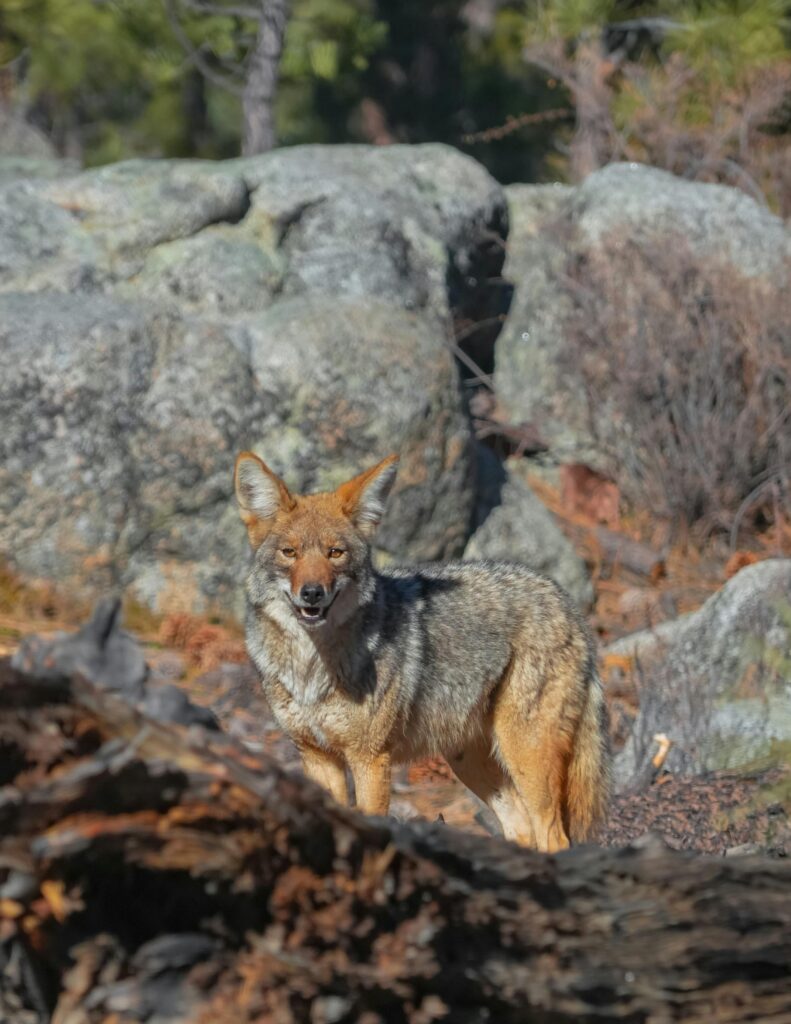
Coyotes are smaller and more slender than wolves and have tails with a black tip as well as pointy ears.
Coyotes:
- Coyotes are smaller and more slender than wolves, averaging 21-24 inches at the shoulder [5].
- A coyote’s fur is coarse and usually grayish-brown in color, which helps it blend into various environments [6].
- Coyotes have a slim, bushy tail with a black tip, which distinguishes them from wolves [7].
- They have large, pointed ears and a narrow head with a sloping forehead [8].
-
Product on sale
 N1 Outdoors® “Sunset Mountain” Pullover Hoodie$34.00
 -
Product on sale
 N1 Outdoors® “Lumber Mountain” Tee (Various Colors)$9.00
 -
 N1 Outdoors® Mountain Colors Tee (Various Colors)Price range: $24.99 through $28.99
Behavioral Differences Of Wolve and Coyotes
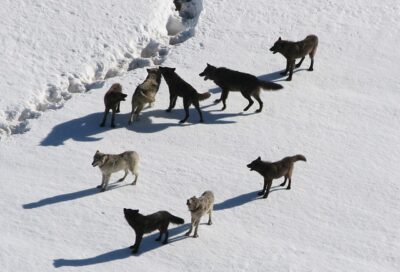
Wolves are social, moving in packs, and hunt their prey using teamwork.
Wolves:
- Wolves are highly social animals, living and hunting in packs that range from a few individuals to over 20 [9].
- Their vocalizations, including howls, barks, and growls, serve as communication within the pack and to establish territory [10].
- Wolves are efficient hunters of large prey such as deer and moose, using teamwork and strategy to take down their quarry [11].
- Wolves are territorial creatures, fiercely defending their territory from other wolf packs [12].
Coyotes feed on birds, small mammals, insects and even fruits.
Coyotes:
- Coyotes are adaptable and can live in a variety of habitats, from forests to deserts to urban areas [13].
- They are primarily solitary or live in small family groups, though they may form larger packs in areas with abundant food [14].
- Coyotes communicate through high-pitched yips and howls, which help them locate each other and establish boundaries [15].
- Coyotes are opportunistic feeders, hunting small mammals, birds, insects, and even fruits, depending on what is available [16].

3. Habitat and Range
Wolves can be found to North America, Asia and Europe.
Wolves:
- Historically, wolves had a vast range across North America, Europe, and Asia [17].
- They prefer wilderness areas such as forests, tundra, and mountainous regions where they can find ample prey [18].
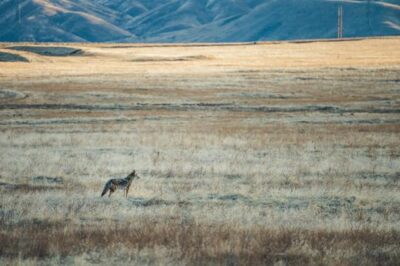
Coyotes have an incredible ability to adapt to various environments.
Coyotes:
- Coyotes are found throughout North America, originally residing in central and western regions [19].
- Due to coyotes’ adaptability, they can thrive in various environments, including urban areas. [20].

4. Tracks and Signs
Wolves:
- Wolf tracks are larger and more elongated than a coyote’s, with a distinct symmetrical shape and visible claw marks [21].
- Their scat is larger and may contain remnants of bones, hair, and fur from their prey [22].
Coyotes:
- Coyote tracks are smaller than wolves and more oval-shaped, often showing claw marks [23].
- Their scat is smaller and twisted, often containing berries, seeds, or small animal remains [24].
5. Conservation Status Of Wolves And Coyotes
Conservation efforts to re-introduce wolves to certain areas has helped improve their endangered species status. However, some groups, such as those that hunt game that are prey for wolves, are not thrilled.
Wolves:
- Historically, wolves faced significant declines due to hunting and habitat loss, leading to their listing as endangered species [25].
- Conservation efforts, including reintroduction programs and habitat protection, have been crucial for their recovery [26].
Coyotes are not an endangered species and are hunted and trapped to keep the population in balance.
Coyotes:
- Coyotes are not considered endangered and have thrived despite habitat loss [27].
- They are managed through hunting and trapping regulations to maintain a balance with ecosystems and human populations [28].
Final Thoughts On The Differences Between Wolves And Coyotes
Being able to tell the difference between wolves and coyotes enhances your outdoor experiences while contributing to their conservation. By understanding their physical traits, behaviors, habitats, and conservation status, you can appreciate these remarkable creatures responsibly.
If you encounter wolves or coyotes in the wild, remember to observe from a safe distance and avoid feeding them.
Stay safe and enjoy exploring the wild!


References:
- National Park Service – Wolf Size
- International Wolf Center – Wolf Coat Colors
- Wildlife Online – Wolf Tail Function
- Defenders of Wildlife – Wolf Anatomy
- National Geographic – Coyote Size
- The Wildlife Society – Coyote Coat
- Arizona Game & Fish Department – Coyote Identification
- Animal Diversity Web – Coyote Anatomy
- Yellowstone National Park – Wolf Pack Dynamics
- International Wolf Center – Wolf Vocalizations
- National Geographic – Wolf Hunting
- Defenders of Wildlife – Wolf Territories
- National Geographic – Coyote Habitat
- The Humane Society of the United States – Coyote Behavior
- Animal Diversity Web – Coyote Communication
- University of Michigan – Coyote Diet
- National Geographic – Wolf Distribution
- National Park Service – Wolf Habitat
- The Humane Society of the United States – Coyote Range
- Animal Diversity Web – Coyote Habitat