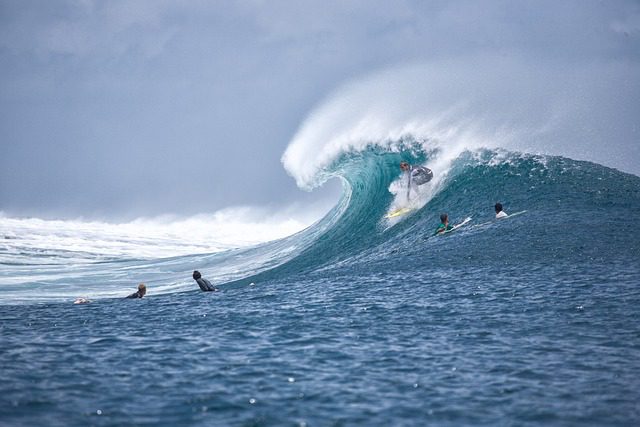
Surfing is a global phenomenon and one of the most popular watersports. People, both young and old, are riding waves everywhere from Sydney to California. For many, it’s a weekend hobby, and for others, it’s an Olympic sport and a professional career. But, long before its current popularity, it was part of a rich and ancient culture.
So, let’s take a look at surfing’s roots, learn where it all began, and discover who may have been the first to ride a wave!
Surfing’s Origins in Polynesia
Surfing’s origin story starts in the middle of the Pacific some 1,000 years ago. In places like Hawaii, Samoa, and Tahiti, catching waves was less of a fun pastime and more of a sacred tradition.
Chiefs and warriors carved massive wooden boards from local species of trees, like koa, wili, and ulu. They’d often compete in front of entire villages in a show of skill, strength, and social status. There were strict customs; boards were crafted ceremoniously, and certain beaches were even reserved for royalty.
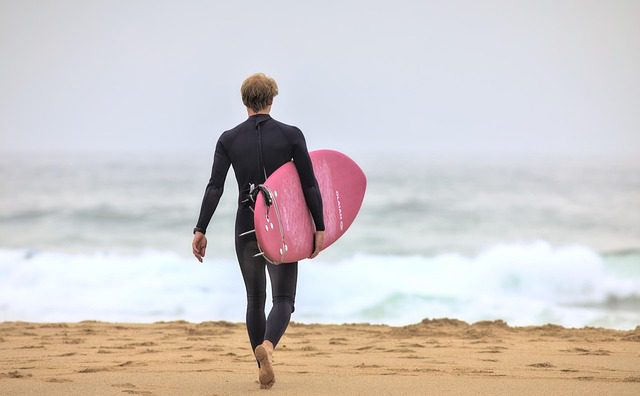
Fast forward to today, and you don’t need royal blood to get on a surfboard. However, you do need some guidance, whether it’s from a friend who already knows how to hang ten or from professionals, like at this surf school in San Diego.
Who Was the First Known Surfer?
While no one really knows who rode the first wave, surfing has a history rooted in exploration.
Nobody really knows who first stood up on a wave; it was far too long ago to have any accurate records. However, some stories go back centuries. When Captain James Cook arrived in Hawaii in 1778, he and his crew were amazed at the sight of locals riding waves with such speed and control. One of Cook’s officers, Lt. James King, described surfers gliding “with astonishing velocity” on wooden planks. This is the first known written account of the sport we now call surfing.
We earn a commission if you make a purchase, at no additional cost to you.
07/29/2026 09:01 am GMT
How Surfing Spread to the Western World
As Westerners colonized Polynesia, traditional surfing was called frivolous, or even sinful, by missionaries. This led to a decline in the sport. By the early 1910s, it began making a comeback thanks to one man, Duke Kahanamoku. He was a Hawaiian swimmer and Olympic gold medalist, and is responsible for the global popularization of surfing. Celebrated as the father of modern surfing, he brought the sport to California and Australia. He gave public demonstrations, built boards, and inspired the first generation of surfers outside the Pacific islands.
Surfing has come a long way since the early 1900’s, with surfing making its debut in the 2020 Tokyo Olympics.
However, he wasn’t the first person to surf in the US. Decades earlier, in 1885, three Hawaiian princes held the title as the first people to surf in the continental United States. David Kawānanakoa, Edward Keliʻiahonui, and Jonah Kūhiō Kalanianaʻole surfed the mouth of the San Lorenzo River in Santa Cruz on boards they crafted from local redwood.
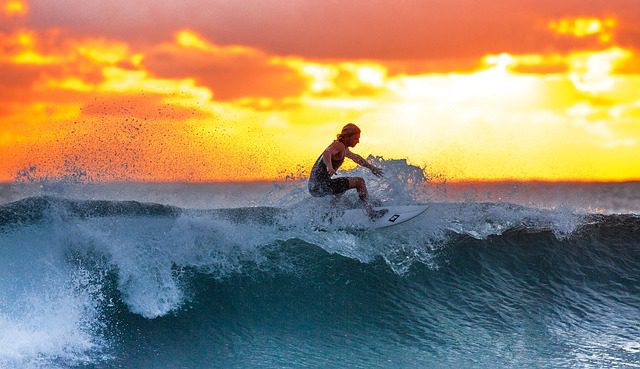
Surfing looks very different today than it did even 50 or 100 years ago. Boards are lighter and more hydrodynamic, wetsuits are thinner, warmer, and more movable.
From Bali to Brazil and Cape Town to Cornwall, millions of people paddle out each year. It’s even an Olympic sport, making its debut in the Tokyo Olympics in 2020, with plenty of other regional surfing competitions televised around the world.
Surfing was born from nature, tradition, and skill. So, the next time you paddle out, think about how you’re part of something much bigger than a sport. Riding waves is a significant historical practice that stretches back over 1,000 years and was even captured in ancient cave paintings.
Whether you’re right at home on the waves or just getting started, when you’re out on the water, now you can surf with a newfound respect for how it all began!
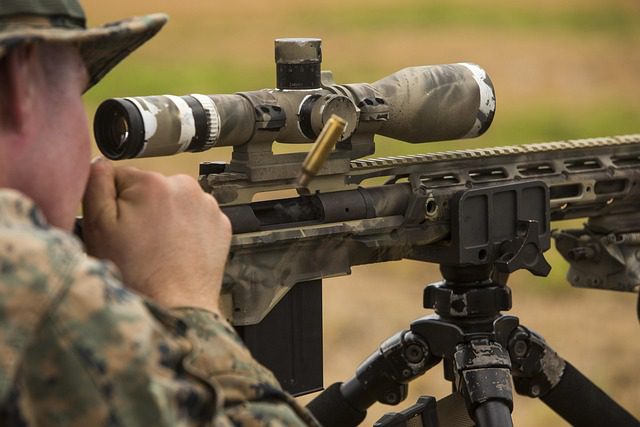
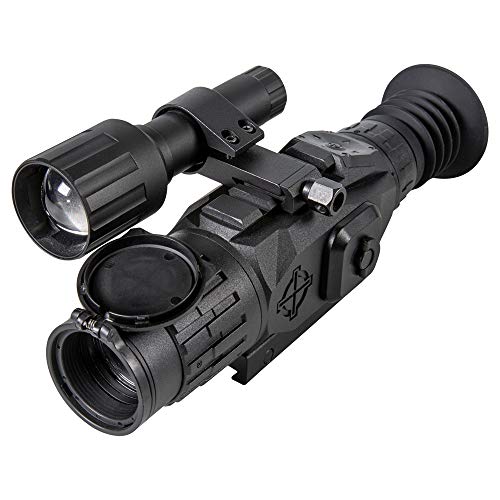
Rifle scope eye relief is important when you want to improve shooting accuracy and be comfortable in the field.
As a hunter in the wilderness or a sport enthusiast taking part in a shooting contest, you can have a better shooting experience if you have a thorough knowledge of eye relief.
This guide will tell you what rifle scope eye relief is, why you need it, and how much you should have.
Rifle Scopes: So What Is Eye Relief Anyway?
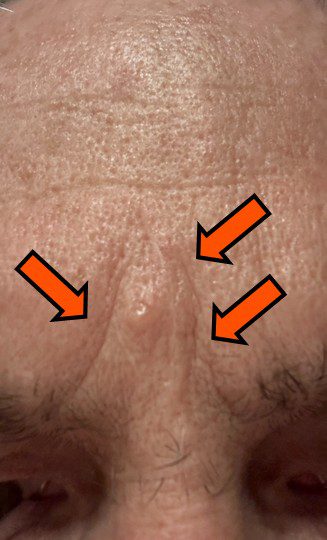
Eye relief is the distance, or the gap, between your face and the eyepiece of your rifle scope. This distance is what enables you to see the full field of view clearly. When looking through the rifle scope, you need to find the best place where your eye can see your target in the scope without blackout areas or vignetting.
Proper eye relief can also help prevent “scope bite,” which is what can happen when the eye relief distance is too close, with the rifle recoil causing the scope to strike the shooter’s face when firing.
If you are shooting high-powered rifles that have lots of recoil, you can get hurt (i.e, serious cuts) by not having enough eye relief. Having too much distance between you and the rifle scope, however, can decrease your field of view, making it difficult to aim and concentrate your target. Proper eye relieve can also increase your accuracy.
What’s The Right Amount Of Rifle Scope Eye Relief?
While there can be exceptions, the average eye relief in most rifle scopes is 3 to 4 inches, and may be larger with higher-caliber rifles.
Adjustable eye relief may provide additional versatility to the hunter who spends many hours in the field.
Adjustable rifle scope eye relief refers to the ability to change the distance between rifle scope’s eyepiece lens and the user’s eye, allowing for a clear and full field of view. This feature can be helpful in accommodating different shooting styles, a shooter’s physical characteristics, as well as personal shooting preferences.
We earn a commission if you make a purchase, at no additional cost to you.
07/29/2026 06:01 am GMT
Why Is Rifle Scope Eye Relieve Important?
There are a number of reasons why eye relieve is so important to a shooter:
Avoids Recoil Injury:
High-powered rifles can create an extraordinary amount of recoil, which can be harmful to the shooter. Knowing the proper eye relief in order to prevent injury is paramount.
Comfort During Shots:
Being comfortable during the shot can lead to better accuracy. Proper eye relief is a big part of that. If you’re comfortable, you’ll be able to shoot longer.
Good Sight Picture:
Eye relief gives you a clear picture of what you are aiming/shooting at. Being too close to the scope an cause target distortion or blackouts, negatively impacting accuracy.
Ease of Target Acquisition:
Proper eye relief creates a stable, comfortable sighting position and therefore allows you to better acquire your target and increase your precision when shooting long-range or moving targets.
Adjusting your Rifle Scope Eye Relief to Maximize Performance
If you want to maximize your visual effectiveness through bringing the best out of your rifle scope and eye relief, just do the followings:
Mount Your Scope Correctly:
Be sure that the rifle scope is mounted on the gun so that it allows for your face to be in a comfortable position and at a safe distance away when shooting. Adjustable eye relief allows for the shooter to adjust the scope appropriately, in order to provide the proper eye relief.
Full Field of View:
Place your eye near the scope and ensure that the total field of view is seen, including the target and the reticle. When some portions of the sight picture are blocked, alter the scope location so as to attain the correct eye relief.
Avoid Scope Bite:
It’s imperative that you have enough eye relief to prevent scope bite. Pay careful attention to this especially when shotting high-powered rifles.
Test Your Eye Relief Settings:
After you have set your scope, fire a couple rounds and see how your eye relief is. Again, be sure the scope position allows you to be able to see the full field of view.
Eye Relief Things to Remember
Proper eye relief is critical to safe and accurate shooting. Learning to make the proper adjustments to your eye relief distance, will lead to safer and more accurate shooting, whether in the field or at the range.
Remember:
You should check your eye relief every time before shooting in the field or at the range.
Utilize scopes with variable eye relief.
It is necessary to consider the amount of recoil your rifle generates and choose your optics and eye relief distance accordingly.
Change your scope position to accomodate your shooting conditions and position.
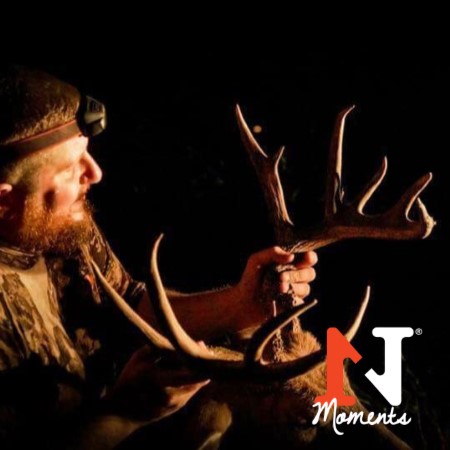
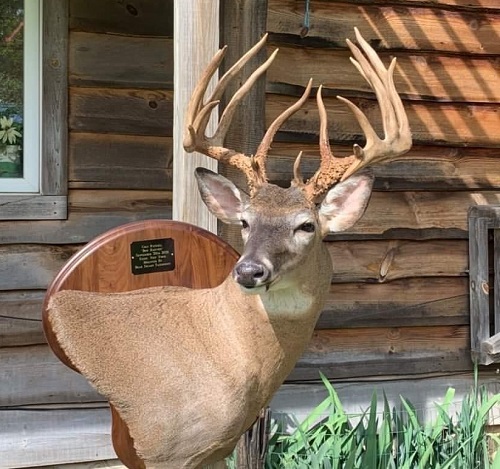
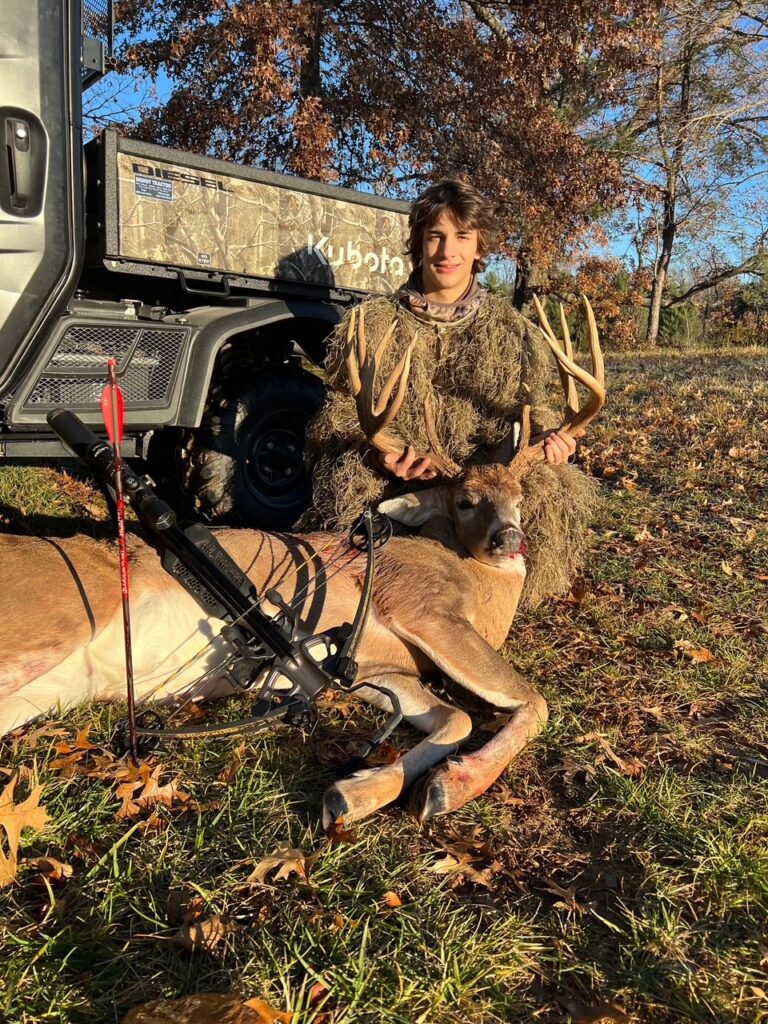
If seeing pictures of a huge buck and reading the play-by-play story of the hunt excites you, then read below for some great stories about some unforgettable archery bucks.
“Close Call”: The Backstory Of This 18-Point Monster Buck
I saw this deer on camera around mid-December of 2016 and became obsessed. I had hundreds and hundreds of pictures of him. In February, I noticed he hadn’t been to the area or fed at the feeder, so I started looking for his sheds.
I found one side (which was the side I wanted the most). He was at my best guess a 15 point, and had 10 points on the shed I found.
It sucked my attention in even deeper.
My wife got so sick of hearing about “close call.”
Now, I never name deer, but he had what looked like a gunshot wound in his right ear, so I dubbed him “close call.” After I found his shed, I focused a lot of attention on the area where I knew this huge buck was.
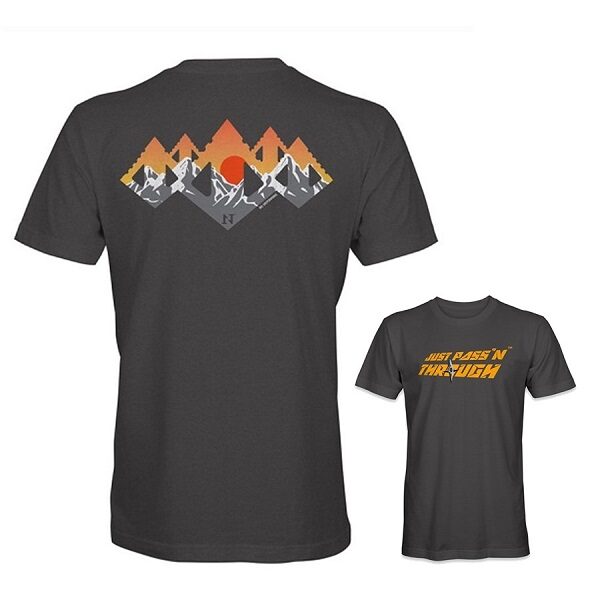
$9.00Select options
This product has multiple variants. The options may be chosen on the product page
The Re-Appearance
In April of 2017, he showed back up, with just 2 or 3 inch nubs on his head. Of course, because of his ears, and my obsession, I knew it was him. He stuck around for a few weeks, and then of course, disappeared again and remained out of view until around June, when he came back. He stayed close by and on camera sometimes 3 different times a day from June on.
I’m from Kentucky, and our season comes in really early, so I was counting down the days and doing my very best to just keep him around.
Around the first of August, he quit feeding at the feeder, but was still visible in the open. Our archery season opened on September 2 this year, and in my mind, I had him in the bag. I ran up to 4 cams to keep my eyes on him, and one was a Spartan cell cam.
It kept me from frequenting the area, and I knew instantly when he was there. On August 31st I have video of him in the broad daylight at what would have been an 18 yard shot for me.
My confidence was out the roof. The season opened and I spent the next 6 days in the stand. I only hunted him of an evening, seeing I never had a picture or anything of a morning of him. But, over those 6 days, he never showed his face at all.
In my mind, I knew he was probably just laying low and in the process of shedding his velvet. I backed off for a few days and would keep my eye on my cameras, thinking I had applied too much pressure.
He finally showed back up but had gone completely nocturnal. Around the 15th of September, he had completely vanished. I just knew someone else had gotten him I told no one but a very tight group about this deer.
Then, one day I was at my son’s football practice and heard someone talking about a huge buck they had seen in the area where the buck lived. I then knew he was still alive, but it worried me that someone would do something stupid to him.
For the next 2 weeks, the buck would only show up about ever 4-6 days for a brief minute, and in the middle of the night. He was playing hide ‘n seek. At least I knew he was still alive, is all I could think of. I stayed away and didn’t hunt for weeks.
On September 26, while away from home, my cell phone dings and there he is. It’s 4 in the evening and I’m not in the woods, so I figured my one chance had come and gone. I looked closely at the forecast and figured I could hunt the 28th and 29th because there was a cool front coming, and the wind would be perfect.
I hunted the 28th and nothing... Not a single deer.
$29.99Select options
This product has multiple variants. The options may be chosen on the product page
Permission Granted
I was kind of skeptical, but wouldn’t give up. My wife and I had plans for the evening of the 29th, but she was okay with me hunting for a few hours that evening. I got there around 4:30 that evening and it was calm and perfect.
I texted my wife and told her, “this would be the perfect evening for him to show up. It’s so quiet and calm.” She told me that it was okay if I stayed till dark, before we went out. She understood my obsession more than anyone.
At around 5:45, I had a small buck come in. He wasn’t there long and left.
I was just enjoying the evening being in the woods. Around 6:25 or so, I decided I’d try a little very light rattling (seeing it worked the year before). About 10-15 minutes after I heard what sounded like a cough or something from the hill across from me.
I focused my full attention to that area. I saw movement coming my way…. a small basket 8 point I had on cam.
As soon as he came out, I saw a second deer coming. It turned out to be the small 3 point that was there earlier in the evening. After he came out, it still sounded like more deer were coming.
Low and behold, I look in the timber and here he comes. I instantly began become overwhelmed. The buck came out, just like I had planned, but he looked right at me. He turned around like he was going to head back into the timber, so I drew on him. He was quartering away at 21 yards.
The shot looked super high. I was sick. I set back and text my wife and told her I had just shot him. Then, I went over the shot in my head 100 times. I went and retrieved the arrow and looked it over. It appeared to have really good blood, so I wasn’t so sure I had hit it high.
My wife finally showed up, and we went looking. It was the first time she had ever tracked and she was super excited. We continued to find good blood, then about 70 yards in the timber, there be laid. He couldn’t handle that arrow after all.
There he was. A buck of my lifetime….the one I had become so obsessed over.
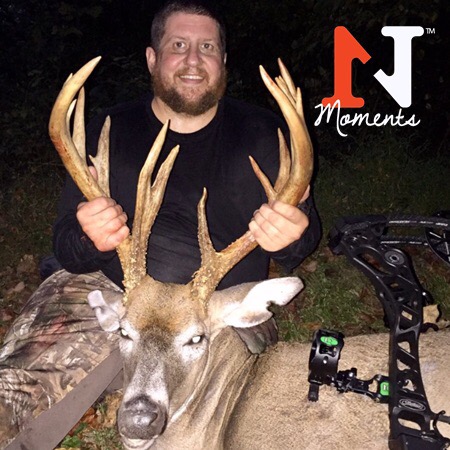
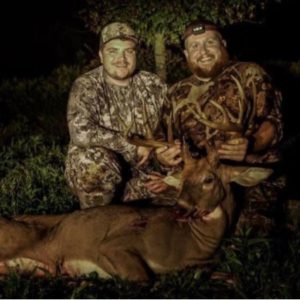
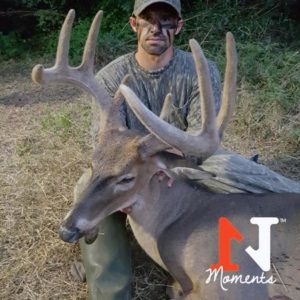
This buck gross scored 177 7/8”, even though he was only 14 ½” wide. He has 18 scoreable points. This buck is my biggest to date, and the most gratifying as well.
Come to find out, in the middle of September when he disappeared, it was because someone had tried to poach him. He was shot with a small caliber rifle, just above the shoulder.
John Workman saw trophy buck success again in 2018, with this Kentucky bruiser.
Big Kentucky Buck Fame Comes Again!
I would have to say the story of my success in the 2018 Kentucky deer season has to date back to September 29th of 2017. On that date, I was fortunate enough to take a Boone and Crockett class Kentucky buck (the full story above.)
Once the word got out about that deer, my social media went kind of crazy. One day, while roaming through Facebook, I noticed I had a random message from someone in my area. He asked questions and persistently talked about my 2017 buck.
We earn a commission if you make a purchase, at no additional cost to you.
07/28/2026 04:03 pm GMT
I kind of blew it off at first, because when it comes to hunting, I usually keep my stuff mainly a secret. But, one thing led to another, and we talked a little here and there.
One day I was at the local archery shop just hanging out, and in came this same guy. So, we finally met face-to-face and began to develop a friendship. His name is Kyle Groce. He is a bit younger than me, but we both share a passion for deer hunting.
As the winter progressed, he learned that I do a lot of food plotting. He wanted to develop his hunting property into a sanctuary so that the deer don’t have to travel to get what they want.
In mid-April he offered to let me hunt this same land if I would do the food plots for him. I knew the area, so I agreed without hesitation.
In May, the weather finally cooperated so hat I could get started on the plots I agree to cut, till and sow. I began the process of bush hogging. While cutting a plot, this buck comes out and watched me like he was in awe that someone was there doing something.
At the first look, I realized he was going to be a good buck worth chasing once the early season came.
So, after hours of studying maps of the land, and once the food plots were finished, I eased my way back into the woods where I thought this buck was coming from.
I took my minerals and my trail camera and got things set up where I wanted, and where I thought I might have a great chance to ambush this buck once the season began.
The very first day the camera was there, I got pics of this buck. Immediately my focus was on this one particular animal.
As part of my permission to hunt the land, I was free to do as I please. So, I kept this buck a secret, as I thought he’d go 160 plus inches.
Kyle and I became great friends and spent all summer locating more deer for him to get set up on to hunt.
September 1st finally arrived and Kyle and I already had our game plans set in stone. He was getting some good deer on camera, and I was getting my buck in two different locations during the daylight hours.
On opening day, I got in the stand around 5 o’clock AM, fearing that I might bump this big boy going in.
That first morning came and went. I saw a lot of deer and some small bucks, but not the big Kentucky buck I was after. Of course, early September in Kentucky its pretty warm… like, 90 degrees warm! So, I got out of my stand and headed home.
We earn a commission if you make a purchase, at no additional cost to you.
07/29/2026 06:06 am GMT
There was no way I was staying all day in the stand in that heat.
Around 3:30 that afternoon, I started to get ready to head back to the stand. I showered, gathered my equipment and headed that way. I got in the stand around 4:30 and got things set up, and instantly I had action.
Mature bucks like this one, come as a result of scouting, persistence and game planning.
A mature doe and her fawn came in and stayed in my area for about 30 or so minutes, so I was upbeat and positive. Deer came and went all evening, both bucks and does.
Around 7:15, I saw a nice buck working toward my location and instantly knew it was a great 8 point. I had guessed he was about 140″ or so. Right behind him I saw the big 12-point I had been watching all summer.
Both bucks came in on a string to 19 yards. But, the big mature buck was no dummy. He stayed right behind the 8-point the whole time, and I couldn’t get a shot at him.
Day two was much of the same. There was a lot of deer activity, but no shooters. Kyle, however, did fill his tag on that second day with a real nice 8-point that was on his hit list.
I hunted hard over the next week, and saw the big 8 on multiple occasions, but he never had the buck with him I was looking for. I even had him within 30 yards of me for 29 minutes one morning, but I still let him go.
On Wednesday, September the 12th, I had decided to hunt, but I was going to change things up and head to a blind at the edge of a food plot. Once I got to the farm, I realized the wind was totally wrong for that location and went right back to my stand where I had the earlier encounter.
Around 5:30 I had a small buck come in, and it brightened my outlook somewhat. That buck left and a doe and fawn came in. They stuck around for 20 or so minutes, but then wandered off into the thick brush.
At around 6:30 a small really good up and comer buck came in. I had seen this deer many times, and he was always with more deer and never alone, so I focused hard on the direction he had came from.
About 3 minutes later, I could see the big 8 coming, and this time he was out of velvet, and looked bigger than I had thought.
As he was walking up the hill, he kept looking over his shoulder to check something behind him. One of my deer hunting tips is, when a mature buck is watching behind him, it only tells me that something bigger may be lurking. Well in this case, there was.
Coming straight at me was the buck I was after. He came in just like I had planned, but I didn’t plan on the other two bucks being there with him. For nine minutes I had to watch him and the other bucks mill around and feed.
We earn a commission if you make a purchase, at no additional cost to you.
07/28/2026 09:00 pm GMT
Finally, the big 8 swung around to the back side of the 12. I had been waiting on this, because I knew it would turn the 12 where I could get a shot off.
Even though John has experienced some incredible success in taking huge bucks, it’s the time with friends that has made it all the more special.
I immediately called my wife, and then Kyle, to tell them I had shot. Kyle and another good friend, Nick McWhorter, had begged me all summer to film my hunts, and I had blown them off until about 2 weeks before season. They got me set up, and ready to film for this season.
Well, knowing the deer had my arrow, I chose to not even attempt to look for anything until I got to see my footage to confirm my shot placement. I met Kyle at my truck, and we reviewed everything together.
In our opinion, that shot had been perfect. By this time, my wife and son had shown up, and were excited to start tracking.
We headed back to my stand and began to look, but there was nothing to find. No blood, no arrow, no nothing. I knew which way he had ran, so we started in that general direction first. Travis, another buddy had came to help track and to get him out of the woods. Travis saw my Nockturnal lighted nock glowing bright, so we headed straight for it.
There he laid; the buck I had studied all summer in hopes for one chance. I got it, and the shot was perfect. I ran my arrow and broadhead from in front of his back left hip, all the way up to his front right shoulder, just like I had intended.
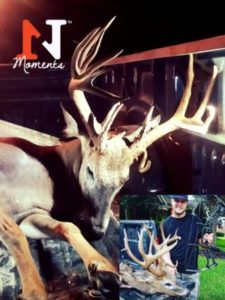
Just like that, it was all over. He ended up being a mainframe 10, with two abnormals on his left side. He scored 155 inches. I was tickled to death.
Bonus: Another Huge Buck Story (The Coat Hanger Buck)
Garret Schmidt will forever remember the day he harvested the “Coat Hanger” Buck!
This was one N1 Moment™ that 30-year old Garrett Schmidt could hang his hat on… literally.
Opening day of archery season in Kansas
It was a 10-hour drive from League City, Texas, to the Southeast Kansas property he and some friends had recently gotten permission to hunt. But this was opening day of archery deer season in Kansas. It wouldn’t have mattered if it was 100 hours.
“I knew it was going to be hot and possibly rain. But, I get so jacked up for the start of a new season that I didn’t care,” he said.
Garrett had noticed something his previous spot-and-stalk hunts on the property. The deer would jump the fence in the afternoons and hit the bean fields on the south end.
“I ended up walking a mile in the heat around 3:00 pm and finally made it to the edge of the beans where I thought was going to be the best spot to shoot.”
As dusk was quickly approaching, Garret noticed a rack of horns sticking out of the beans 150 yards away.
“I knew he was a good buck,” he said. But the beans were so tall I did not see the trash he had, especially the coat hanger drop tine on his left main beam.”
But, drop tine or not, Garret knew time was running out.
“I had only 45 minutes to make this happen. With the wind in my face I made a 100-yard belly crawl through the beans. I ended up within shooting distance of this non-typical buck,” he said. “I stood up fast out of the beans, drew my bow back, found the sweet spot, and let the Rage broadhead do the rest.”
The “coat hanger buck” was down. And, while Garret didn’t have his friends with him on this trip to help share in the excitement, the part they played wasn’t overlooked.
“When it was all said and done I wasn’t able to take fancy pictures or share this moment with a buddy. But, none of this would have been possible without the help of my good friends putting in the time and work over the year to get everything ready for this amazing opportunity.”
This velvet trophy buck may have never been harvested had Khavon not made the walk all the way back to his truck to get his forgotten quiver!
Friday afternoon, September 30, 2016, I arrived to my lease in Natchez, Mississippi. I unloaded the truck and ranger and headed to the woods to check my two cameras to decide where I was going to hunt that weekend.
As I was scrolling through 800 pictures of does and bucks, my buddy told me to stop and back up. I scrolled back and there was a giant 8-point buck in full velvet.
This was the first time I had seen a picture of him. I kept scrolling and the past few evenings he had been coming out right before dark. I immediately got nervous, since I’ve never had an opportunity to hunt a deer like him before.
So, I decided to not hunt there in the morning and to save the spot for an evening hunt on opening day.
The evening hunt on opening day approached and I began to get anxious, wondering how the hunt would go. It was very warm, so I grabbed my bow and took my time walking to my stand, because I didn’t want to sweat.
I arrived at my stand at 3:55 pm and climbed up. As I got my bow in my stand, I realized something looked funny. I forgot my quiver back at the ranger!
Trying not to get too upset, but still frustrated, I climbed back down and started walking back to the ranger. I decided to take my shirt off so I wouldn’t sweat on it, since it’s a good 10-12 minute walk up and down the hills.
Eventually, I made it to the ranger, got my quiver, and made my way back to the stand. I climbed in, nocked an arrow, turned the Thermacell on, put my shirt back on, and painted my face. By then, it was about 4:25 pm.
I was checking my phone at 4:30 and I looked up and boom! There he was, 35 yards out to my left.
He walked out into the food plot and stopped. Then he turned around and started heading back to the woods where he came from. As soon as he got to the wood line, he stopped again.
I didn’t have a clear shot and I was thinking to myself, “I’m fixing to watch this huge buck walk out my life!”
He then turned and started walking directly toward me and stopped at 10 yards. He made another turn back out to the food plot and stopped at 15 yards, quartered away from me.
I waited for the opportunity to draw back when he wasn’t looking. As soon as he looked away, I drew back, controlled my breathing and let the arrow fly.
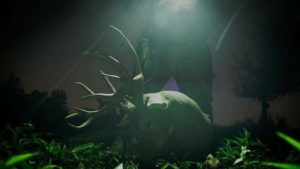
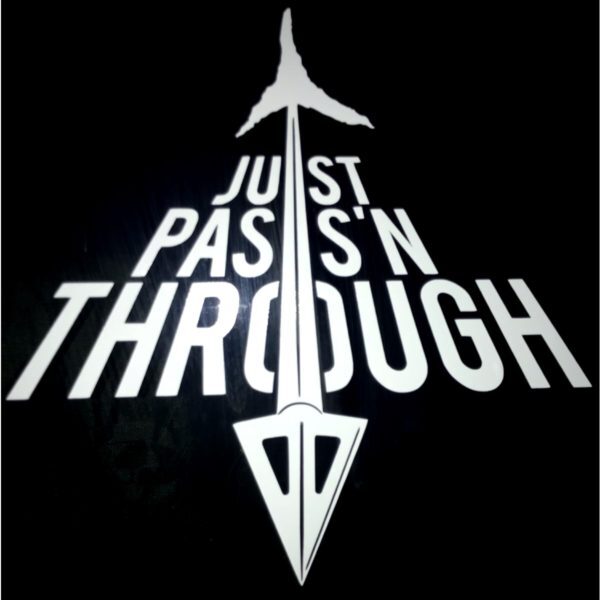
I made a great shot on him and the arrow was Just Pass’N Through! He he only ran about 70 yards. It was the best hunt of my life.
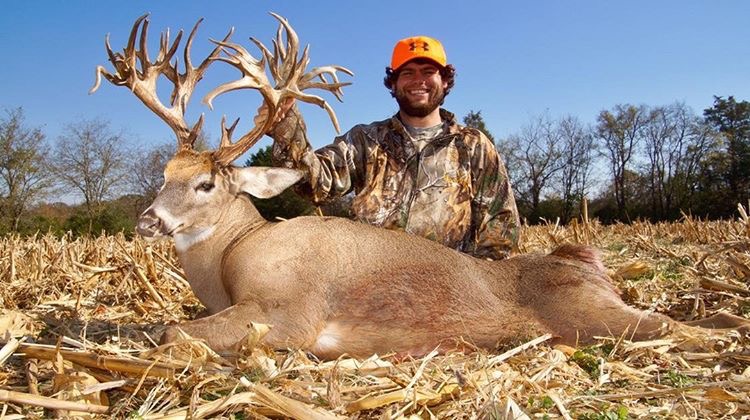
The “Tucker Buck” was taken in Gallatin, TN in 2016, by Stephen Tucker, breaking the world-record for a non-typical whitetail. (This record has since been broken.)
My pursuit of “the big one” began in Missouri in the Summer of 2022.
While crappie fishing on our lake, I spotted him – a massive buck, easily 170 inches. Knowing big deer roamed the area, I secured permission to hunt on our neighbor’s six-acre lot. It wasn’t huge, but I had a good feeling that it would be a good starting point.
Opening day of bow season 2023 marked the beginning of my dedicated hunting of this giant buck. I did countless observation sits throughout the summer and I hunted every available opportunity, always hoping for a glimpse. I remained in the same blind until securing permission to place a tree stand on an adjacent property. This expanded my hunting area, but access remained limited.
Between October 10th and youth rifle season, I hunted seven times from the stand, supplementing this with sits in my original blind.
A two-week break left me restless, consumed by thoughts of the buck. Returning, I changed tactics. I suspected he was avoiding my usual spots by traveling the edge of a wooded island near both my stand and blind. So, I decided that’s there I needed to be. I put on my ghillie suit and positioned myself at the base of a tree on the opposite side of the field. My first sit, I saw a nice nine-pointer and a doe, but not the big one.
Between that day and Thanksgiving, I went on five more sits in a nearby tree stand. Thanksgiving morning seemed very promising, and my gut told me the deer would be moving. I settled in at 5:30 AM. A doe appeared at 6:00 AM, raising my hopes. At 6:55 AM, antlers appeared to my left. I recognized him instantly, preparing to release an arrow. He moved slowly into range, stopping at 40 yards. He threw his head up, catching sight of me. I released the arrow – a satisfying shot. He ran, and I knew instantly he was down.
I immediately called my dad, and we celebrated. Returning to the property to retrieve the buck, we spotted him from the trail before even leaving the side-by-side. The sight of his antlers was breathtaking, even larger than I’d imagined.