In today’s digital age, where online platforms lead the way in commercial transactions, the practice of selling firearms on the internet is on the rise. Yet, the delicate character of these deals demands utmost prudence and strict adherence to legal standards.
This piece is designed to steer you through the intricacies of online gun sales, with a strong emphasis on security, compliance with laws, and dependability. We will go into the most reputable sites for these exchanges, offering an in-depth manual for each to guarantee your selling experience is seamless, safe, and within legal boundaries.
Federal and State Regulations
Before you initiate the process of selling a gun online, it’s imperative to first immerse yourself in the nuanced legalities that dictate these transactions. In the United States, the rules overseeing firearm sales form a multifaceted matrix, rather than a single, overarching directive. This system represents a dynamic interaction of federal and state laws, each with its own stipulations that can considerably alter the expectations and obligations involved in what might seem like a simple sale.
The Gun Control Act (GCA) of 1968
This foundational legislation regulates interstate gun commerce, requiring that any firearm crossing state lines must be sold through a licensed dealer. This step is crucial in maintaining a legal sale, even when conducted online.
State-Specific Regulations
Beyond federal law, each state can, and often does, set its own rules for firearm sales. These can include mandatory background checks for all sales, waiting periods before the completion of a sale, and additional licenses or permits. It’s essential to consult your state’s laws to avoid any legal infringements.
Background Check Protocols
While not always compulsory under federal law for private sales, conducting a background check can add a layer of security to your transaction. Several states have taken this a step further, making background checks a requirement for all firearm sales.
-
Product on sale
 N1 Outdoors® “Sunset Mountain” Pullover Hoodie$34.00
 -
 N1 Outdoors® “USA Antler” TeePrice range: $24.99 through $28.99
 -
Product on sale
 N1 Outdoors® “Lumber Mountain” Tee (Various Colors)$9.00
Waiting Periods

Some states impose a waiting period between the purchase and possession of a firearm. This period is intended as a safety measure, potentially preventing crimes of passion by allowing for a “cooling-off” period.
Firearm Type Restrictions
Certain states have bans or restrictions on the sale of specific types of firearms, such as assault weapons or high-capacity magazines. Ensure that the firearm you intend to sell is legal in the jurisdiction of both the seller and the buyer.
Record-Keeping Requirements
Depending on your state, you may be required to keep records of your firearm sales, including information about the buyer and the firearm. Proper record-keeping can assist in the recovery of firearms if they are lost or stolen and is a critical part of responsible gun ownership.
Consulting with Legal Experts
Given the complexity of gun laws, it might be beneficial to seek advice from a legal expert, especially if you’re conducting high-volume sales or are unsure about specific legal requirements.
Venturing beyond the conventional avenues for online firearm transactions, platforms such as Armslist.com and numerous firearms forums present themselves as unique alternatives. While they foster a sense of community and offer a different flavor of experience, they also introduce a distinct array of complexities and obligations that sellers must navigate.
Where and How to Sell Your Firearm Safely
Now that you’re equipped with a thorough understanding of the federal and state regulations governing firearm sales, you’re prepared to enter the digital marketplace.
Selling a gun online, while convenient, requires navigating through various platforms, each with its unique features and requirements.
Below, we go into the most reputable websites for firearm transactions, providing you with a comprehensive guide to ensure your selling experience is not only seamless but also secure and compliant with legal standards.
CashForArms.com

In the realm of online firearm sales, Cash For Arms has emerged as a market leader, redefining the standards of convenience, speed, and customer satisfaction.
Renowned for its unparalleled ease of use, Cash For Arms is currently the most formidable figure in the online gun-selling space, offering users the fastest and simplest way to transition from gun owners to satisfied sellers.
Overview and Credibility
Cash For Arms is not just a platform; it’s a commitment to stress-free, transparent, and rapid transactions. It’s the epitome of user-centric operations, where the entire process is tailored to ensure you don’t just sell but sell with confidence and peace of mind.
The platform’s credibility is reflected in its user testimonials, with many praising its competitive offers, prompt payments, and exceptional customer service.
The Fastest and Easiest Way to Sell
When you choose Cash For Arms, you’re opting for the market’s quickest route from quote to cash. The platform’s streamlined three-step process eliminates all unnecessary hurdles, helping you sell your gun without cumbersome delays or hidden fees.
You simply submit your gun’s details, review and accept your offer, and receive your payment — all with the assurance of legal compliance and secure transactions.
A Stronghold in the Market
In the competitive arena of online gun sales, Cash For Arms stands out as the strongest contender. Its reputation is not just built on promises but on a track record of delivering the best experience possible for every customer.
Whether you’re selling a single firearm or an entire collection, Cash For Arms is the go-to destination for sellers seeking reliability, legality, and the best value for their firearms.


Gunbroker.com
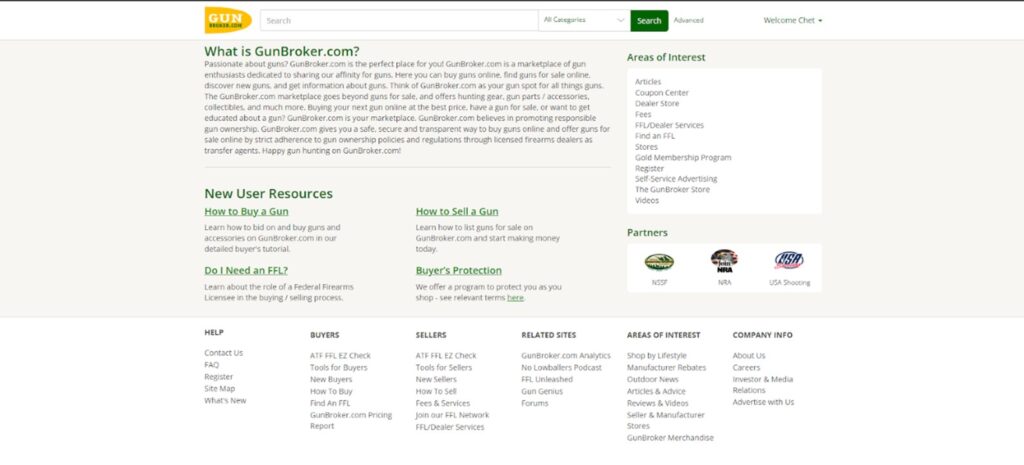
As one of the most well-known online firearm marketplaces, Gunbroker.com holds a significant position in the industry. Its extensive user base and wide array of listings make it a go-to platform for many gun enthusiasts. However, while it offers a robust platform for buying and selling firearms, there are certain aspects that users should be cautious of…
Extensive Market
Gunbroker.com operates much like an auction house, where sellers list their firearms and buyers place bids. The platform doesn’t purchase your firearms directly, which means the sale isn’t instantaneous.
Sellers must manage their listings, respond to potential buyers, and often wait for the auction to end, which can be time-consuming.
Additionally, this format doesn’t guarantee a sale, as your firearm sells only if the reserve price is met.
Fees and Additional Costs
Gunbroker.com charges listing and final value fees, meaning a portion of your sale’s proceeds goes to the platform. While this is standard for many online marketplaces, it’s something to consider when calculating the net gain from your sale.
Additionally, the responsibility for legal compliance, such as background checks and following firearm shipping laws, falls entirely on the seller, potentially incurring additional costs.
User Safety Concerns
While Gunbroker.com is a reputable platform, the level of user-to-user interaction required can pose certain risks.
Unlike platforms like Cash For Arms, which standardize the selling process, users on Gunbroker.com must navigate negotiations independently. This increases the risk of encountering non-serious buyers or individuals with questionable intentions.
The platform has measures in place to mitigate these risks, but the onus remains largely on the individual seller to vet potential buyers.
In Summary
Gunbroker.com is a viable option for those who prefer a hands-on approach to selling firearms and are familiar with online auction environments. However, for sellers seeking quick, hassle-free transactions with guaranteed offers, platforms like Cash For Arms offer a more streamlined, secure, and user-friendly experience.

Armslist.com and Other Firearms Forums
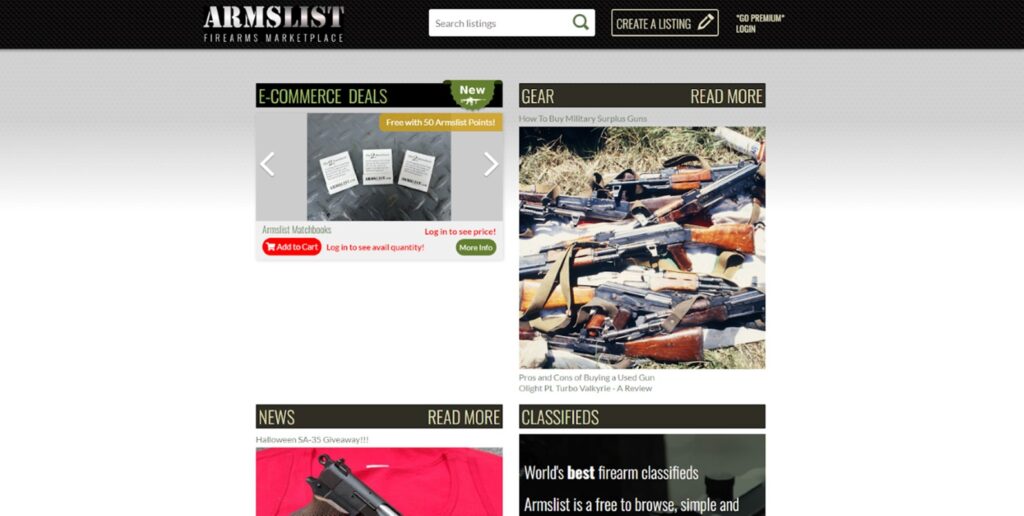
Venturing beyond the conventional avenues for online firearm transactions, platforms such as Armslist.com and numerous firearms forums present themselves as unique alternatives. While they foster a sense of community and offer a different flavor of experience, they also introduce a distinct array of complexities and obligations that sellers must navigate…
Platforms like Armslist.com are rich with enthusiasts and direct buyer-to-seller interactions, and hold a certain appeal for those immersed in the firearm community.
However, the very aspects that contribute to their charm also bring about challenges that require careful attention and a proactive stance from those looking to engage in successful, legal sales.
A Marketplace Bridging Buyers and Sellers
Armslist.com positions itself as a specialized conduit for firearm enthusiasts, facilitating direct interactions and transactions between buyers and sellers.
Unlike traditional retail platforms, Armslist.com doesn’t participate in the transaction process. Instead, it provides a digital space where sellers can list firearms, and potential buyers can pursue and initiate direct contact to discuss terms, negotiate, and finalize transaction details.
Streamlined Yet Hands-On
The operational ethos of Armslist.com is one of simplicity coupled with user autonomy. Sellers have the prerogative to create detailed listings — a transparent showcase featuring descriptions, images, and the desired price points of their firearms.
From there, the platform allows potential buyers to reach out directly to sellers, paving the way for inquiries, negotiations, and the ultimate arrangement of the transaction’s specifics.
This process, while straightforward, demands a hands-on approach from sellers, necessitating active engagement with prospective buyers and personal management of each sale’s nuances.
Navigating Risks and Responsibilities
The very structure that affords Armslist.com its ease and directness also ushers in a set of inherent challenges.
The platform’s hands-off approach means there is minimal oversight over transactions, placing the onus of legal compliance, due diligence in vetting buyers, and personal safety squarely on the sellers’ shoulders.
This lack of institutional control has attracted criticism, with instances of the platform being exploited by individuals seeking to skirt legal norms. As such, users are advised to proceed with heightened caution, exercising meticulous due diligence to uphold the legality and security of their transactions.

Top Pick for Online Firearm Sales: Why Cash For Arms Stands Out
In the digital marketplace for firearm sales, various platforms offer unique selling experiences, each with its pros and cons.
Armslist.com and firearms forums cater to those seeking direct buyer interactions within a community setting, yet they require significant seller involvement and caution due to minimal transaction oversight.
Gunbroker.com, an extensive auction-style platform, demands active seller engagement and bears the risk of uncertain sale closure, coupled with additional fees.
Contrastingly, Cash For Arms shines as the most efficient, secure, and straightforward option. It simplifies the selling process with immediate quotes and quick payments, all while rigorously adhering to legal protocols. This hassle-free approach, combined with assured legal compliance and a focus on customer satisfaction, positions Cash For Arms as the superior choice for online firearm sales.
Balancing convenience with strict legal adherence, Cash For Arms offers an unrivaled selling experience that prioritizes seller confidence and transactional efficiency, making it our top recommendation for online firearm transactions.