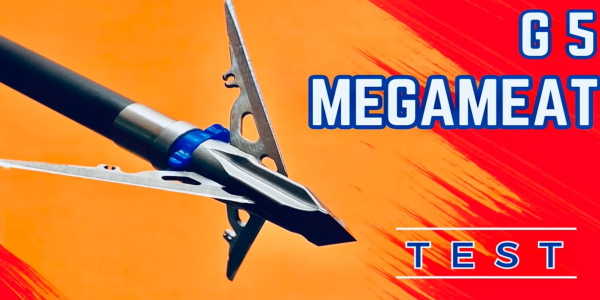
In this review, I’m testing the Today, I’m going to be doing a retest of a head I did a couple of years ago. I’ve gotten so many requests to retest it, and since I’ve updated my broadhead test process, I’m going to be re-testing the Megameat, from G5 Outdoors.
First of all, Megameat… what a cool name!
And, it’s also a really intriguing broadhead! It has a super big cut, and it’s rear-deploying. There’s a lot to like about this head, so let’s see how it stacks up against other broadheads I’ve tested!
For this review, I’m using my Bowtech CP28, set at 72 pounds, with a 27-inch draw. I’m using Bishop FOC King Arrows for most of the shooting, but then I’m using the Bishop FAD Eliminators for the really hard impact shots.
G5 Megameat Up Close
Let’s zoom in and go through some of the design features and specifications of the G5 Megmeat!
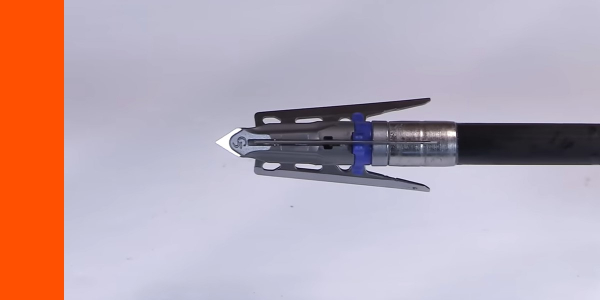
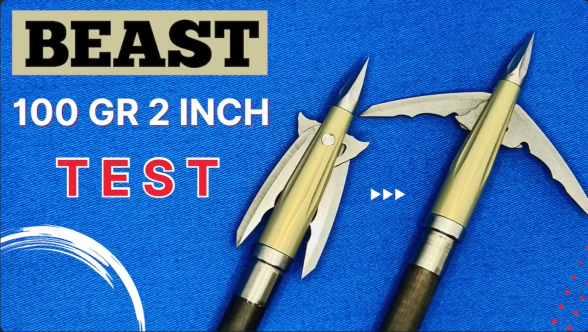
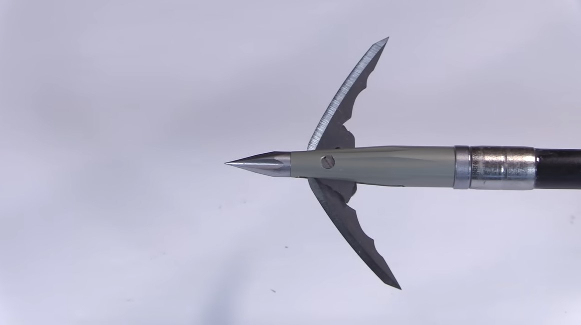
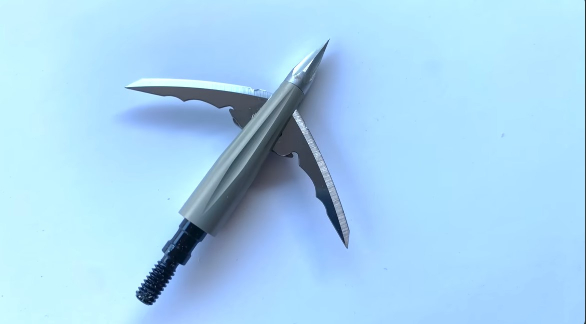
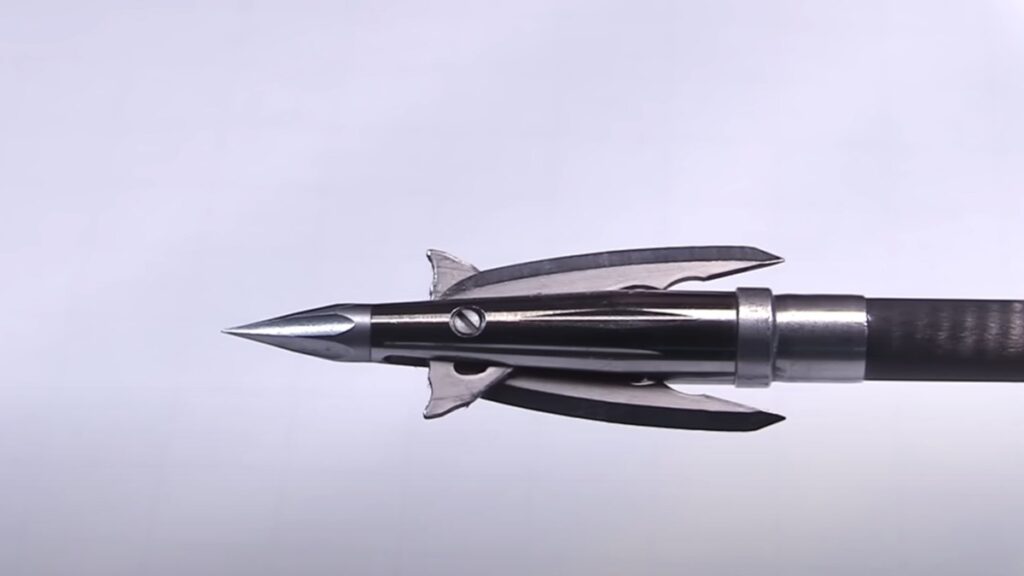
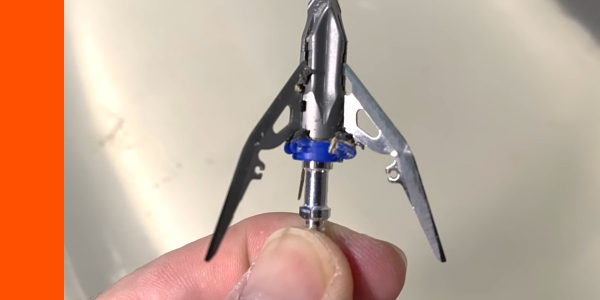
Here’s a good look of the 100-grain Megameat and there are a few things I want to point out right off the bat… it’s really tight and has a very low profile in flight, which is nice for such a big cutting broadhead.

And, they also come with a ballistic matched tip that flies just like the broadhead. So, you can practice with this and know that the broadhead is going to fly similarly.
As for the materials, it has a stainless steel ferrule and the blades are also a steel, at 0.032″ thick. Now, I just want to note that the 3 edges of this ferrule are in between each of the main cutting blades. So, it actually is like 6 cutting surfaces.
-
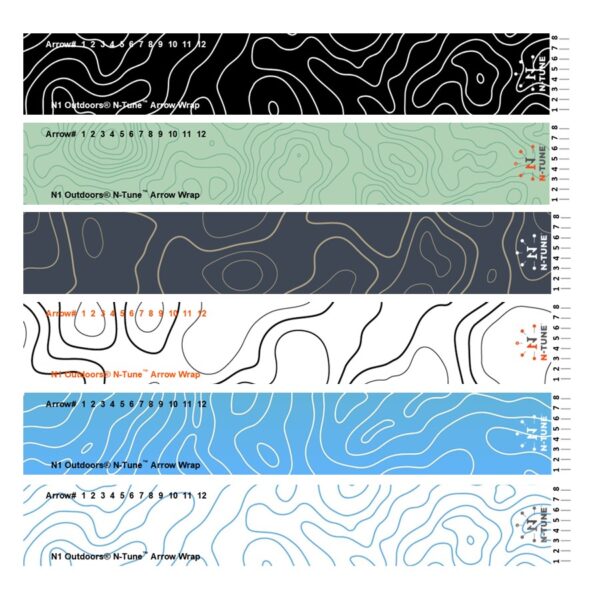
N1 Outdoors® N-Tune™ Nock Tuning Reflective Arrow Wraps – Topo Lines (Various)
Price range: $18.99 through $27.99 Select options This product has multiple variants. The options may be chosen on the product page -
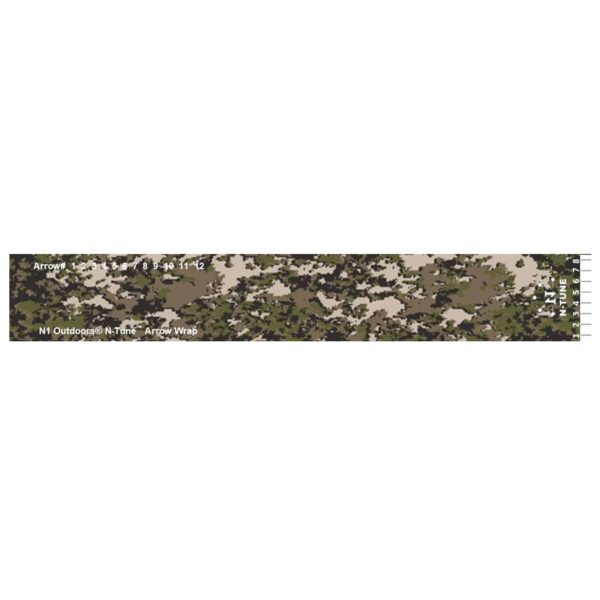
N1 Outdoors® N-Tune™ Nock Tuning Reflective Arrow Wraps – Olive Mountain™ Digital Camo
Price range: $18.99 through $27.99 Select options This product has multiple variants. The options may be chosen on the product page -
N1 Outdoors® N-Tune™ Nock Tuning Reflective Arrow Wraps – Static™
Price range: $18.99 through $27.99 Select options This product has multiple variants. The options may be chosen on the product page
Hey bowhunters, we’ve got even more arrow wraps HERE!
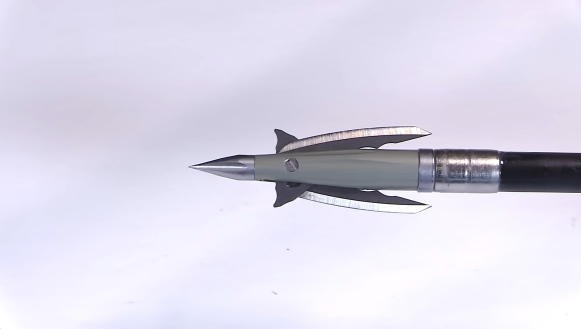
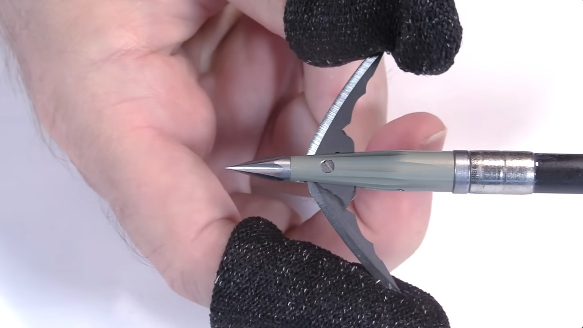
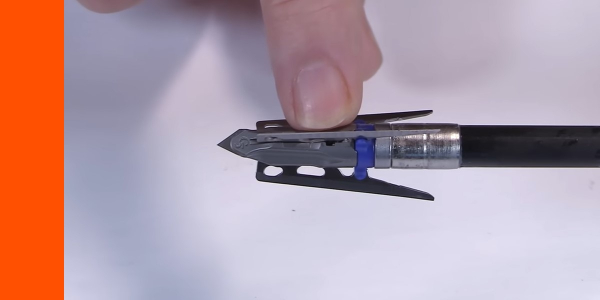
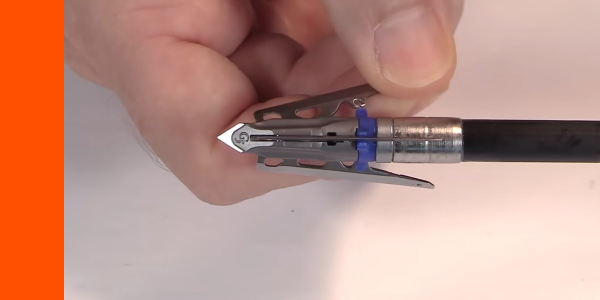
It has the 3 big blades and then 3 little edges in between. That’s just going to open up a really nice wound channel. Most broadheads have the chisel tip line up with those blades and that aids in penetration, but this is going to aid in cutting more stuff, which is why you get the Megameat in the first place, right?
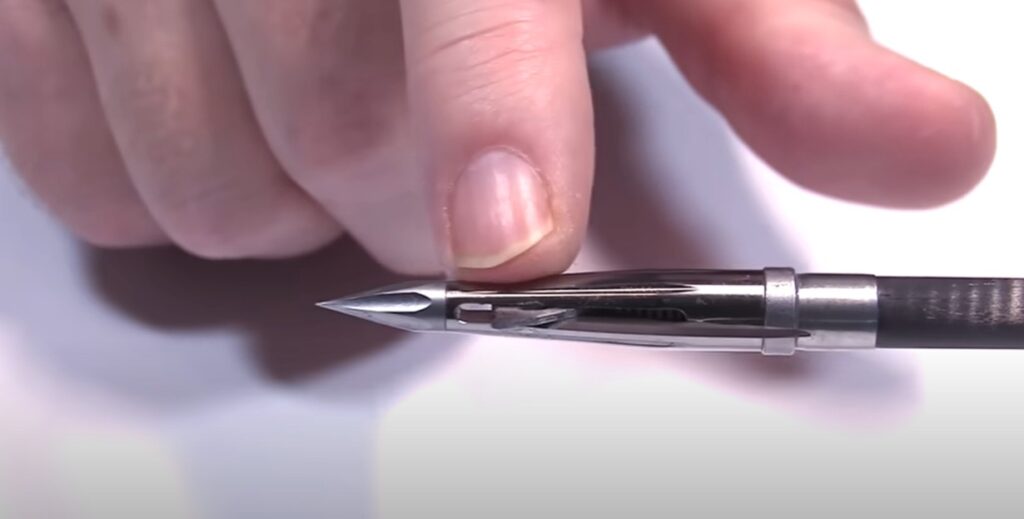
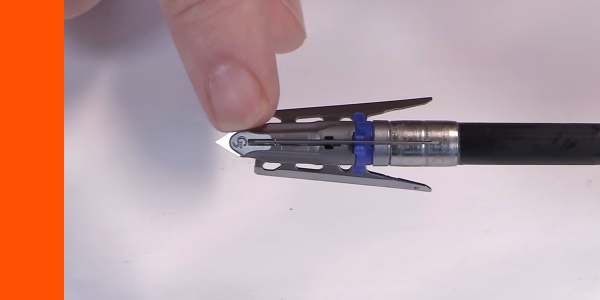
The blades are held in place by this base here. They clip into the base. That base is replaceable and they snap in very securely. It holds them very securely even out of a crossbow.
And then when they’re in the fully open position they have a whopping big cut. So 2″ cutting diameter with 3 blades plus these little 3 gives it a total cut of 3.45″. That’s a lot of stuff being cut!
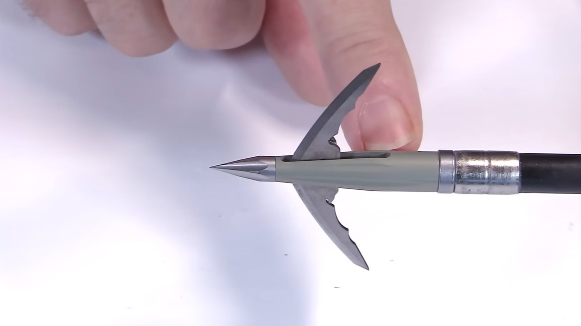
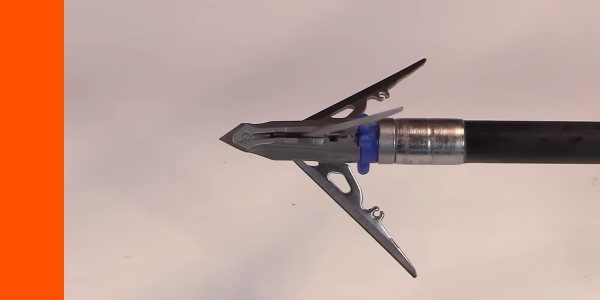
The Megameat has a nice short profile to the steel ferrule. While, I imagined the ferrule would be pretty durable, and the clips would hold the blades well, even at high speeds, I did wonder about the durability of the blades.
The blades slide pretty freely and are quite vented. They have a pretty standard diameter, or standard cut.
Our standard width here is 0.032″, but with a relatively thin design, and all that venting and then being so long, I thought that might be a weak point the the head.

#ad

Megameat Broadhead Tests
So, let’s find out what the tests showed!
Flight Forgiveness (I field pt then I broadhead @30 yds):
The Megameat had excellent flight, with the broadheads flying near the field points.
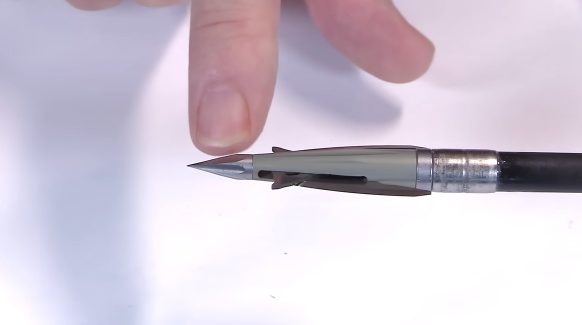
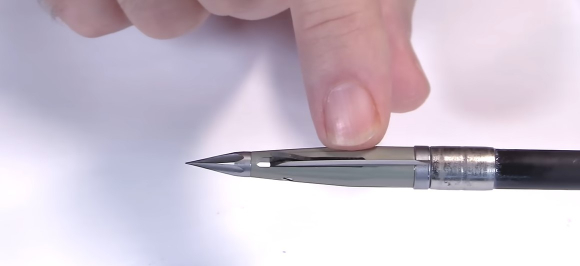
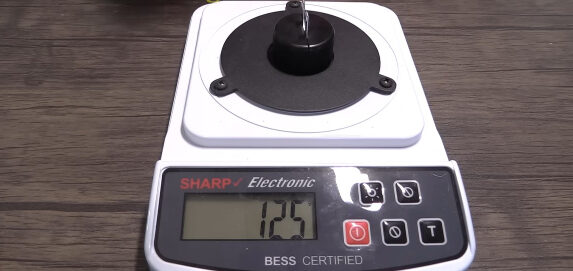
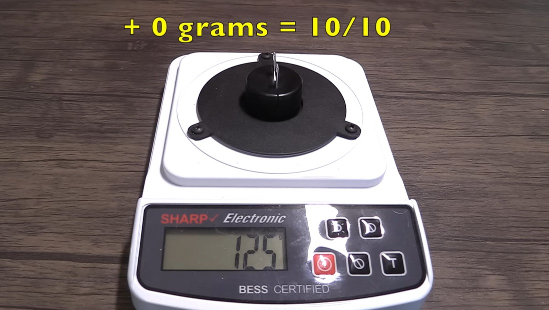
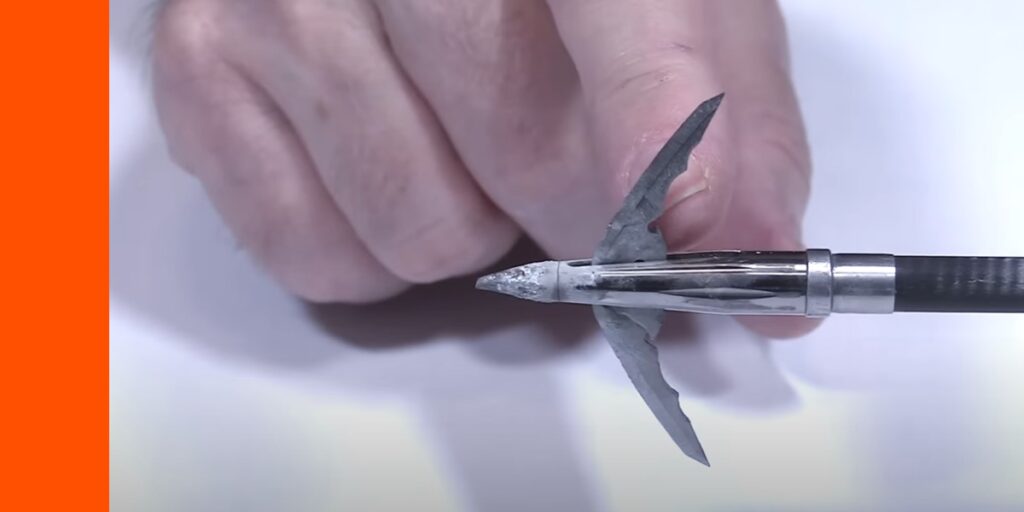
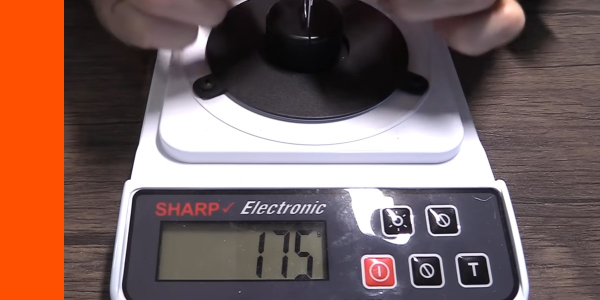
Initial Sharpness Test

It only took 150 grams of force to cut through the wire which is a 10 on a 10-point scale!
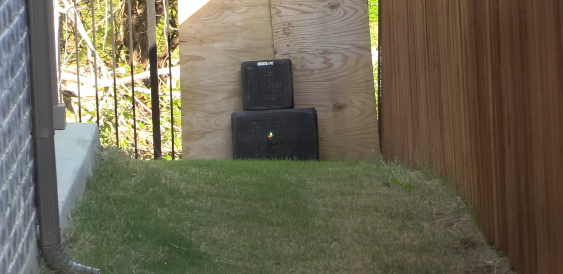
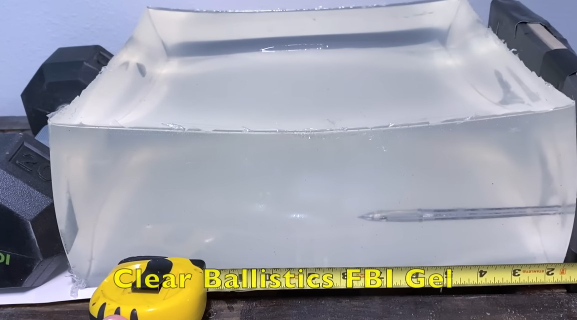
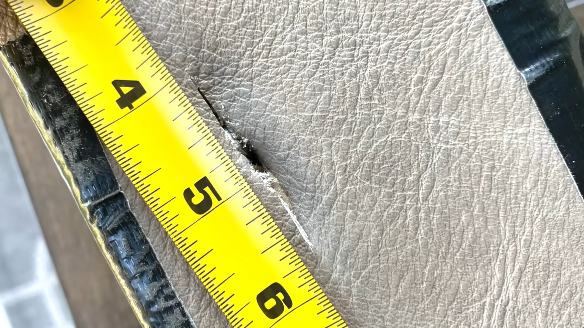
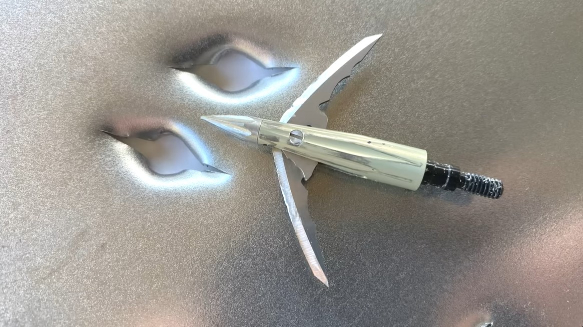
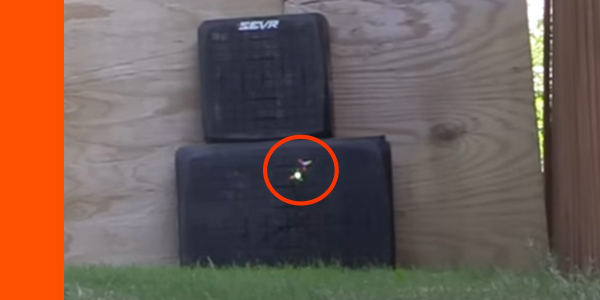
Penetration Test 1 (2/3″ rubber mat, 1/2″ MDF, FBI Gel):
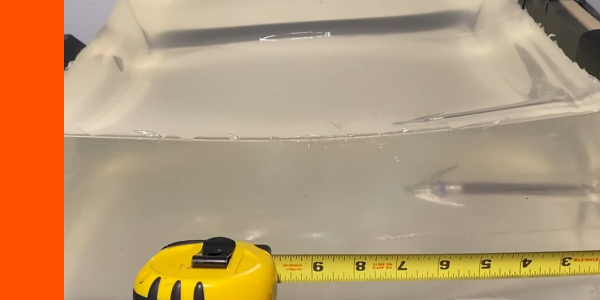
It penetrated 6 1/2″. And here, you can see the entrance hole, which is just about its full cutting diameter. These heads really do open well on impact….
But on the negative side, all 3 blades bent back quite a bit and that’s pretty rare that blades bend on this penetration test 1.
-
The N1 Outdoors® “Rackingham™” Whitetail Tee
Price range: $28.99 through $32.99 Select options This product has multiple variants. The options may be chosen on the product page -
N1 Outdoors® Angry Arrow™ Tee
Price range: $24.99 through $28.99 Select options This product has multiple variants. The options may be chosen on the product page -
Sale!

N1 Outdoors® Bowhunt Oh Yeah™ Bowhunting Tee
Original price was: $26.99.$9.00Current price is: $9.00. Select options This product has multiple variants. The options may be chosen on the product page
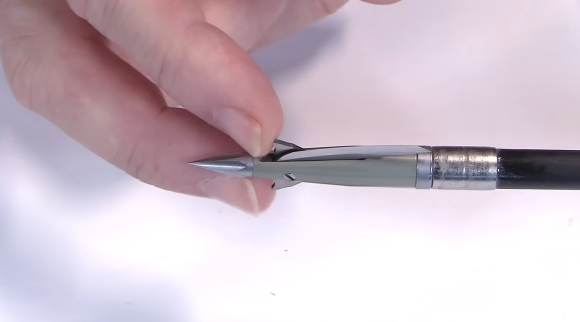
Edge Retention Test (sharpness after Penetration Test 1)
It took an additional 25 grams of force to cut through the wire, which is a 9.5 on a 10-point scale.
Penetration Test 2 (layered cardboard)
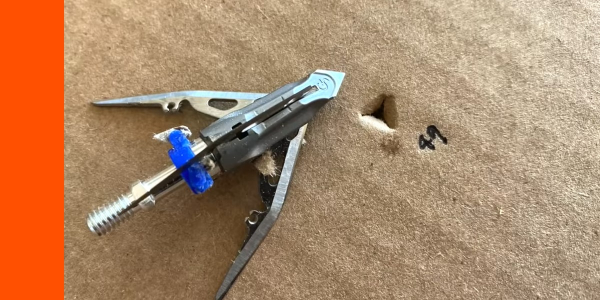
It penetrated through 49 layers of cardboard.
Angled Shot Test (1/4″ MDF Carpet)
The Megameat had no problem penetrating the angled MDF.
#ad

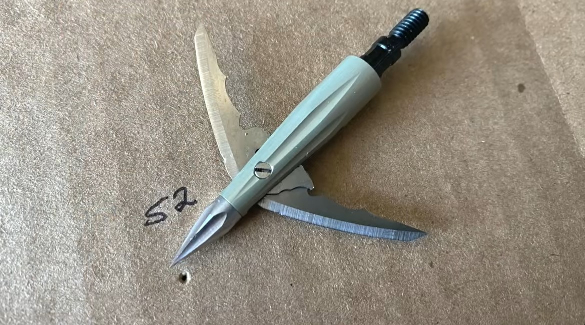
Durability Test (1/2″ MDF max 3 shots)
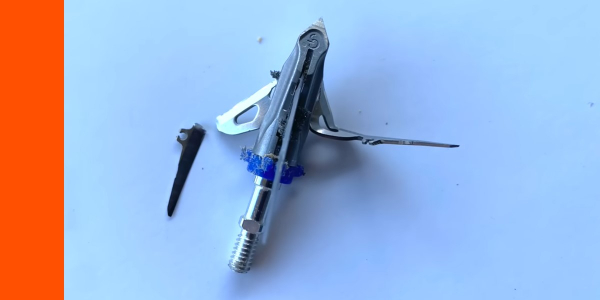
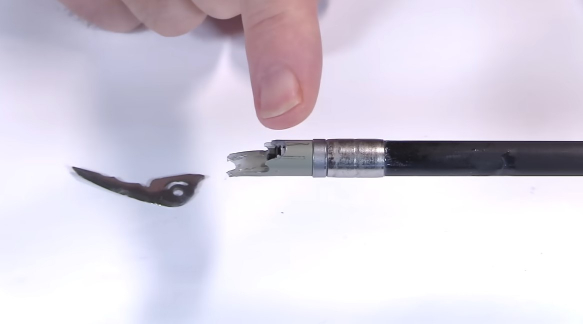
Here is the Megameat after one shot into the MDF and this was a new broadhead. I didn’t use the one that had previously bent on penetration test 1. I normally just use the same head all the way through. But since that was so bent, I started with a new head. And this is what happened just after one shot through the MDF. Normally, I do three shots, but I stopped after one because it was just so jacked up. So, it’s not going to go on to the steel plate test that I typically do.
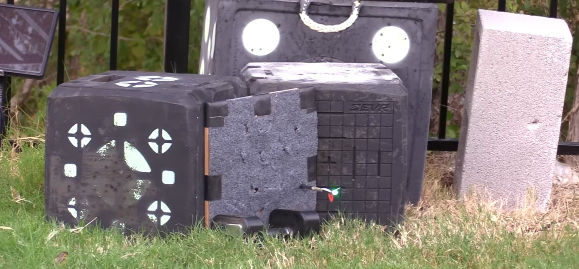
Cinder Block Test

So, here it is after impacting the concrete. Now as you saw, the blades got considerably bent on the MDF. And so, they didn’t make it to the steel plate round and even lost one of these blades. I used a pair of pliers to bend this blade back so I could shoot it into the cinder block, because I wanted to see how the ferrule would hold up. And man, the ferrule held up really well into the cinder block. The blades are just pretty weak because they are so long and they are so narrow and vented. But the ferrule did very well.
-
 N1 Outdoors® Antler Leather Patch Camo Rope Hat$29.99
 -
 N1 Outdoors® Fish Arrow Patch Rope Hat$29.99
 -
 N1 Outdoors® “USA Antler” TeePrice range: $24.99 through $28.99
#ad

Final Thoughts On G5 Megameat Broadheads
So, what do you think of the Megameat?
Man, there are a lot of cool features about this broadhead! I like the flight. I love the cut size. I love the rear-deploying blades and the way they open up to their full cut on impact. I also love the durability of the ferrule. That held up really well.
But man, the blades are weak!
I just wish they were stronger. I know in many situations, you can shoot it into an animal and it’s going to do just fine. I would say in most situations, it’s going to do just that. But, the blades are still just a bit weak.
So, how important that is for you… that’s up to you to determine. They bent very badly even in penetration test 1 (it’s rare that I see a broadhead get bent or damaged in that test), and then in the MDF, they just got all mangled. So, there is definitely a drawback.
Some people say, “Oh, it doesn’t matter. It’s one and done.” And I hear you.
But, it’s not just about being able to reuse the broadhead. If it’s one and done a quarter of the way through an animal, that’s a problem. It’s when does the “done” take place?
If it hits a rib or hits a bone, or maybe just an angled shot, and loses a couple of blades, or has some severely broken or bent back then maybe you’re not getting the big cutting diameter that you were really hoping for.
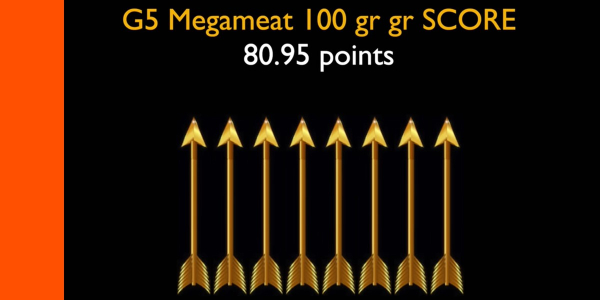
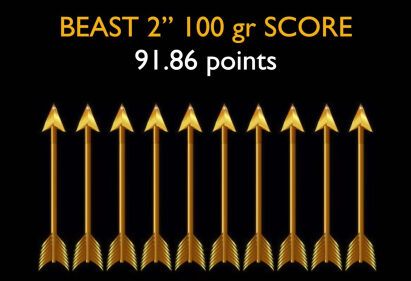
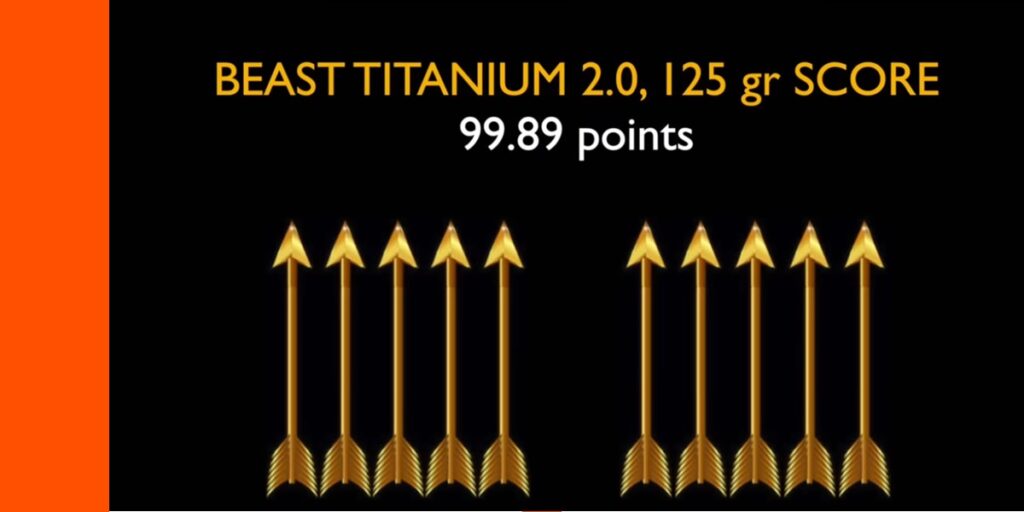
The G5 Megameat scored 80.95 out of a possible 100 points on the Lusk Score Card, giving it 8 golden arrows.
But, if you hit in the right spot, man, you’re going to really make a huge hole and put them down fast. So, that’s up to you to determine whether that’s a reasonable risk to take.