If you participate in the sport of archery or bowhunting, at some point you may wonder, “should I use arrow wraps or not?”
Well, you’re certainly not alone. Arrow wraps have been a topic of discussion by archers and bowhunters for years.
Wraps are typically used to add visual appeal to arrows… but what else are they good for? Is there a downside to using them?
If you’re currently trying to decide whether or not to use them, you may want to explore the pros and cons of wraps and consider how they impact your arrows visually, as well as their potential impact on performance, how they affect visibility and how they could potentially affect your arrow’s performance.
So let’s take a look at the pros and cons of using arrow wraps!
Pros of Using Arrow Wraps
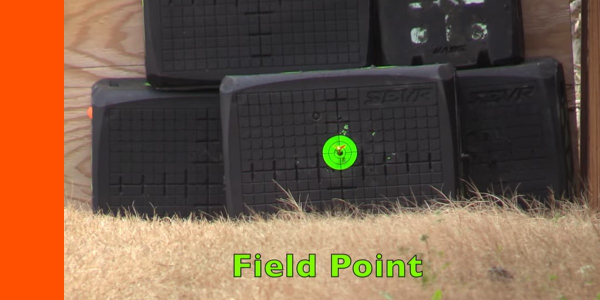
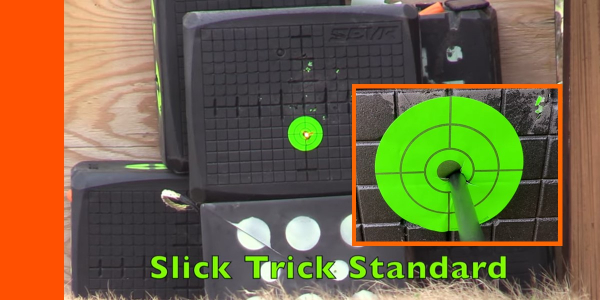
- Enhanced Visibility: Arrow wraps come in and endless array of colors and designs. Choosing a bright, or high visibility arrow wrap or tracer can make it much easier to spot your arrows in the field, especially in areas of tall grass or brush. After all, arrows are expensive! This can also be particularly useful in hunting scenarios where quick recovery of arrows is crucial to properly trailing and harvesting your game animal. Arrow wraps and tracers can be made in fluorescent and even reflective material, making it much easier to find your arrow, even in low-light conditions.
- Easy Customization: With wraps, you can easily customize your arrows to reflect the bowhunter’s personal style. You can also use them to match a particular color pattern or look of your target archery or bowhunting setup. Customization can also help in distinguishing your arrows from other shooters’ arrows when shooting in a group setting.
- Improved Arrow Durability: Wraps can help protect your arrow shaft from scratches, dents, and other damage that can occur during shooting or in the harvesting of a deer or other animal. This can prolong the life of your arrows and keep them in better condition for longer.
- Faster Fletching Replacement: If you need to replace or adjust your fletching, having an arrow wrap can make this process quicker and cleaner. If you don’t use wraps, you may end up frustrated from having to scrape the glue from the previous fletchings from your arrow shaft. (arrow shafts are expensive, remember?) Wraps can be replaced without damaging the underlying arrow shaft, and they often provide a clean surface for reapplying fletching, which is a huge benefit.
- Help With Nock Tuning: Some wraps help with nock tuning your arrows by providing reference points for turning the nocks when nock tuning. The N-Tune Nock Tuning Arrow Wraps and Tracers do just that.
-
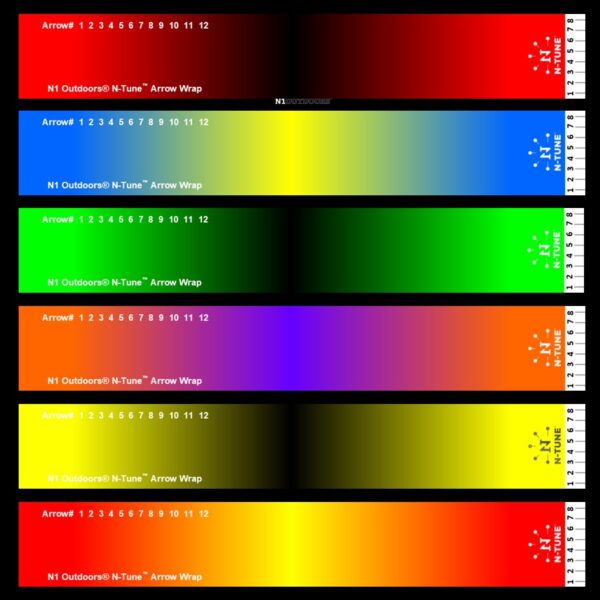
N1 Outdoors® N-Tune™ Nock Tuning Reflective Arrow Wraps – Dual Fade (Various)
Price range: $18.99 through $27.99 Select options This product has multiple variants. The options may be chosen on the product page -
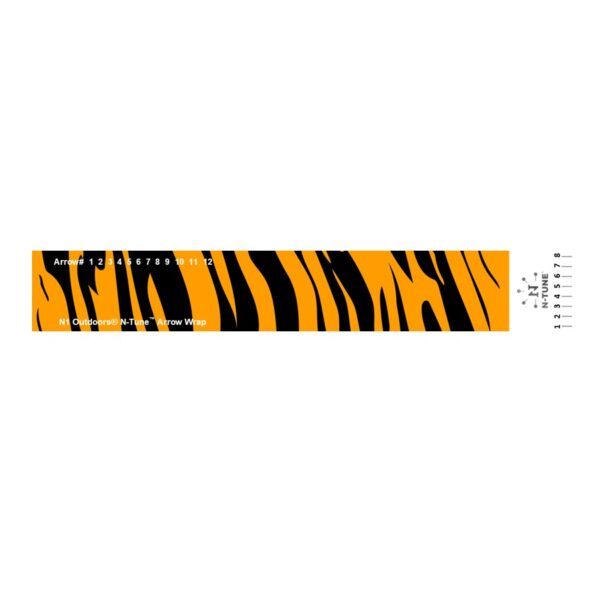
N1 Outdoors® N-Tune™ Nock Tuning Reflective Arrow Wraps – Tiger Stripes
Price range: $18.99 through $27.99 Select options This product has multiple variants. The options may be chosen on the product page -
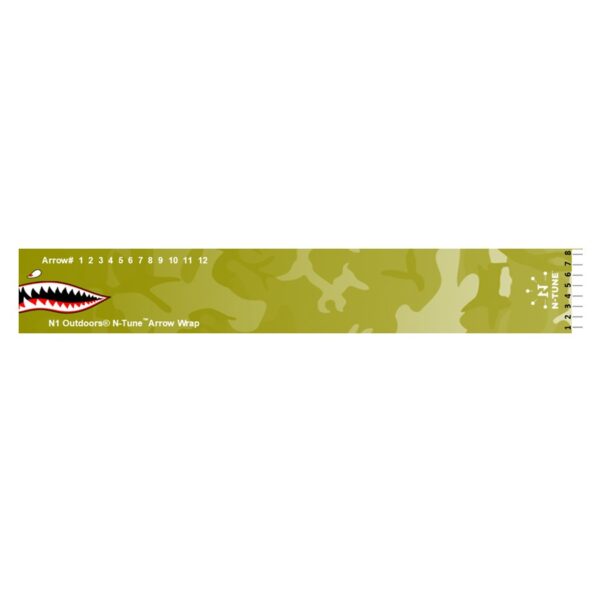
N1 Outdoors® N-Tune™ Nock Tuning Reflective Arrow Wraps – Sharkey™
Price range: $18.99 through $27.99 Select options This product has multiple variants. The options may be chosen on the product page
>> Check out eye-popping arrow wrap pad designs HERE!
Cons of Using Arrow Wraps
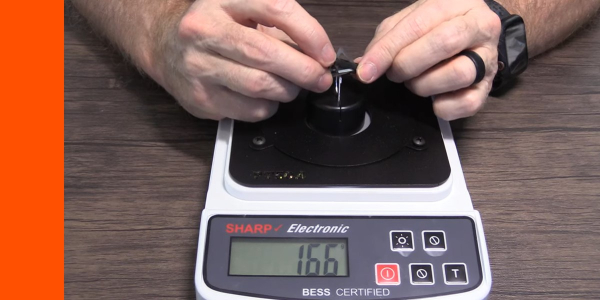
- Added Weight: Depending on the material and thickness, wraps can add weight to the back of the arrow. This could affect the arrow’s FOC.
- Adhesion Issues: Sometimes, wraps can peel or come loose if not properly applied or when exposed to extreme conditions. So, it’s important to always take time to apply arrow wraps correctly.
- Increased Cost: While not overly expensive, wraps are an additional cost. For archers and bowhunters on a tight budget, this could be a consideration, especially if outfitting multiple arrows.
- Maintenance Considerations: Over time, wraps can accumulate dirt or become scuffed or worn. Some bowhunters and archers may not enjoy removing them and reapplying and refletching, just to keep the arrows looking good.
-
The N1 Outdoors® “Rackingham™” Whitetail Tee
Price range: $28.99 through $32.99 Select options This product has multiple variants. The options may be chosen on the product page -
Sale!
N1 Outdoors® N1 Moments™ Licking Branch Buck SS Tee
$5.00 Select options This product has multiple variants. The options may be chosen on the product page -
Sale!

N1 Outdoors® Bowhunt Oh Yeah™ Bowhunting Tee
Original price was: $26.99.$9.00Current price is: $9.00. Select options This product has multiple variants. The options may be chosen on the product page
>> Check out tons more archery and bowhunting t-shirts HERE!

Final Thoughts
Arrow wraps can offer significant benefits in terms of visibility, customization, and shaft protection, but they also come with potential drawbacks related to weight, adhesion, and cost.
The decision to use them will depend on individual preferences, shooting conditions, and specific needs of the bowhunter or archer. As with many archery accessories, the key is to weigh the pros and cons in the context of your own shooting style and objectives.
Whether you decide to use wraps or not, enjoy the awesome sport of archery!