I’m Josh, and I got my hands on a hunting blind made by Nukem… it’s called the Grab & Go Hunting Blind.
This blind is supposed to be more for the run and gun type hunter, which sometimes I am, and sometimes I’m not. But, I’ve got young boys that I am trying to familiarize with the turkey woods, so I was excited to see how this worked with them.
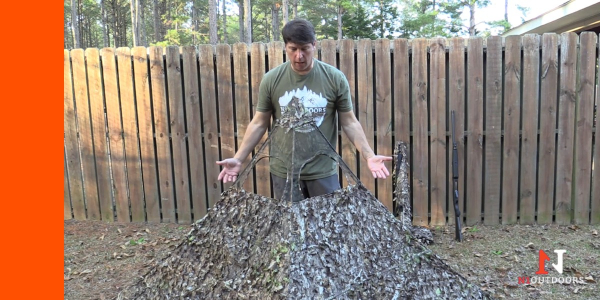
The Nukem Blind’s Ease Of Assembly
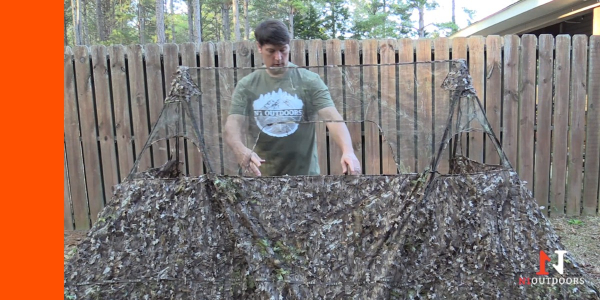
I was able to put the Nukem Grab and Go blind together very quickly (and I didn’t even read the directions!) The poles are like tent poles. They just connect together and have a bungee inside to hold them together once you get them fastened. There’s a bushing in the center on each one. There’s one along each side, and there’s one in the middle to keep it rigid.
The Nukem blind is adjustable to the height that you need it to be, based on the position you’re sitting. You can widen it out to shoot through it from a lower position. And then, if you’ve got a chair or something, you put it up higher.
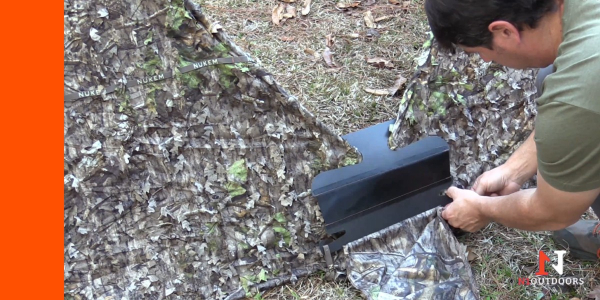
This was as I was putting together the “double up” Nukem system…
There is a center piece that attaches in the middle of the two blinds to connect them… it is attached to the leafy camo cover.
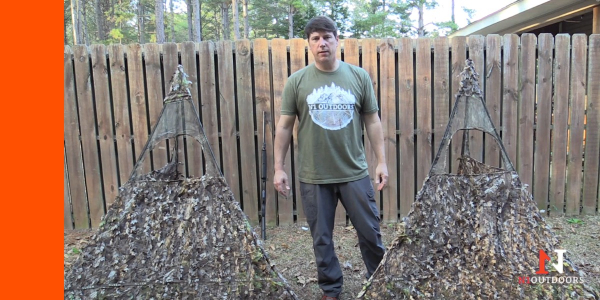
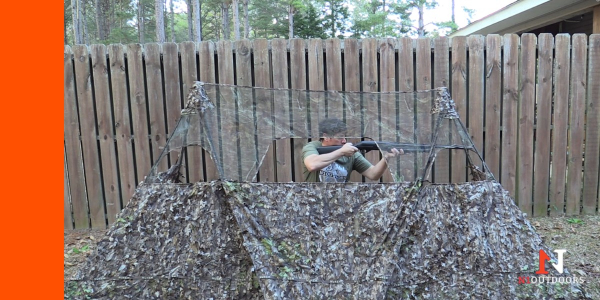
Here’s a look at what the double system looks like after connecting the two blinds. My first impressions on putting it together was that I was really impressed. I love the leafy camouflage. This is the Mossy Oak Country Roots color, but there are four or five different colors that Nukem has in this blind.
I’d say the whole setup only took about three or four minutes to set up, and that was my first time ever doing it! So, I’m sure you can do this in the woods in less than a couple of minutes.
I could tell that you’d want to be able to shoot to the sides of it if you can. I can see me back here with the video camera, videoing. I’d maybe have the boys a little bit closer so they can still shoot out the side, but so they’re more concealed. But, I really liked the way it was set up.
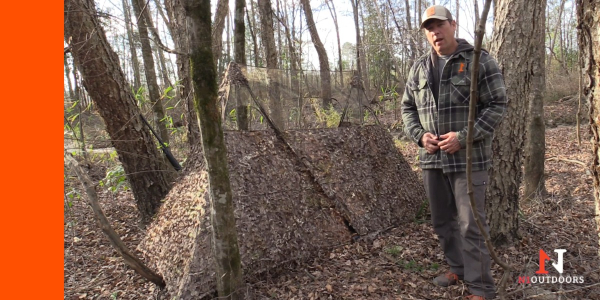
Trying Out The Double Up System In The Woods With Kids
As you could tell, those two little boys blended in real nicely behind this blind. And I don’t believe any a wily gobbler would have been able to pick them off (as long as they sit still!)
#ad
The Nukem Hunting Blind Is Solid
If you’re like me and you got kids that you’re going to be taking hunting this Spring, or even if you’re going to be videoing and doing a lot of moving behind the blind in the turkey woods, the Nukem Hunting Blind is a great option for turkey hunters.
This Nukem Grab & Go double up system really has impressed me. I don’t know what the woods look like where you are, but here in central Georgia, the Mossy Oak country roots pattern blends in really well. I’m not sure I’ve ever seen a blind blend in better than this Nukem Blind does in the Mossy Oak country roots.
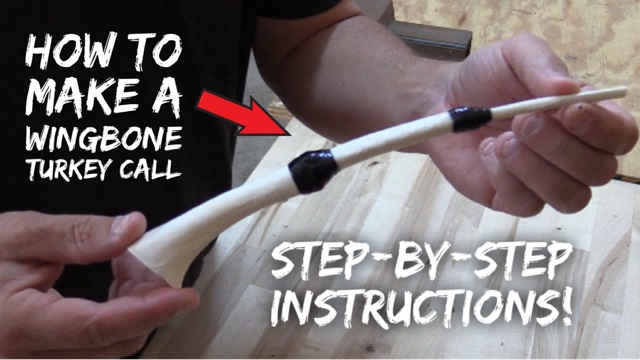
Hi, Josh Wells here, of N1 Outdoors, and I’m going to show you step-by-step how to make a wingbone turkey call!
Why Make A Wingbone Turkey Call?
You might want to make a wingbone turkey call for a couple different reasons.
Practically speaking, you might want to use one to locate turkeys (sounds logical, doesn’t it?)
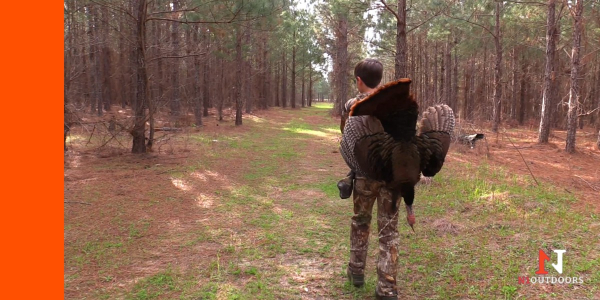
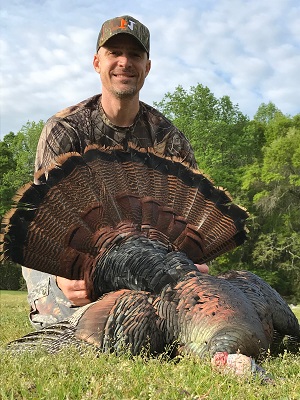
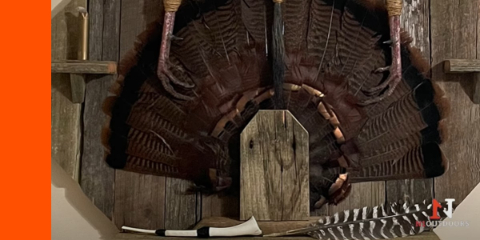
The fan and beard of a gobbler are prized possessions for a turkey hunter, but the wings can provide what is needed for a DIY turkey call!
Now, I’m not crazy about using one to call turkeys (I prefer a mouth call, pot call or box call). And, while a wingbone turkey calls will work to call birds, I prefer using it to locate birds because of its high pitch.
Secondly, you might want to make a wingbone call for a keepsake, which is why I’ll be showing you how to do this process.
I’m making one for my son Micah, as a way to commemorate his first turkey.
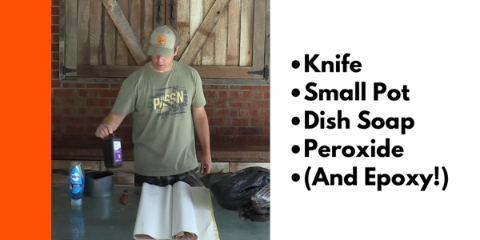
What You’ll Need
You don’t need much in the way of supplies to make your own wingbone turkey call.
Before we get into the specific steps of making a wingbone turkey call, here’s what you’ll need to get started:
The process of making a wingbone call is similar in some regards to another instructional I have done on how to make a European mount for a deer skull. But, the cleanup is a lot easier and the boiling takes less time.
Time needed: 4 hours
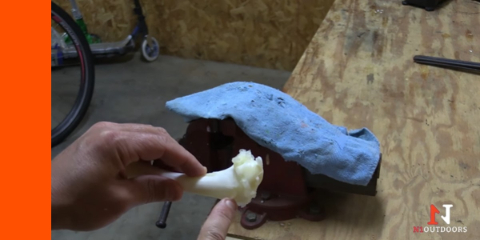
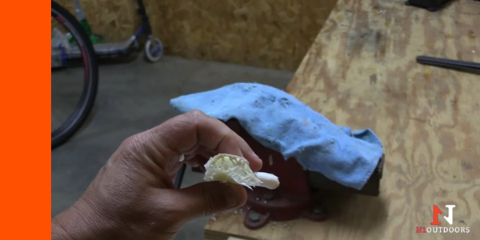
Cut the large bone
When you cut the big bone, you want to cut it right about here and at an angle (see above). We want that end to be as wide as possible so it will project the sound effectively.
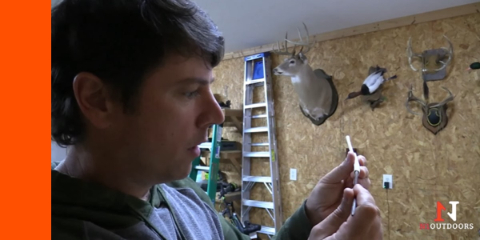
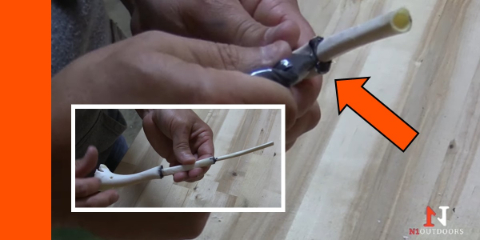
Clean out the inside of the bones (smaller bones)
You can get the marrow out several different ways. Once easy way is just to blow it out like a straw. Just pretend like you’re blowing spit balls like you used to in elementary school.
You can use a chainsaw file and insert it into the bone to remove the hardened marrow.
Clean out the inside of the bones (large bone)
You’ll notice how the larger bone has much more that needs to be cleaned out. You can work at it with the same chainsaw file. If you have a Dremel or similar tool, you can work on removing the marrow fiber that way.
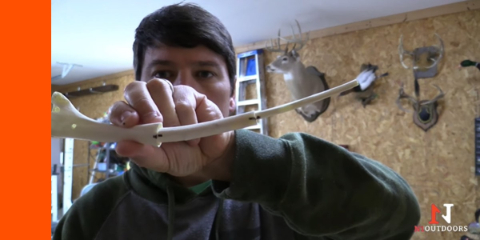
Piece the bones together and mark
Piece the bones together so that they follow the same crown line and mark the ends of each, so that when you take them apart to glue them, you’ll know how they go back together.
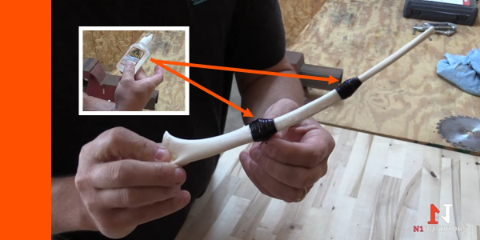
Glue the bones together
Use epoxy or other adhesive to glue the joints of the wingbones together.
Once you fit the glued pieces together, backfill any holes or creases so that the joints are airtight. The sound will be better, the more airtight it is.
You can use your finger to smooth out the adhesive.
Let them dry according to adhesive directions. Once it dries, you can lightly sand any undesired leftover adhesive residue.
Apply thread to joints (optional)
You don’t have to use thread on the joints, but it does give it a nice touch. Add a touch of adhesive and simply start wrapping around the joint until you reach the desired thickness/appearance.
Once you have finished wrapping, you can add some clear adhesive, so that it saturates the threaded section, hardens, and keeps the thread securely in place once it dries.
Final Thoughts On Making Your Own Wingbone Turkey Call
We hope this tutorial has been helpful in teaching you how to make your own wingbone turkey call. They not only make great keepsakes to remember special moments, but they are functional as well.
Be sure to check out more great hunting and fishing tips videos on our YouTube channel!
Bow hunting is a fun and adventurous way to hunt wild game. Many who have experienced success at it will tell you that there’s nothing quite like it.
Whether you are looking for information on bow hunting for beginners or even a seasoned veteran, we’ve got some helpful bow hunting tips to help you in your quest to become a better bow hunter.
There’s lots to learn with bowhunting. Below are 10 tips that will help you become better at harvesting an animal with the stick and string!
Bowhunting Tips Overview
Don’t worry, we’ll get to bowhunting tactics further down, but some of the best bowhunting tips are the ones that you learn before the hunt.
Tips 1-5 will prepare you in a way so that you can have the confidence to make a great shot when it counts the most.
Tip #s 6-10 will focus on tips and strategies to help put you in a position to hopefully punch your tag on your target animal.
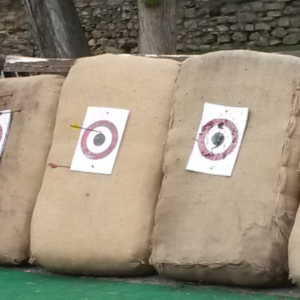
Check out the FIVE archery video tips below to get valuable information on how you can be sure you have an arrow that’s “Just Pass’N Through!”
Bow Hunting Tips: #1 – Bow Maintenance | Avoid Freak Accidents Like This One…
When you see this freak archery accident, you’ll want to learn what you can do to help prevent the possibility of it ever happening to you.
Bow hunting is more than just flinging arrows. bow maintenance checks in the off-season, as well as before your hunt, are an extremely important part of being sure you are able to bow hunt safely and avoiding injury.
In the first of our bow hunting tips, we’ve got details on how to do preventative bow maintenance, so you can avoid unnecessary accidents like this one when shooting your bow…
If you watched the above video, you’ll understand why bow maintenance is an important part of bow hunting.
Some of you are shooting your bow year round, but some of you put it into storage during the off season and because the temperatures can change in those environments, it’s very important to check bowstrings cables as well as your limbs before shooting.
Here are some things you should check before you shoot your bow:
Be sure before every shoot that you check your strings and your cables for any signs of wear or fraying. Anything like that can be a potential for a broken string or cable during a hunt just like in the video above.
Be sure you check your limbs very carefully. You want to be sure there’s no signs of splintering, bubbling, or cracking. Extreme temperatures and sometimes even storage can cause limbs to weaken. And, you don’t want to have one of those limbs be damaged or break during a shoot.
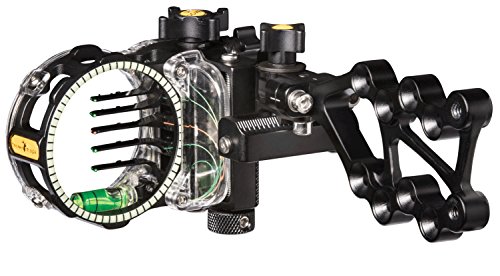
Be sure all your screws and any bolts are tightened properly, so that you don’t have any of your accessories loose during a shoot.
Check your cams. Be sure you don’t have any nics or cuts that would affect your string in any way, whether it be to cause a fraying or a cutting of the string, or else damage to a cam, where your string may actually even come off the track.
Be sure your rest is aligned properly.
Check cam rotation and be sure the cams are not warped and that they both reach letoff at the same exact time.
If you are not sure how to check the above items, we recommend you take to your local bow shop and have them look for you and inspect that, so that you can have the best chance of a safe shoot.
Tip #2 – Blind Bale Shooting [Improve Your Archery Technique]
In this N1 Minute archery tips video, learn how closing your eyes can be the best way to see results in your archery and bow hunting technique.
Stand back a few feet from a large target. Draw back and locate your target. Close your eyes and shoot. This drill will help grip, form, anchor point and release techniques. Put all these techniques together N1, and you’ll be seeing the results soon.
We earn a commission if you make a purchase, at no additional cost to you.
03/18/2026 10:01 pm GMT
Tip #3 – Aim Small Miss Small [Improve Your Accuracy]
In the third of our bow hunting tips videos, 3D archery tournament shooter, Cole Honstead, shows you a “small” tip that could help you BIG during hunting season!
Tip #4 – Hunting Stances Can Make Or Break A Bow Hunt [So, Know Them All!]
In the below N1 Minute archery tips video, learn about various stances that can help you in all types of bow hunting scenarios.
For those of you who have bow hunted any amount of time, you know that some things can happen during a hunt that simple target practice can’t prepare you for. The video above will show you some archery tips to help you be best prepared when your moment of truth comes.
Hunting stances can be used for everything from spot and stalk hunts in the West to using blinds and tree stands in the east.
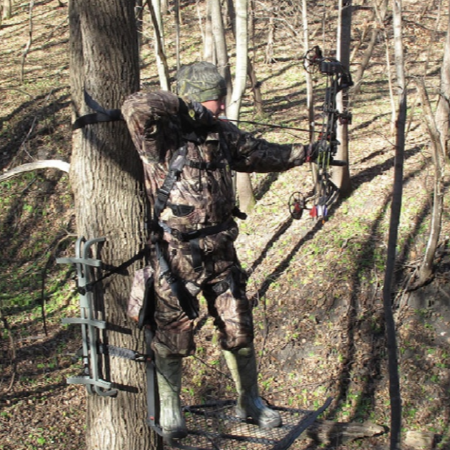
For tree stand hunting, try your best to get to the elevated position. This is as simple as finding the hill and using the bed of a pick-up.
For spot and stalk hunts, try practicing using incline and decline slopes. When shooting from a blind, you’d better get used to sitting in a chair or kneeling position.
Practicing these stances throughout the off season will give you that confidence for a shot of a lifetime.
We earn a commission if you make a purchase, at no additional cost to you.
03/18/2026 08:03 pm GMT
Tip #5: Off-Season Bow Practice [You’ll Hunt Like You Practice]
In this N1 Minute, learn some bow hunting tips on how to to keep your archery skills polished and sharp during the off-season so that you can maintain proper archery form.
You know for us bow hunters, this is the time of year that we practice and practice for. But what about when the season’s over? How do you keep your skills sharp?
Here’s a simple tip to keep those muscles active after hunting season and all it takes is a simple exercise band.
So many hunters put away their bows, after the fall, through winter, until turkey season. With, one of these exercise bands, you can practice your draw cycle throughout the winter and make that first draw in the spring a little easier.
Simply grasp one end of the band with your front hand and with your drawing hand, pull the band back to your anchor point. Repeat this ten to fifteen times and then switch hands. This will work both your back and shoulders. A few sets of this draw cycle exercise a day, and you’ll be ready to hit the mark on your next 3D shoot or Spring turkey hunt.
We earn a commission if you make a purchase, at no additional cost to you.
03/18/2026 08:00 pm GMT
Tip #6: Guessing Is Gambling [Scout Instead!]
Everyone has things going on in life. Whether it’s work, family or other obligations, sometimes it’s hard to make time to scout. Then, before you know it, deer season sneaks up on you and you find yourself scrambling to grab your bowhunting gear and get in a tree or blind.
Or, maybe you’re just tempted to get in the same stand you always hunt and hope for the best.
Sure, there’s always a story of this happening… but the reality is you need to put in the work before the season ever starts to increase your chances of taking a deer or other game.
Don’t gamble when you bowhunt. Scout prior to the hunt so you can put yourself in a position to be successful.
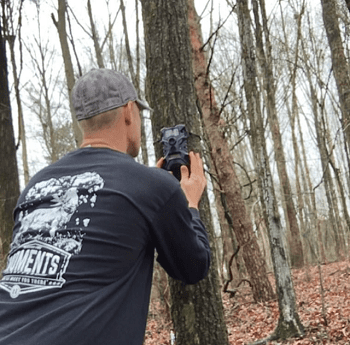
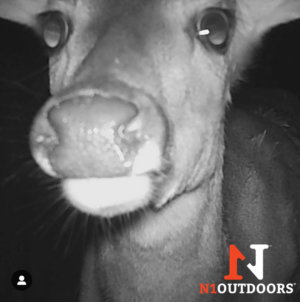
Basic trailcams have become much less expensive in recent years, so save your pennies and get a couple of these helpful scouting tools and place them overlooking scrapes or on know travel corridors to and from bedding and food sources. Y
Trail cam pictures can you give you insight into deer patterns and how they coincide to time of day, time of year, weather and food/water source availability. This will help you make decisions on where to hang that deer stand or blind.
As discussed in our earlier tips, having properly functioning equipment and being proficient with it is critical. However, it can all be for nothing if you don’t practice scent control.
You will be hunting deer and other animals on their home turf. They have the upper hand and their noses are a big reason why.
Not only are the deer at an advantage – but you’re bowhunting – so, you need to be able to get much closer to the animal than you would if you were rifle hunting.
So, the bottom line is that you need to smell as little like – well, YOU – as possible!
Don’t give a deer’s nose a reason to tell it to run away. Make every effort to be as scent-free as possible.
There are plenty of scent-free and scent-control soaps and detergents available at your local sporting goods store. You can also wash your clothes in baking soda. Then, store your clothes in a scent free bag or container.
On the day of your hunt, avoid coming in contact with any scent that would smell unnatural to a deer’s nose. Yes, that means you might need to skip the steaming hot sausage biscuit run or the pre-hunt cigarette before the hunt.
Tip #8: Entry And Exit Routes [They Can Make Or Break Your Hunt]
When you’re bowhunting, it’s easy sometimes to get focused on where you’re going to hunt.
But, you need to spend just as much time planning how you’re going to get to that magic hunting location that will put you in the best spot for a harvest.
Whether you’re hunting public land on thousands of acres, private land or even suburban hunting, animals are always looking – and smelling – for danger (you realize you are considered danger, right?)
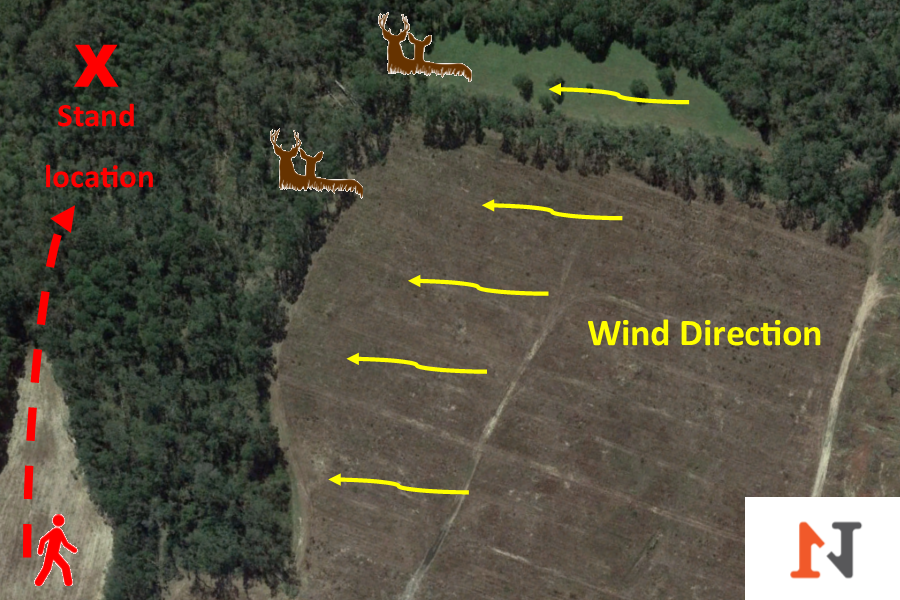
Staying downwind of the deer’s location will decrease your chances of getting busted!
So, if the deer or other game see, smell or hear “danger” as it goes to and/or from the magic hunting spot, they aren’t going to stick around and stand quartering away for you to put an arrow through the boiler room.
So, how can you avoid being busted on your way to and from your hunting location?
First of all, as we’ve already covered, you must do everything you can to be scent free and you must always pay attention to the wind direction. You don’t want your scent blown to where you expect the deer to be on your way in.
The same goes for exiting your hunting location. If deer bust you leaving your hunting location, they will associate that location with potential danger and you may not get another chance at them there.
So, be sure to plan your entry and exit routes so that you stay downwind of the where you know the deer or game to be. This can greatly increase your odds of slipping in and out as undetected as possible.
Taking an ethical shot is such an important part of bowhunting. Take a shot that gives you the best chance at a quick and clean kill.
This isn’t always easy when bowhunting. So, that’s why it’s so important to have followed the pre-hunt bowhunting tips in #1-5 that we covered, so that when the moment of truth comes, you know you are ready.
You don’t want the animal to suffer and you also want to be sure you are shooting at the deer or game so that you can have as quick and humane kill as possible.
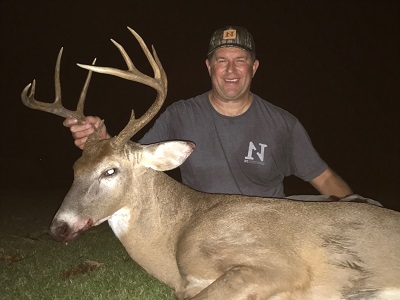
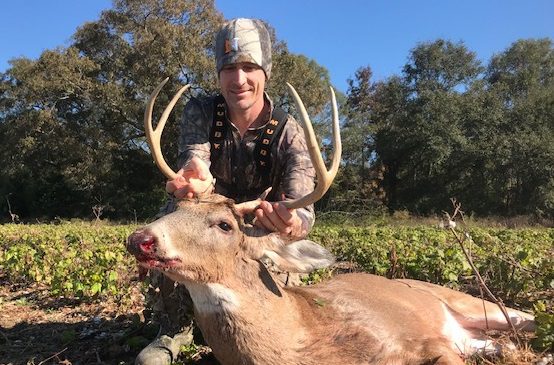
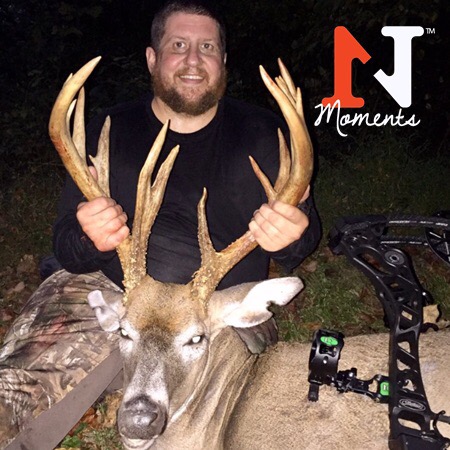
We couldn’t leave out number 10, could we. After all, you’ve put in the work getting proficient with your bow and you’ve worked hard to get yourself in position to successfully take an animal. So, when you finally do it, you’ve got to celebrate the moment!
Celebrate! It’s one of the best bowhunting tips we can give you…
And, there’s no better way to do that than with family and friends.
That’s why we say here at N1 Outdoors: Where the moments happen, we’ll meet you there!
Bowhunting Tips | Final Thoughts
Happy hunting… we hope you have found our bow hunting tips to be useful in your quest to become better at your craft.
Do you have some bowhunting tips that you think would be good additions? Let us know in the comments below. It’s always great to learn from other hunters!