Today, I’m going to be testing a head designed specifically for turkeys… the VPA Turkey Spur.
Now, even though this head is designed specifically for turkeys, I put it through my normal test protocol. That way, you can compare the results with other broadheads, and see if it might be a good fit for you.
So, let’s get started looking at what I found out!
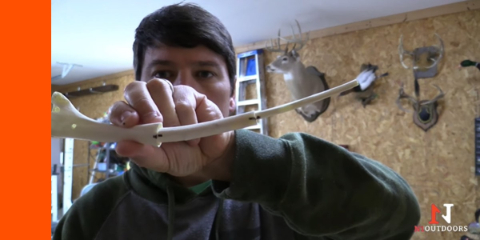
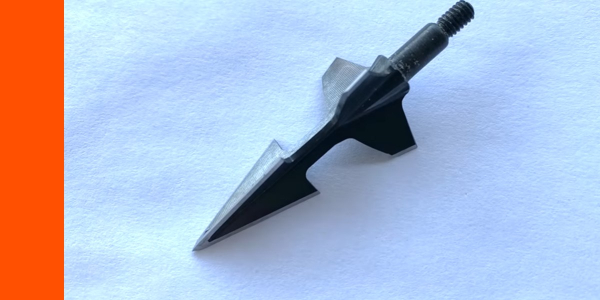
The VPA Turkey Spur Up Close
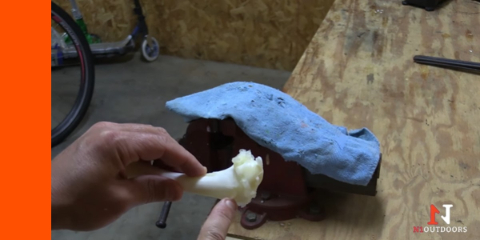
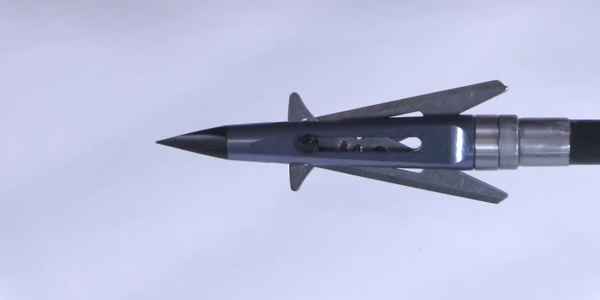
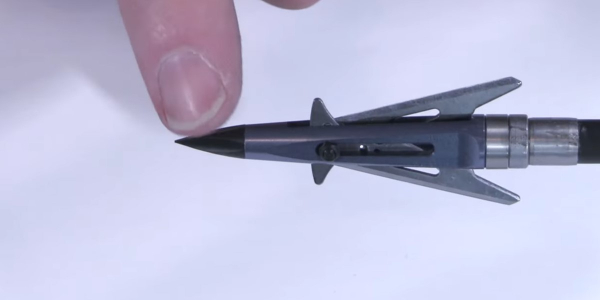
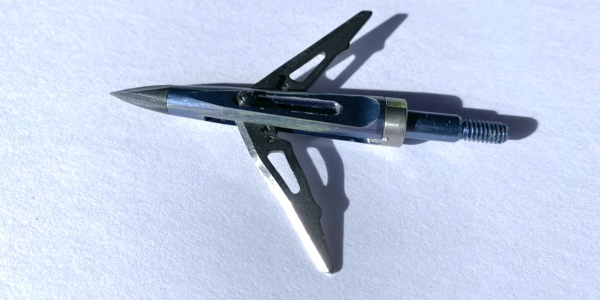
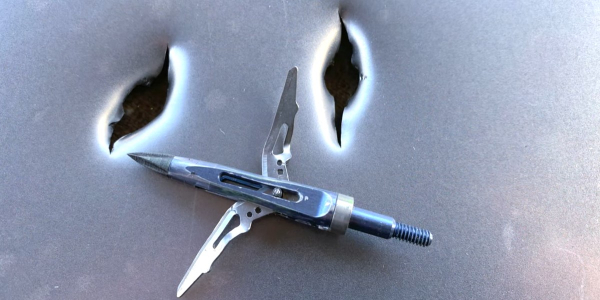
Here’s a good look at the head. Man, what a really cool looking design! I’ve never seen another broadhead like it!
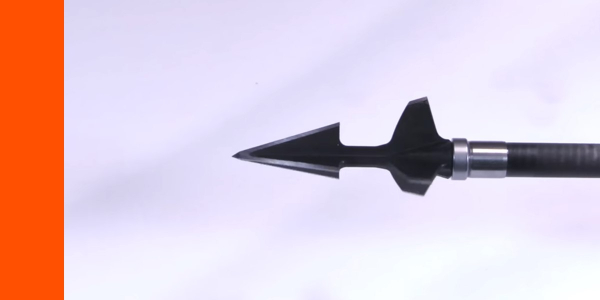
The VPA Turkey Spur broadhead is machined out of a single piece of carbon steel.
The cutting diameter, at its maximum, is 1-1/8″, which is pretty standard for a three-blade broadhead. That’s exactly what this head is… a simple three-blade broadhead with a pyramid tip to give it extra durability. The idea is that the initial tip will penetrate really deeply into the animal.
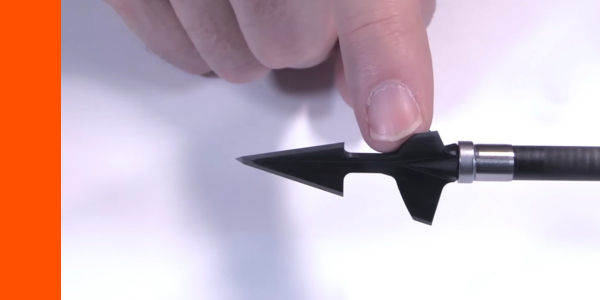
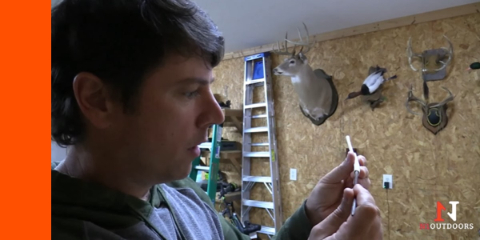
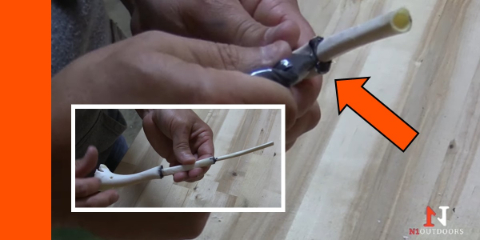
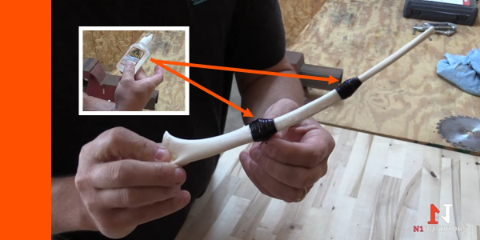
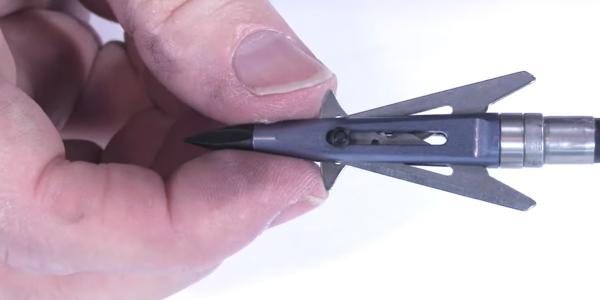
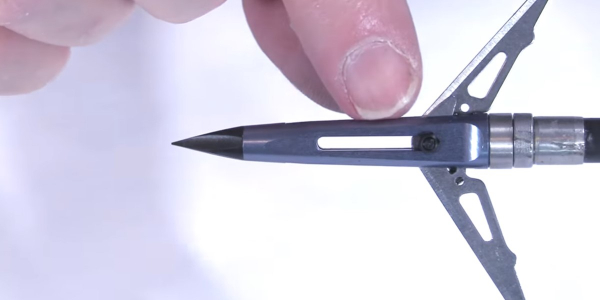
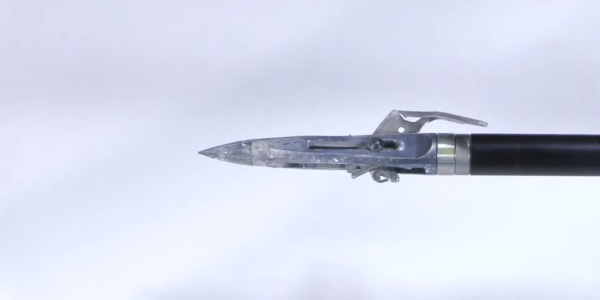
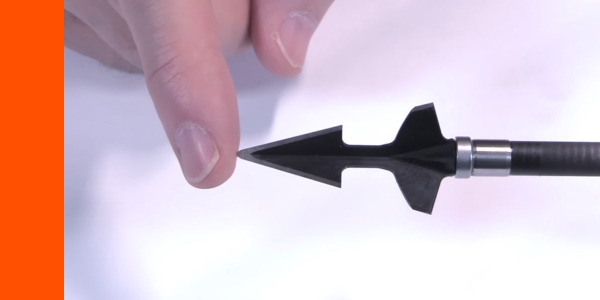
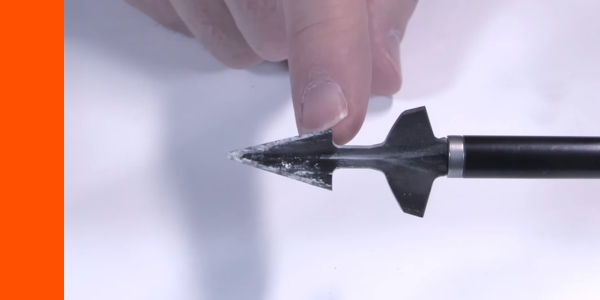
Here’s a look at the part of the head that is dull, which is supposed to add knockdown power on a turkey.
There’s about a quarter of an inch of the second blade that’s not sharpened, all the way around, just to give it some knockdown power in releasing or transferring the energy, that’s built up from the momentum, into the animal
The duller part of the blade is also supposed to help decelerate the speed of the arrow and slow down the penetration, so that the bird really feels the full impact of the arrow. And then, it’s sharpened again on these ends.
-
Sale!
N1 Outdoors® Whitetail Sugar Skull Tee (Black/Columbia Blue)
$19.00 Select options This product has multiple variants. The options may be chosen on the product page -
N1 Outdoors® “USA Antler” Tee
$24.99 – $28.99 Select options This product has multiple variants. The options may be chosen on the product page -
Sale!
N1 Outdoors® N1 Moments™ Licking Branch Buck SS Tee
$5.00 Select options This product has multiple variants. The options may be chosen on the product page
#ad

Testing Of The VPA Turkey Spur Broadhead
I was eager to see how the VPA Turkey Spur performed!
For the testing of the VPA Turkey Spur broadheads, I used by BowTech CP28 set at 72 pounds. I also used Bishop FOC King arrows for most of the shots. (On the really hard impact shots, I used the Bishop FAD Eliminators, because they can really take a beating!)
Flight Forgiveness Test
I shot one field point and then one of the Turkey Spurs at 30 yards. It had moderately forgiving flight.
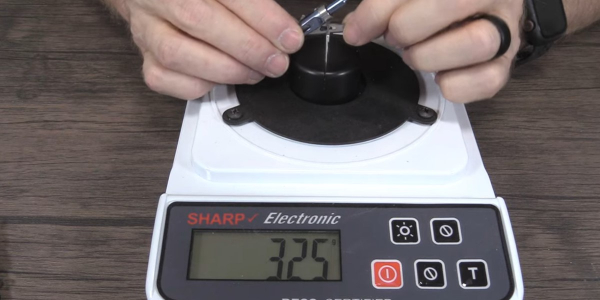
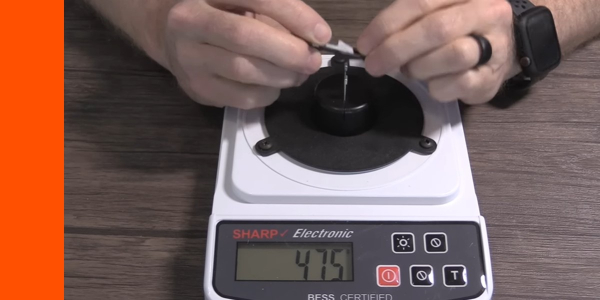
Initial Sharpness Test
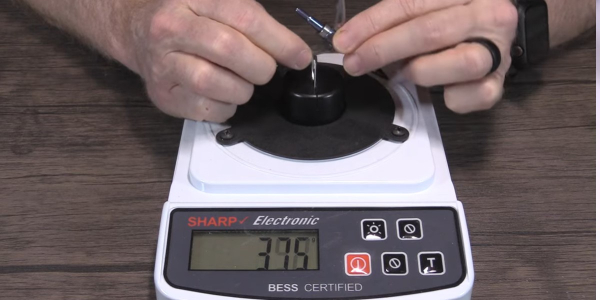
In this test, I measured how much force it takes to cut a wire with the blade of the head. The lower the number, the better.
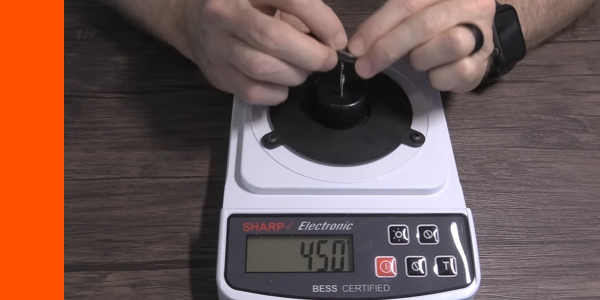
It took 450 grams of force to cut through the wire which is a 7.5 on a 10-point scale.
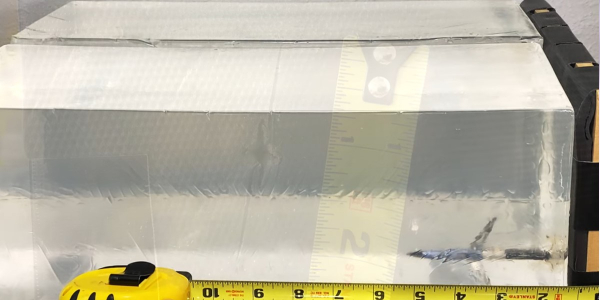
Penetration Test I: 2/3″ rubber mat, 1/2″ MDF, Clear FBI Ballistic Gel
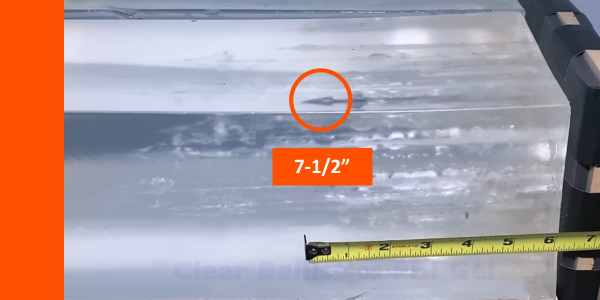
It penetrated 7-1/2″ of ballistic gel that was fronted with a 2/3″ rubber mat and 1/2″ MDF.
Edge Retention Test: (Sharpness After Penetration Test I)
It only took an extra 25 grams of force to cut through the wire. That is a great result!
It took an extra 25 grams of force to cut through the wire which is a 9.5 in a 10-point scale.
#ad

Penetration Test 2: Layered Cardboard
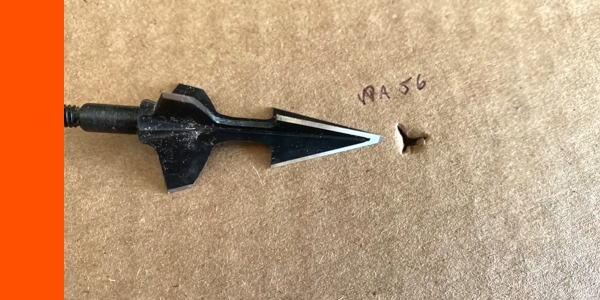
It penetrated through 56 layers of cardboard.
Hunting shirts from N1 Outdoors®
-

N1 Outdoors® Spring Showman™ Turkey Tee
$26.99 – $32.99 -

“Edge of the Outdoors™” Tee featuring Tuffhead Evolution Broadhead (Various)
$24.99 – $28.99 -

N1 Outdoors® Angry Arrow™ Tee
$24.99 – $28.99
Angled Shot Test: 1/4″ MDF And Carpet
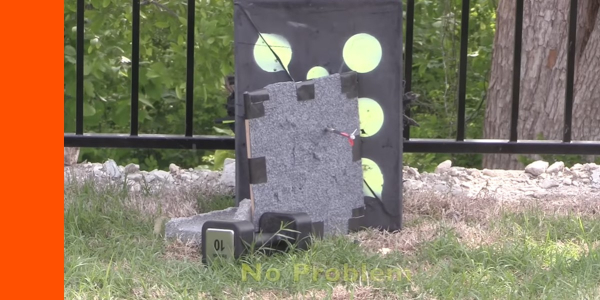
The Turkey Spur penetrated the angled MDF with no problem at all.
Durability Test #1: 1/2″ MDF (Max 3 Shots)
I shot the Turkey Spur into 1/2″ MDF 3 times and it was in excellent condition afterwards.

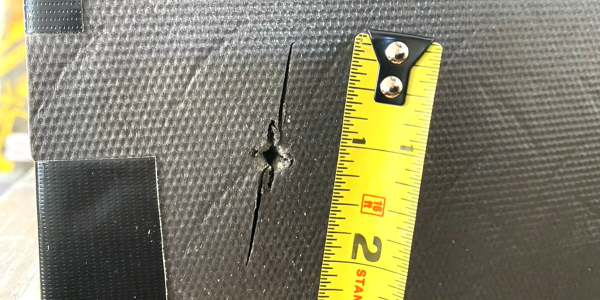
Durability Test #2: 22-Gauge Steel (Max 2 Shots)
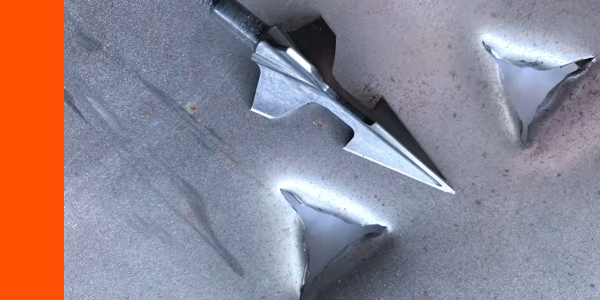
It held up really well through the steel plate. And you can see the tip got a little bit blunted, but the edges held together really well and it made decent holes. They’re just really small especially for a turkey head.
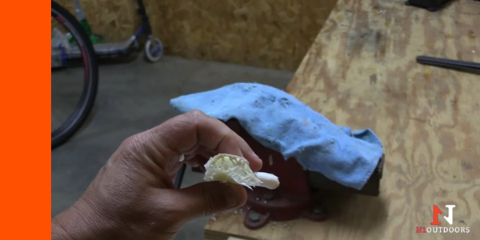
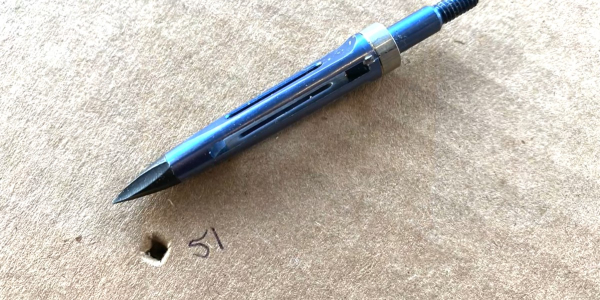
Concrete Test
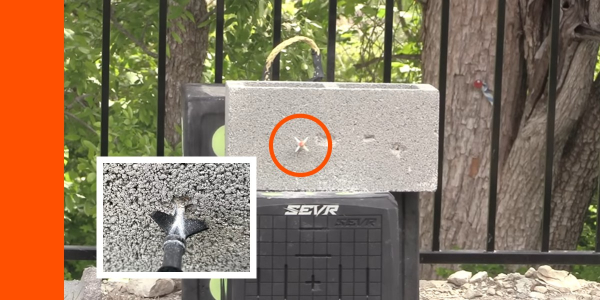
I shot the Turkey Spur into a concrete block. It actually stuck!
Here is the Turkey Spur after all the durability tests (going through the MDF three times, a steel plate two times, and then sticking into the concrete). Man, the entire tip went into the concrete! That was some deep penetration into that cinder block. And, the cinder block was tougher than the other ones I’ve used recently, here in Texas. But, it held together fairly well through all of that. The edge still stayed relatively sharp (it did get a bit of tip curl from the steel plate test. And, there’s a little bit of a wobble to it.)
Final Thoughts On The VPA Turkey Spur Broadheads
So what do you think of this broadhead?
It performed really well in all the testing. The flight was good, the penetration was good, and the durability was good. It definitely has a lot of strengths.
But when it comes to really choosing a broadhead for a specific animal, like in this case, turkey, I’ll be honest, I don’t really get it.
-
N1 Outdoors® N-Tune™ Nock Tuning Reflective Arrow Wraps – Red Jet™
$18.99 – $27.99 Select options This product has multiple variants. The options may be chosen on the product page -
N1 Outdoors® N-Tune™ Nock Tuning Reflective Arrow Wraps – Speed Spear™
$18.99 – $27.99 Select options This product has multiple variants. The options may be chosen on the product page -
N1 Outdoors® N-Tune™ Nock Tuning Reflective Arrow Wraps – Sharkey™
$18.99 – $27.99 Select options This product has multiple variants. The options may be chosen on the product page
You know, I understand the design, but it doesn’t really add that much more lethality for turkey over any three-blade 1-1/8″ cut like a Montec or something like that. I mean, maybe it has a little bit more knockdown power with those blunted blades in the back.
When it comes to hitting the heart, lungs of a turkey and really putting it down fast, I want the biggest cut I can possibly get.
There are a lot of other fixed blades with a bigger cut than this.
And, there’s also a lot of mechanicals and hybrids with a much bigger cut than this.
So, if you like using these and they work good for you, that’s awesome, more power to you!
I really enjoyed testing it. But, I am not going to put this on the end of one of my arrows on a hard earned shot on a turkey. I’m going for a much bigger cut to put that bad boy down as quickly as possible.
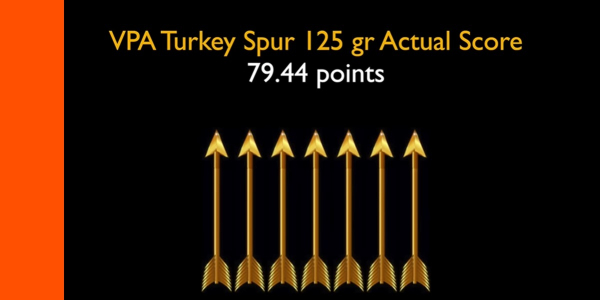
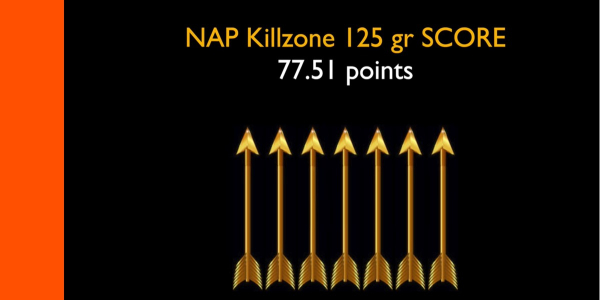
I’ve got two scores for this head. The actual raw score that it got was 79.44, which is seven golden arrows…
…But as a turkey broadhead, which is what it’s designed and marketed for, I gave it five golden arrows.