Shooting firearms recreationally can be an enjoyable hobby, but it can also come at a price to your hearing.
Firearm noises can be especially harmful as they have high and low frequencies that can damage your hearing, mainly when the frequencies are sustained at increased volumes.
Exposure to loud sounds over a long period may result in permanent hearing damage. This is why wearing ear protection is essential when shooting any gun type.
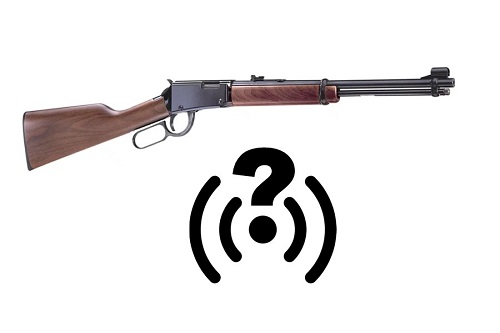
How Loud Is A .22 Rifle
But, let’s zero in and discuss one popular gun in particular… the .22 rifle.
The .22 rifle is often used for hunting small game and is common among recreational shooters. .22 caliber firearms produce noise levels ranging from 120 to 140 dB (decibels), meaning they’re louder than everyday conversations, which emit about 60 decibels of sound.
Is a .22 rifle louder than a shotgun?
.22 rifles aren’t as loud as shotguns. A shotgun can go up to 160 decibels, while a .22 rifle goes to around 130-140 decibels.
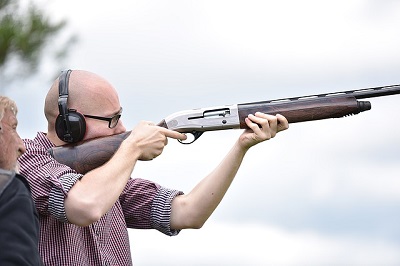
A shotgun is louder than a .22 rifle, as the air blast it releases is greater when the gun is fired.
How loud is a 9mm vs. a .22?
A .22 caliber bullet is quieter than a 9mm, the most common firearm round.
While a .22 emits about 120 sound decibels, a 9mm produces up to 160 because a .22 has smaller rounds than a 9mm. As a result, the kinetic energy it possesses when fired isn’t as much, resulting in less noise.
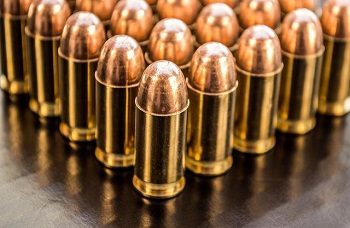
9mm rounds are louder than a .22 rifle, due to their size.
A .22 rifle is an excellent option for those looking for relatively quiet but powerful guns. It’s ideal for small game hunting and target shooting and won’t bother your neighbors as other bigger calibers might.
Although .22 rifles are quieter than other guns, it’s still vital to take measures to protect your ears when shooting one.
Using hearing protection can shield you from the high-pitched noise they produce as it may potentially damage your ears.
How far can you hear a .22?
How far you can hear a .22 varies depending on how sound travels and the environment.
Under perfect conditions, you can hear it from up to two miles away. Nevertheless, in an urban setting with many noise sources and buildings, the distance can be reduced to a few hundred yards.
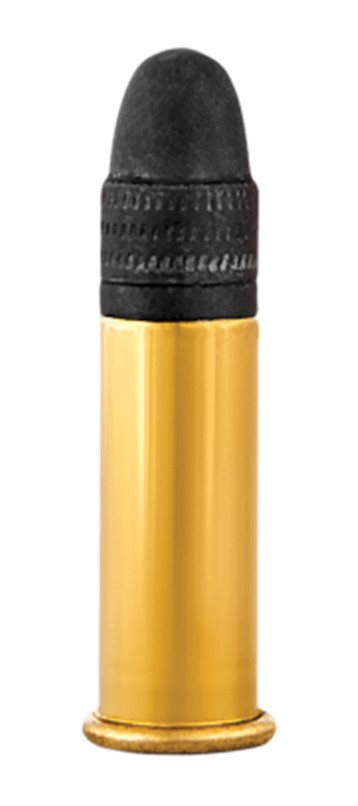
A classic .22 caliber round emits sound that is comparable, in decibels, to a an ambulance siren or a rock concert.
A .17 HMR cartridge is a quieter option that produces around 100 decibels of noise.

How loud are .22 subsonic sounds?
The decibel scale measures sound intensity. And while a a .22 caliber round is considered a low-intensity round, the decibel level can vary based on the ammunition and gun types being used.
For instance, a suppressed .22 pistol could have around a 95 dB noise level, while the unsuppressed one could go up to 135 decibels.
If you want a quieter round that won’t bother your neighbors, a .22 caliber subsonic round can be the way to go. These rounds move at speed lower than a standard round, significantly reducing noise levels.

How to Protect Your Hearing From Firearm Noise
While you may love hunting, enjoying it without hurting your hearing should be a main focus.
People who use firearms are at a greater risk of experiencing tinnitus, hearing loss, and other hearing problems.
Exposure to more than 85 decibels may result in noise-induced hearing loss. The loud sound can permanently destroy the hairs in your ears that stimulate the auditory nerve fibers.

Other factors contributing to harmful noise levels when using a firearm may include gun modification mechanisms like muzzle breaks or discharging the firearm where sounds can echo or reverberate.
Hearing loss also impacts how you hunt, and may be tied to cardiovascular disease, depression, cognitive decline, balance issues like falling, isolation, social withdrawal, and other challenges.
Good hearing promotes situational awareness, which is crucial in the field. Hearing protection ensures that attention is present when you need it the most.
Understanding hearing protection and hearing enhancement will help you better protect your ears. Outlined below are ways to protect your hearing from firearm noise.
-
 N1 Outdoors® Elk Antler Leather Patch Hat (Duck Cloth/Camo)$32.99
 -
Product on sale
 N1 Outdoors® TriBlock™ Duck shirt (Dark Heather)Original price was: $22.99.$5.00Current price is: $5.00.
 -
Product on sale
 N1 Outdoors® N1 America™ Heather Tee$9.00
Use earmuffs
Earmuffs are personal protective gear meant to protect you against excess noise pollution. They’re made of sponge and thermoplastics and have a pair of cups. The cups are usually attached to a steel or plastic headband’s outer ends to fit over your ears’ top while covering them tightly.
You can wear acoustic earmuffs alone or with earplugs, reducing dangerous noise that can potentially damage your hearing.
Try earplugs
Earplugs come in various types, and this is why you should consult a professional to identify a proper hearing protection solution. Some may include:
- Custom earplugs: They contain special filters for an accurate, even noise reduction level. You can have custom earplugs programmed to lessen sounds by the necessary amount and filter specific sound types more than others. They’re made with molds of your ear by a skilled professional, ensuring they’re a perfect fit and seal your ear better than standard earplugs. They’re comfortable and ideal for wearing for longer hours
- Electronic shooter earplugs: Electronic earplugs can listen to the noises around you, offer automatic protection from impact noises like gunshots, or gradually turn up a reduced protection noise reduction rating in response to background sounds slowly increasing to hazardous levels. They offer you the protection you require from one moment to another without removing or fiddling with your earplugs. Electronic earplugs can let lower decibel sounds pass while blocking harmful noises.
- Reusable shooter earplugs: They’re an effective way to reduce sound levels, protecting from high shooting decibels. When looking for reusable shooter earplugs, note that various reusable earplugs have different noise reduction ratings. The higher the ratings, the better the noise reduction level provided it’s a good fit for your ear. Reusable shooter earplugs are durable and can be used multiple times
#ad

Endnote
While a .22 is not as loud as many other rifles, it can still be pretty loud, impacting your hearing. So, consider using hearing protection each time you use any gun, to prevent permanent hearing loss and other impairments.
Safe and happy shooting!