You most likely found your way here because you are interested in how the TruGlo Broadheads perform.
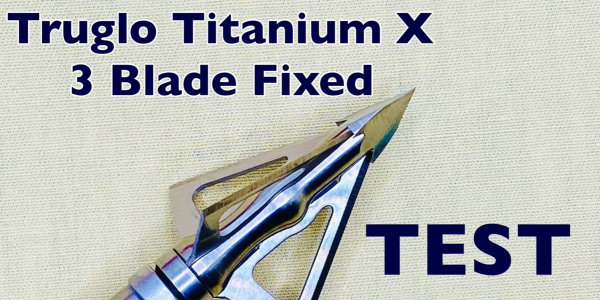
Well, you’re in luck, because in this review, I tested the TruGlo Fixed Blade Titanium 3 Blade Head.
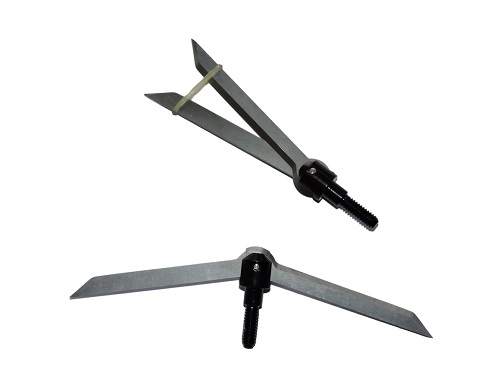
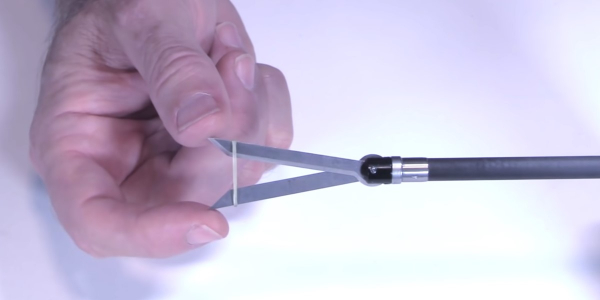
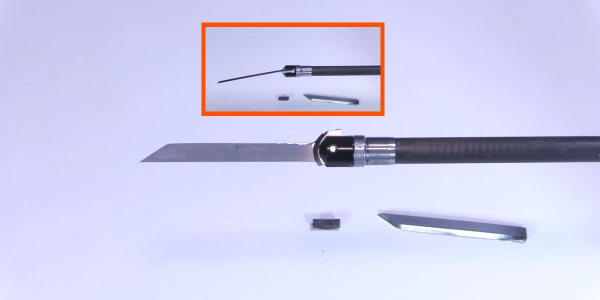
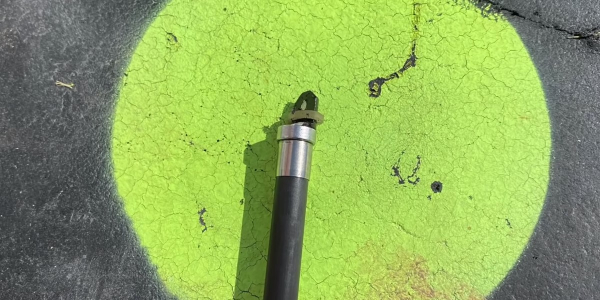
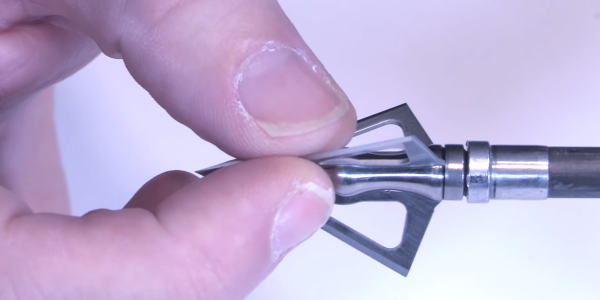
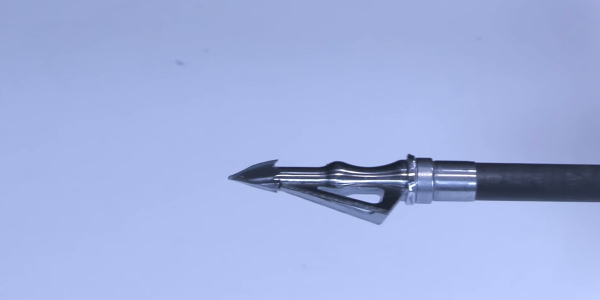
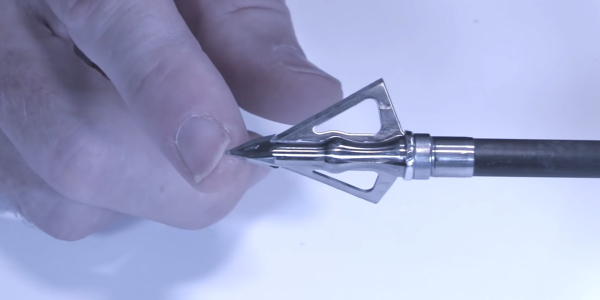
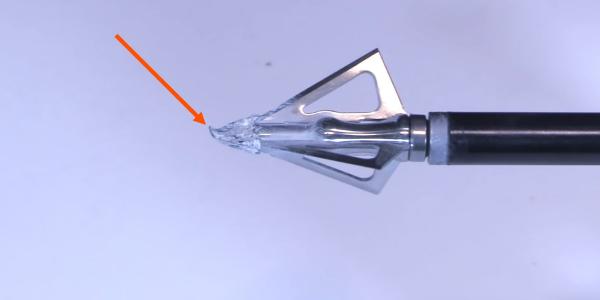
A Closeup Look At The TruGlo Titanium X 3-Blade
So let’s zoom on in here. Check out some of the designs features and specifications and then put this Truglo to the test.
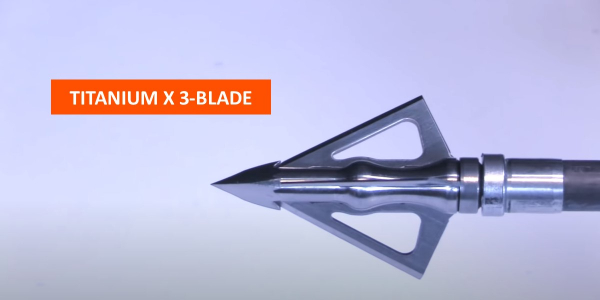
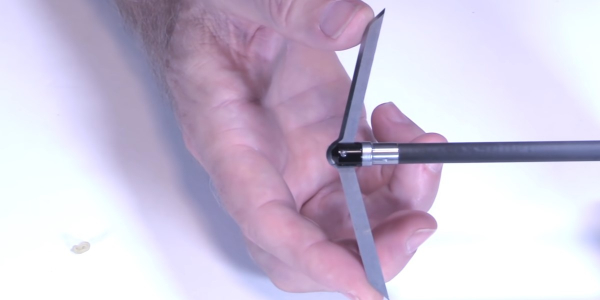
Here’s a good look at the head close up. Pretty cool-looking head. It is 100 grains. It’s a 3-blade head with replaceable blades. .
Each of the blades are 0.031 inch thick, so they’re relatively thin compared to a lot of other heads on the market.
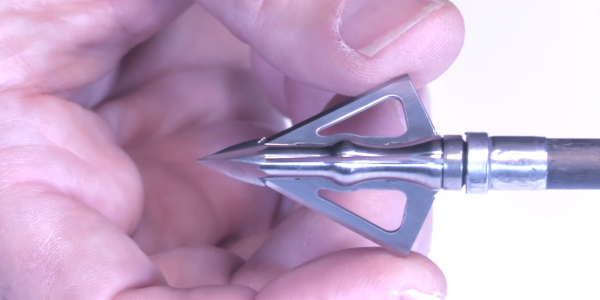
And the cutting diameter is 1-3/16 inches, so that’s a little wider than a typical 1-1/8 inch cut, but not as wide as the 1-1/4 inch cut of the QAD Exodus broadhead.
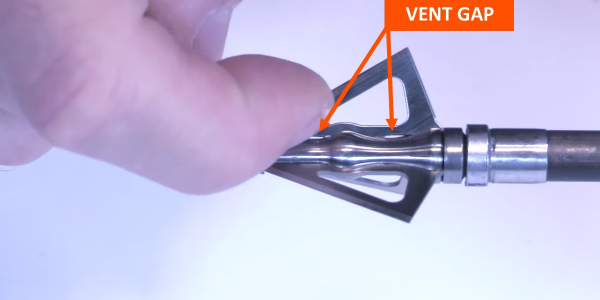
You will notice that the blades have quite a bit of venting to them. There’s also a little bit of gap that goes between the blades and the ferrule, so a little bit of extra venting there. I’m not used to seeing so much gap in there. It made me wonder how secure the blade lock was going to be.
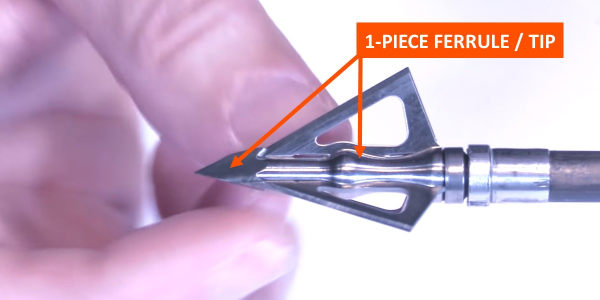
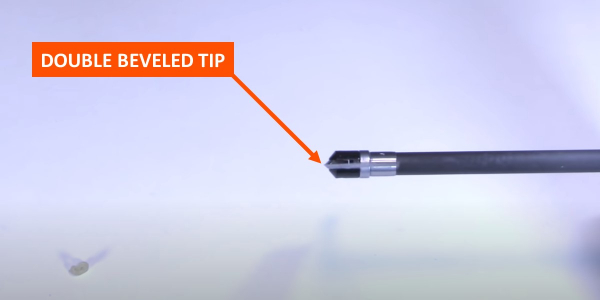
The ferrule is a one piece construction. The whole ferrule as well as the tip, is CNC machined out of titanium grade 5. Titanium is a great material to use when you’re trying to get good strength, while still cutting back on the weight. So, it’s a little bit stronger than most of the aluminums, a lot lighter than most of the steels, and can even be a bit stronger than some steels.
I was eager to put the Titanium X 3-blade broadheads to the test and see how they would perform. So, let’s see how they did!
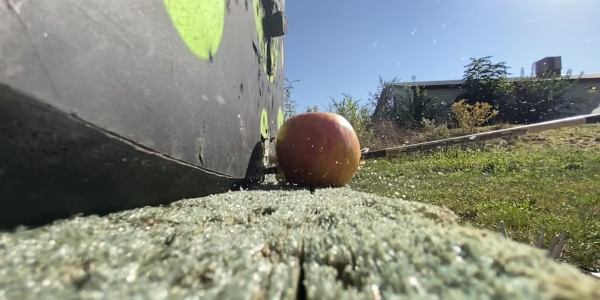
For these tests, I used my Bowtech SR6 set at 72 poundsand Bishop FOC King Arrows for most of the shooting. But, for the really hard impact shots, I used the Bishop FAD Eliminators because they are just so tough.

-
Sale!
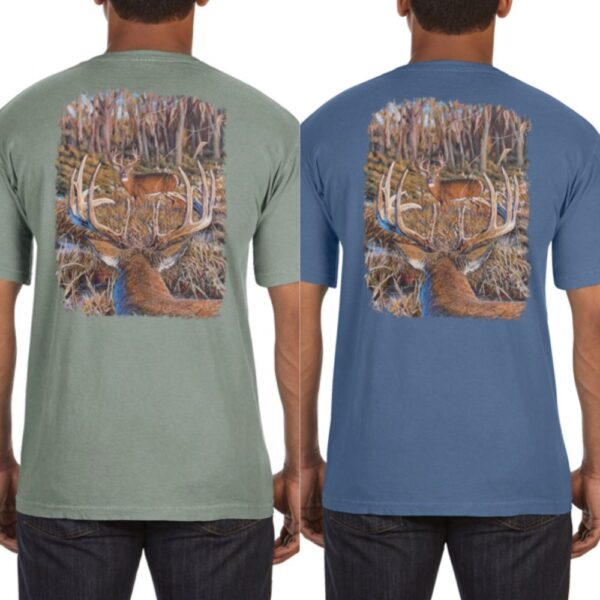
Ntruder Buck Tee by Daniel Cliburn
$9.00 Select options This product has multiple variants. The options may be chosen on the product page -
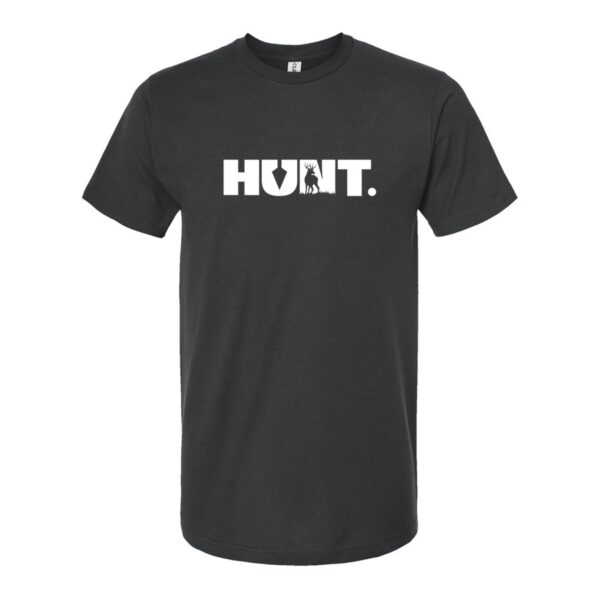
N1 Outdoors® HUNT. Tee (Various Colors)
Price range: $24.99 through $28.99 Select options This product has multiple variants. The options may be chosen on the product page -
Sale!

N1 Outdoors® Licking Branch Buck LS Tee
$19.00 Select options This product has multiple variants. The options may be chosen on the product page
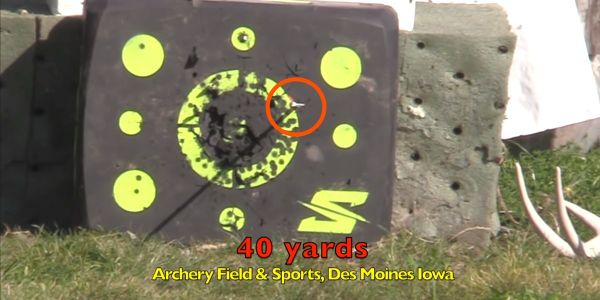
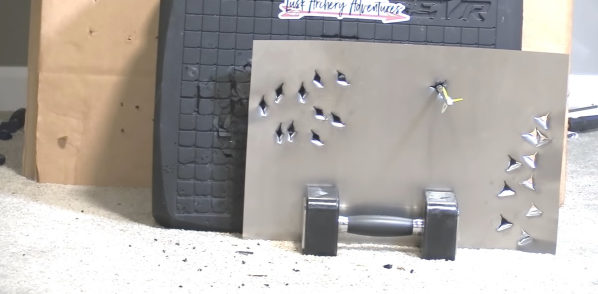
Flight Test
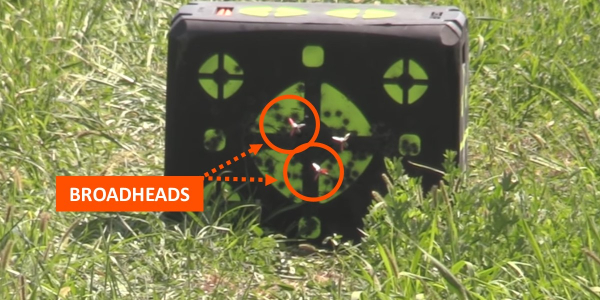
I shot one field point (right) and two broadheads (inside circles) into my target at 40 yards and here were the results.
Initial Sharpness Test
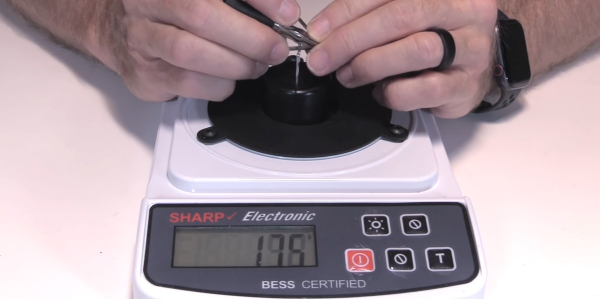
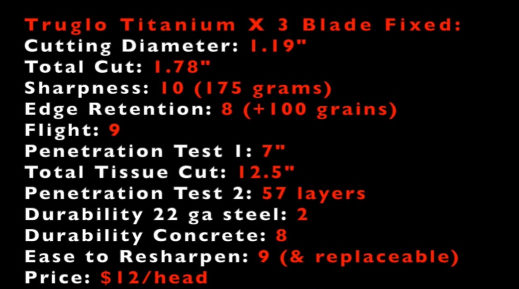
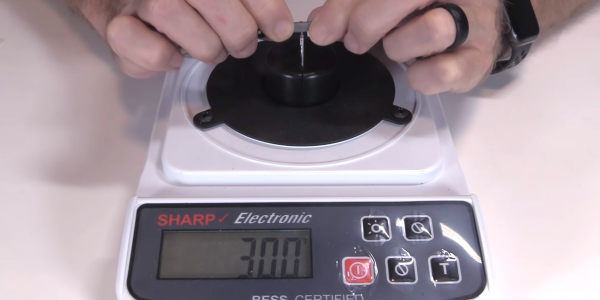
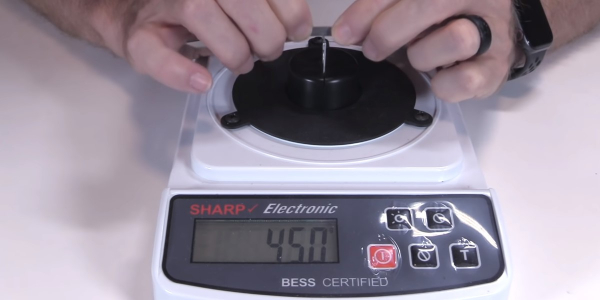
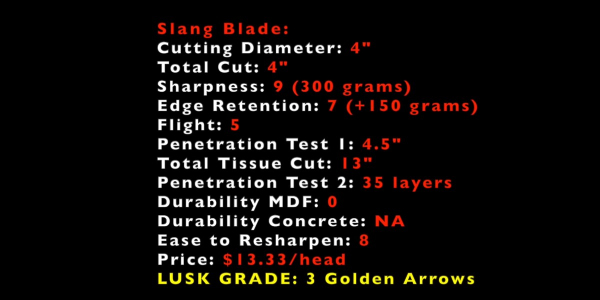
Before I put the Titanium X 3-blade through my battery of tests, I measured it’s initial sharpness (how much pressure it takes to cut a small wire… 175.
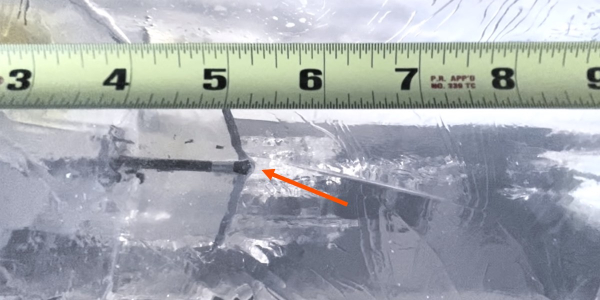
Ballistic Gel Penetration Test
I shot the Titanium X into a block of ballistic gel that was fronted with 1/2″ MDF board and 2/3″ foam matting.
The Titanium X penetrated 7 inches into the ballistic gel block.
Sharpness Test After Ballistic Gel Test
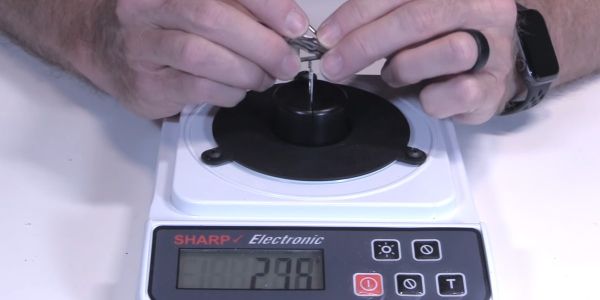
After the ballistic gel test, I measured the sharpness of the blades once again… 275.

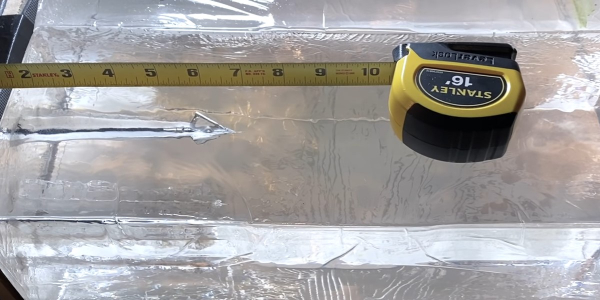
Cardboard Penetration Test
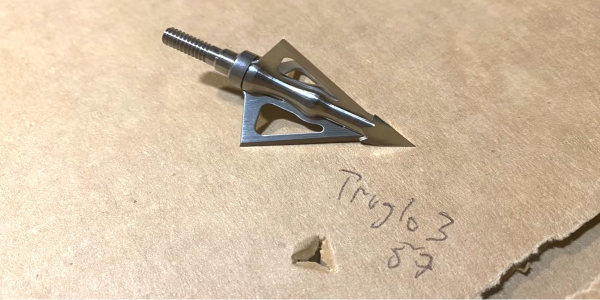
The Titanium X penetrated through 57 layers of cardboard.
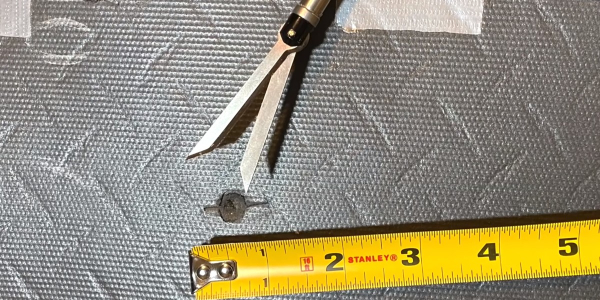
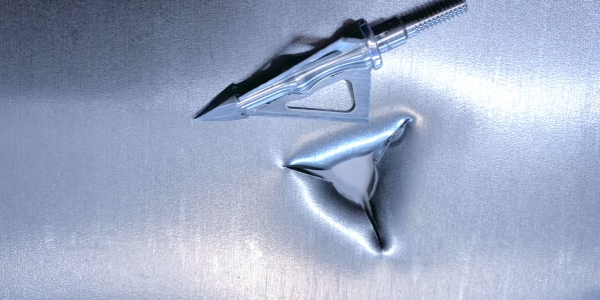
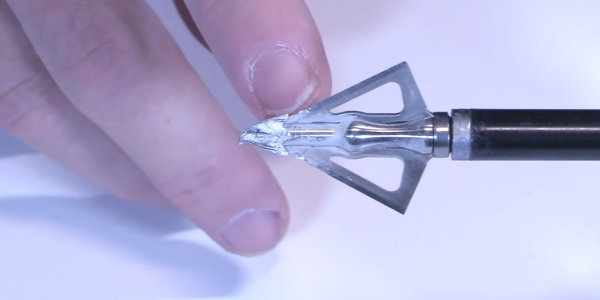
Durability Test (Steel Plate)
I shot the Titanium X into a 22 gauge steel plate to see how well it would hold up.
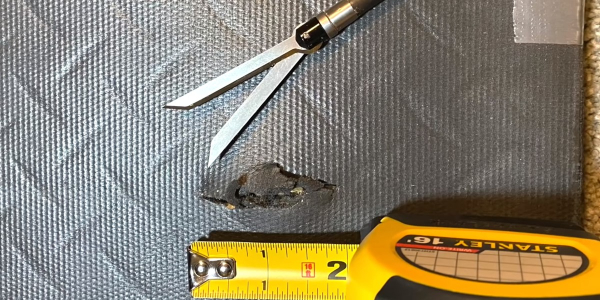
Here’s the Truglo 3-Blade that is now a 2-blade. And what happened is on the very first shot into the 22-gauge steel plate, it lost a blade. I’m not sure what happened to it. I couldn’t recover it because it was just gone inside my target.
The other two blades are in decent shape, one of them got a little bit nicked up. And again, that’s just after one shot. The other blade didn’t get very nicked up at all. The tip got blunted a bit after one shot. So this is definitely one of the weaker fixed blade heads that I’ve tested.
Here’s a good look at the wound channel and you can see that it’s a hole with 3 slits as opposed to a triangular hole like some broadheads make. And, you can see that blade on the left is the one that was broken because it didn’t get quite the total cut that the other two blades did.
-
N1 Outdoors® N-Tune™ Nock Tuning Reflective Arrow Wraps – Sling’N Stix 2.0™
Price range: $18.99 through $27.99 Select options This product has multiple variants. The options may be chosen on the product page -
N1 Outdoors® N-Tune™ Nock Tuning Reflective Arrow Wraps – Electricity (Various)
Price range: $18.99 through $27.99 Select options This product has multiple variants. The options may be chosen on the product page -
N1 Outdoors® N-Tune™ Nock Tuning Reflective Arrow Wraps – Time Traveler™
Price range: $18.99 through $27.99 Select options This product has multiple variants. The options may be chosen on the product page
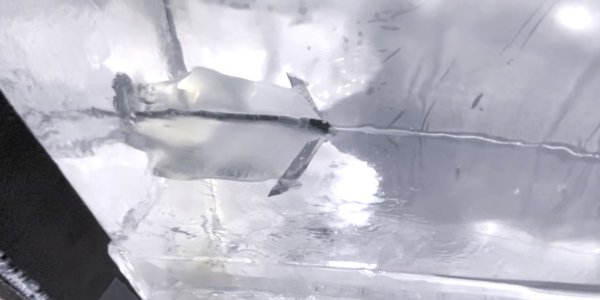
Concrete Test
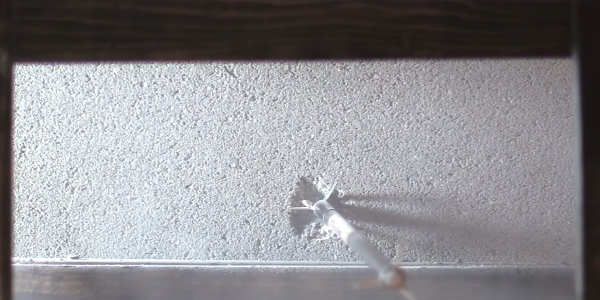
I shot the head into a concrete block to see if it could take the impact…
Here’s the Truglo after impacting the concrete. The blades barely touched the concrete, and they got nicked-up where they hit the concrete.
The tip held together fairly well, but you can see it now has somewhat of a “hook” to it and is curled over quite a bit. So, it’s definitely not reusable. However, overall as a head, it held together fairly well.
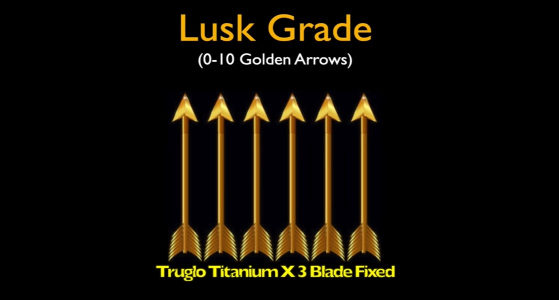
Final Thoughts On The TruGlo Titanium X 3-Blade
So what do you think of the Truglo Fixed blade?
It certainly has its strengths, and I’m sure it can get the job done in most bowhunting situations. I know a lot of people have used it and really liked it. It’s not very expensive so it’s a decent value as well for what it is.
However, I have to be honest… I think if you’re looking for a head like this, there are a lot better choices on the market.
But, you check out the score sheet below and see the data points that I provided there and see what matters to you the most. Compare those scores to other similarly designed heads and see which one is the right one for you.