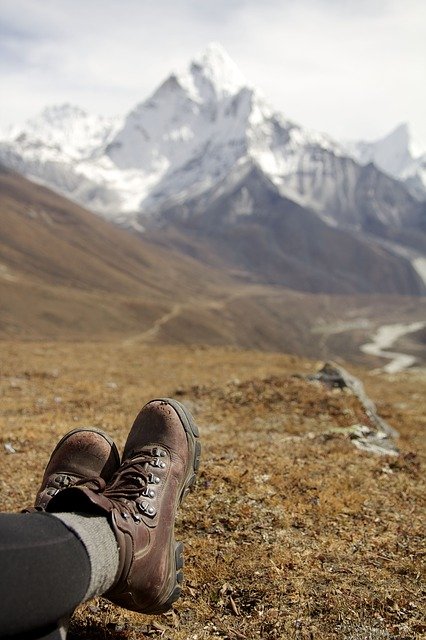
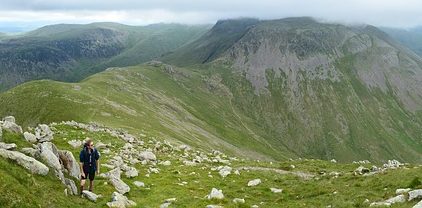
Getting away from civilization and hiking is a fantastic way to experience the natural world.
Even hiking in concrete jungles can let you experience it in a unique way.
The most important tool necessary for making these experiences happen is your set of hiking boots.
There’s too much beautiful country to explore without making sure your feet are in a great set of hiking boots. Let’s check out a list of some of the best hiking boots for men!
Hiking boots are engineered to maximize the support and comfort your feet have when walking for a long time at once.
Best Hiking Boots For Men List
Normal sneakers and athletic shoes are not engineered for this type of travel, so specify your approach with a nice pair of hiking boots.
Now, let’s take a look at some of the best hiking boots for men!
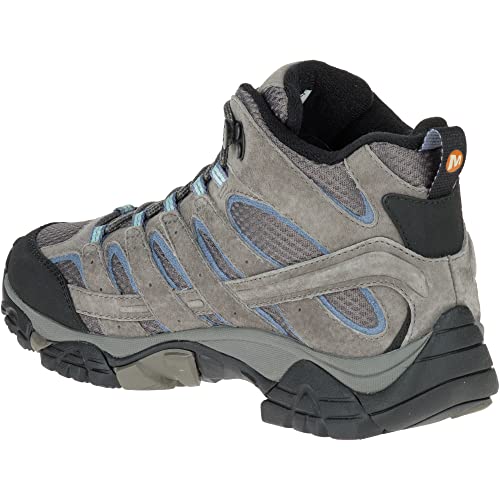
Merrell Moab 2
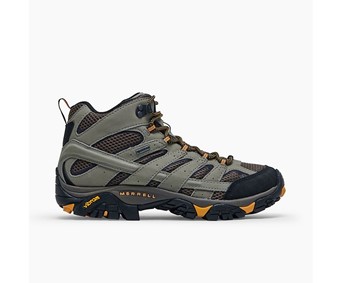
The Moab II by Merrell is a hiking boot that provides durability and comfort for the budget conscious.
First up is the Merrell Moab 2.
Merrell is a brand that boomed in popularity in recent years, so going with the Moab 2 is a steady choice. This is a super affordable boot that is great for those on a budget. In some cases, this boot will be half the price of a competitor.
This is a wide-fit boot, so if you have a narrow foot, this may be a bit too clunky for you.
The materials are durable and comfortable to provide a nice user experience for those who fit in them well.
There is also a low Moab model for those who do not want a higher boot.
A unique factor of the Moab is the wearability right out of the box. While many hiking boots require a few hours in them to fully break them in, Moabs are known to be very comfortable without much of that required break-in period.
Salomon Quest 4

Although a bit heavy, the Salomon Quest 4 can tackle long treks with the best hiking boots in the industry.
One of the more expensive options on this list is the Salomon Quest 4.
They are built to last, so if your are a serial hiker, this may be the boot for you!
Salomon is an industry leader, and the boats by this company are top notch. The Quest 4 is for serious hikers that will tackle a lot of miles. However, if you’re just going to be taking one or two hiking trips, you might not feel you are getting your money’s worth out of these.
The Quest 4 is an overall great boot, because it is super durable and supportive of the ankle. It is a high boot that secures everything in place. They are a bit heavy, but this is also what helps them last so long.
This is a boot for long trips in rugged terrain. Even though you have to deal with that extra weight, you will be protected against the elements in a better way.


Keen Targhee II
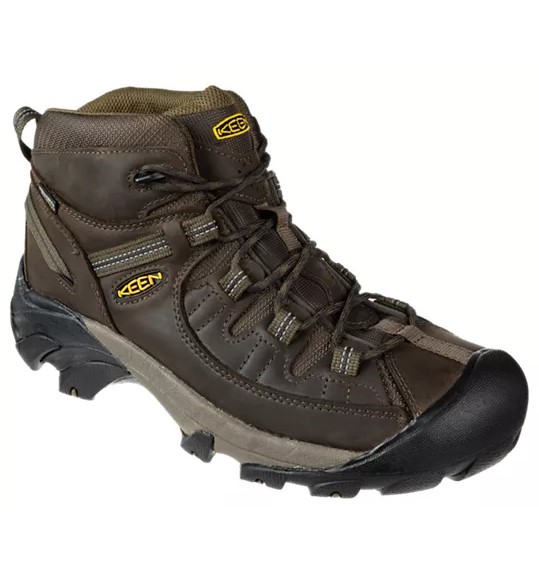
The Keen Targhee II gives good support to the ankle area and great waterproofing.
Similarly to Salomon, Keen is a mainstay brand in the outdoor footwear industry. Keen also makes work and leisure shoes, but the hiking boots are pillars of the brand and the market.
The overall best Keen boot for the price is the Targhee II. This is an excellent budget pair that still carries the weight of a top brand along with it.
The most common Targhee II is a mid boot, so it provides intermediate support to the ankle area. If you want an extra level of support, the mid option may not be the way to go.
This is also a waterproof hiking boot, so it adds an extra layer of protection as Keen products have great waterproofing.
Overall, the Targhee is very affordable and durable. It faults a little in rough terrain as it lacks a beefed up structure like some of the other options.
But, if you are a casual hiker, this is a great boot.

Hoka One One Anacapa GTX
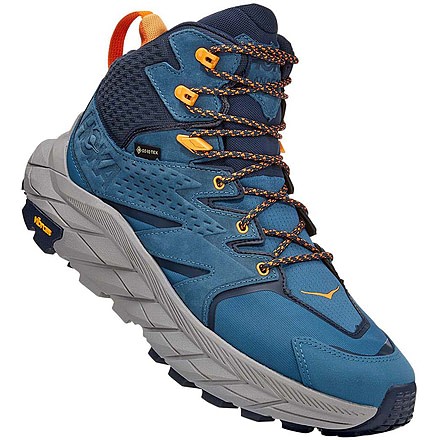
The Anacapa GTX is not only waterproof, but it comes in “non-ntraditional” hiking boot colors.
One of the newer brands breaking into the scene in the West is Hoka.
Hoka is primarily a running shoes brand, but its recent offerings in the hiking space are of really good quality.
This brings us to the Anacapa.
The Anacapa is a hybrid boot in the sense that it brings the comfortability that a running shoe provides. This includes great padding and support to the heel and foot.
This is technically a “mid” boot, but it is quite high and provides really good ankle support. It is also waterproof thanks to Gore-Tex technology.
The main downside for some people is the look. This is not a traditional hiking boot and utilizes more color and an outward design.
So, if you want a little color in your hiking life, the Anacapa is an excellent option.
Timberland Chocorua Trail

The Timberland Chocurua Trail leather hiking boot is built to last and sports waterproof leather.
Although Timberland has become a major fashion brand in recent years, thanks to their iconic yellow boots, this company still makes great hiking boots. The Chocorua Trail boot is one of the best hiking boots under Timberland’s umbrella.
This is an affordable boot that is made to last a long time. This is a leather boot, so it will take a bit longer to break in. However, the leather is waterproof, which is a nice perk.
If you are cool with hiking in these before your trip to break them in and are taking on pretty basic terrain, the Timberland Chocorua Trail is for you.

Salomon X Ultra Mid 4 Gore-Tex
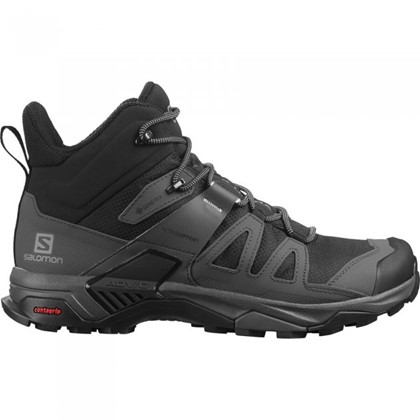
The Salomon X Ultra Mid 4 Gore-Tex hiking boot is lightweight, waterproof and breaks in quickly.
Salomon makes another appearance with the X Ultra Mid 4. This is a modern boot that is very lightweight and waterproof, thanks to Gore-Tex. This is a synthetic boot that breaks in very quickly.
The mid height provides decent support to the ankle, but if you need something more reinforced, Salomon has plenty of high-cut options.
This option is quite a bit cheaper than the Quest 4 that is also on this list. The midsole is not as beefy and focuses on being lightweight while capable of handling a majority of the terrain.
One unique aspect of the X Ultra Mid 4 is the ActiveSupport strap that keeps your foot and laces in place while walking. This strap is attached to the boot and connects with the middle of the laces.
So, when hiking or navigating off-trail terrain, this keeps your foot in a good position and your laces tight.
Overall, if you want something lightweight but still with good backbone, the Salomon X Ultra Mid 4 is calling your name.

Final Thoughts On Best Men’s Hiking Boots

Even feet in great hiking boots need to take a break so the mind can soak up the beauty and vastness of creation...
Ok guys, we hope this list has provided you with some helpful information on which hiking boots you should purchase.
Be sure to consider your terrain, frequency of hiking activity and conditions of your target destination.
Now, get out there and explore!