When hunting season comes, you know that a lot of people are going to come out and play.
After all, the hobby of hunting isn’t just about being one with nature, it’s being able to take out your prey with skill and precision.
There are many skills needed to become what’s considered a good hunter, but the fundamental skill that everyone should have is… a good aim.
Becoming a better hunter includes improving your shot accuracy, which involves practice, time and patience.
Aside from natural survival skills, having a steady hand and a sharp eye is a must if you want to be a good hunter.
For some, it’s not easy to be a good shot with a hunting rifle. But, the good news is that it’s a skill that can be mastered and developed over time.
It’s important to note that increasing your accuracy does take a lot of time, patience, and of course, practice.
Hopefully, the tips below are more than enough to increase your aim by a good margin.
-
N1 Outdoors® N-Tune™ Patch Trucker Hat (Black, Gray & White)
$26.99 Select options This product has multiple variants. The options may be chosen on the product page -
N1 Outdoors® N-Tune™ Patch Trucker Hat (Mossy Oak Bottomland Camo)
$26.99 Select options This product has multiple variants. The options may be chosen on the product page -
Sale!
N1 Outdoors® Leather Patch Trapper Hat (Arrowhead – various patterns)
Original price was: $29.99.$9.00Current price is: $9.00. Select options This product has multiple variants. The options may be chosen on the product page
Practice, Practice, And Practice
Some people are good shots naturally, but others have to work to get the good aim they want to have.
If you feel as if your aim needs more improvement, it’s a must that you practice more.
Go to the shooting range to practice your aim regularly. Start with static (stationary) targets and then move on to moving targets later.
If you want to simulate the feel of hunting, go outdoors and set up targets yourself. Just make sure that you are practicing in a secluded area and only point the gun in a safe direction.
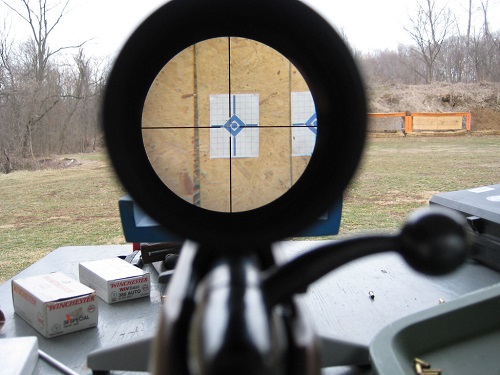
Practice shooting static targets before progressing to moving targets.
Abide By MOA
A lot of people think that good aim is about steady hands and a good eye.
In reality, it’s a lot about science and mathematics.
You may have heard about MOA but what is MOA and why isn’t it so popular among the best hunters? Is it really necessary to learn more about it?
MOA stands for “minutes of angles,” and is equal to 1/60th degrees.
In regards to shooting, MOA means minutes of angles. For a marksman’s vocabulary, 1 minute equals 1/60th degrees in an angle.
Measuring your range by minutes may seem counterintuitive as 1/60th of degrees seems too small. However, with bullets going as fast as they can, calculating minutes can make a huge difference.

To put it simply, MOA helps you measure the bullet drop.
Thanks to gravity, everything that comes out of your gun drops eventually. If the target is further, you can expect bullet drop to play a huge factor in your successful shot.
The formula to calculate for bullet drop is:
Target distance (yards) / (divide by) 100 = inches per 1 MOA at that distance.
If you master this simple math above, you’ll be able to measure your shots better, thus allowing you to significantly improve your aim.
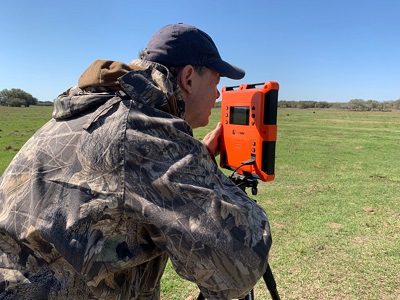
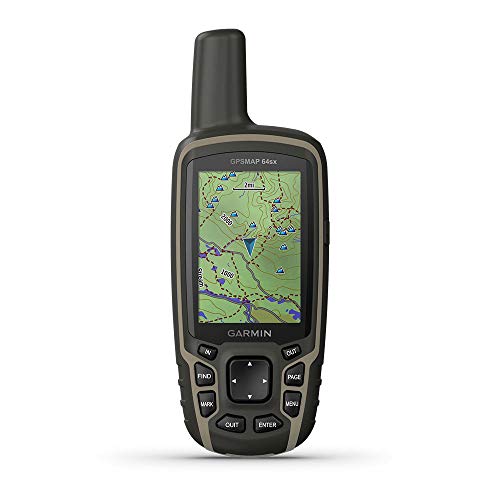
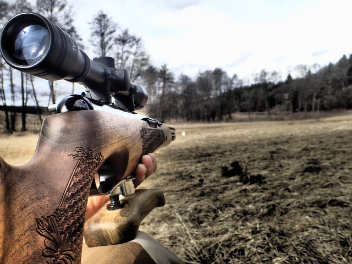
Check Your Equipment
Sometimes, it’s not just your skills that are a problem, it’s your equipment too.
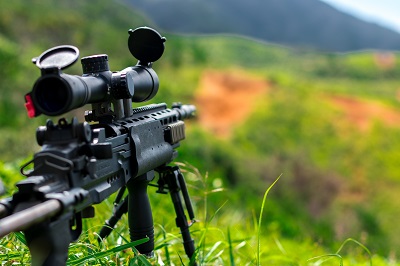
Any hunter will tell you that investing in the right rifle and scope is a must if you want to get good shots while out hunting. It’s not always about buying the most expensive tools too.
Be sure to do your homework and choose a rifle scope that is versatile and will be a good fit for your specific type of hunting.
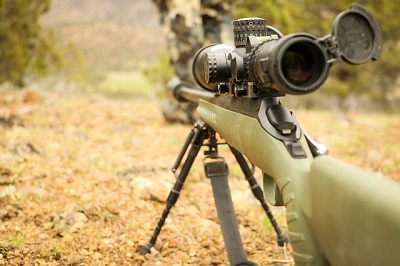
Before you buy a rifle, read a lot of reviews about it. Check for important factors such as its weight, grip, and overall feel. Don’t be afraid to ask your local gun store about which guns are the best for hunting as they’ll most likely suggest the best models for you.
As for the scope, make sure to get one that’s versatile. This refers to a scope that can provide a good view from various ranges. Keep in mind that some scopes are best partnered with certain guns so again, complete your due research about guns and scopes before you make a purchase.

Control Your Breathing
It may not seem like much but your breathing does affect your aim to a degree. As you aim, your body moves – your arms and shoulders included. While minimal, the movement is enough to affect your accuracy while taking aim. As such, it’s important that you practice controlling your breathing.
Ideally, you should hold your breath while aiming and while you are taking a shot. When you are still aiming down, relax and stay calm. Take slow and deep breaths so that your heart rate doesn’t get too affected.
Controlling your breathing before pulling the trigger is a critical component of shooting accuracy.
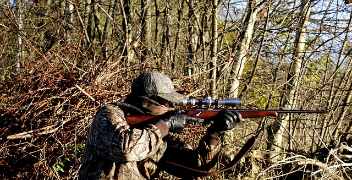
Hold Your Gun Properly
Rifles release a lot of backward force when they are fired. Those new to firing a gun are often caught off guard by exactly how powerful the firearm recoils after being fired.
It’s nearly impossible to avoid this recoil, but you can control it effectively with proper gun handling.
For starters, make sure to rest the stock of the rifle on your shoulders firmly. This somewhat controls the force as the bullet is fired. As for the trigger, make sure to squeeze it tightly and use the force on your wrist and fingers as well.
-
Just Pass’N Through™ Tee featuring Iron Will (Various Colors)
Price range: $24.99 through $28.99 Select options This product has multiple variants. The options may be chosen on the product page -
N1 Outdoors® Tine Lines™ Whitetail Deer Antler Tee
Price range: $26.99 through $29.99 Select options This product has multiple variants. The options may be chosen on the product page -
Sale!
N1 Outdoors® Licking Branch Buck LS Tee
$19.00 Select options This product has multiple variants. The options may be chosen on the product page
Avoid Going For Quick And Small Targets First
If you are having trouble with your aim, it’s likely that you just aren’t accustomed to it yet.
So, don’t rush your hunting journey. Don’t go for small and quick targets first. If you force yourself in hunting them, you’ll have no time to practice your aim.
Go for larger and easy targets first. Practice your aim with them and as you get better, move on to more complex prey.
Hunting is a journey that you should never rush.
Relax
Hunting shouldn’t be a stressful hobby. In fact, it’s something that relaxes a lot of people.
While hunting, it is imperative that you stay calm and collected as this can help improve your aim significantly. This may sound cliche’, but practice being one with nature when you are out hunting.
Immerse yourself with your surroundings and focus on your target. Don’t let other factors distract you as these can throw you off your aim as well. Hunting isn’t just about good aim, it’s also about keeping calm as you stalk and take down your prey.
While getting improving your shooting accuracy is a rewarding accomplishment, don’t forget to enjoy the simple pleasures of hunting.
Final Thoughts On How To Improve Shooting Accuracy
Improving your aim is not that difficult, as long as you know what you need to do to make it better. These tips are practical ways to do so.
Perhaps the best tip we can give you is to be patient. The journey to becoming better may seem long, but it’s well worth it in the end.
Safe shooting!