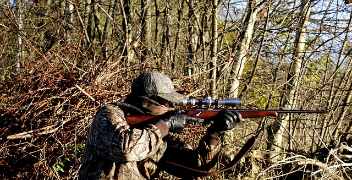
Many things make a good hunter, and having the right hunting rifle is up there on the list.
Using the perfect rifle makes a massive difference in your hunting experience. So, lets take a closer look at some of the best hunting rifles of 2021.
But before that, let’s quickly go through some of the factors we considered when coming up with this list.
Hunting Rifles Buying Guide
Below is a list of things you should consider before buying a hunting rife:
1. Type Of Gun Stock
There are generally two types of rifle stocks to choose from: Synthetic and wooden stocks. Each comes with its own pros and cons, so it’s all a matter of picking your poison.
The advantage of synthetic stocks over wooden ones is they are usually lighter, so the rifle won’t be as cumbersome. Synthetic stocks are also more resistant to harsh hunting conditions.
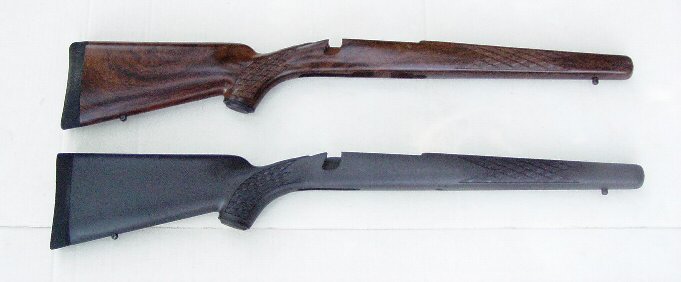
Rifle stock can be wooden or synthetic and each has its own pros and cons.
On the flip side, the synthetic stocks are nowhere near as aesthetically pleasing as a nicely finished walnut stock.
And, while wooden stocks are usually more beautiful, they tend to be heavier and more sensitive to scratches, cracks, and discolorations.
So, you should consider how much value you put on the aesthetics of a hunting rifle before deciding.

2. Barrel Length
Shorter barrels are a favorite of most hunters since they usually make the rifle lighter and more maneuverable. On the other hand, longer barrels may make a gun cumbersome, but they typically provide better velocity.
Some people would also argue that longer barrels are more powerful.

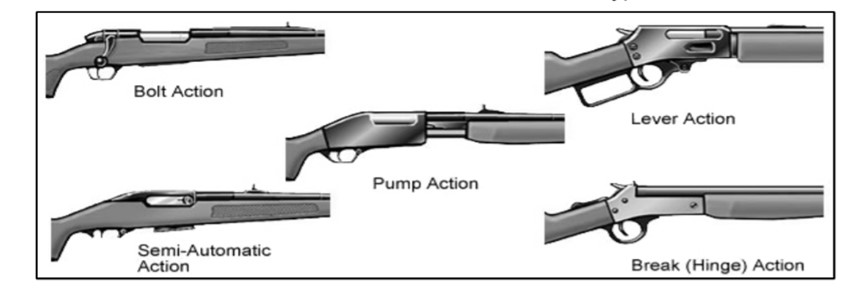
3. Action
Lever and bolt action rifles are recommended to beginners and intermediate hunters. These guns are typically easier and safer to use.
Seasoned hunters can afford the luxury of using semi-automatic rifles, which require more skill to operate.
4. Weight
Weight is a crucial factor in rifle selection, since it directly affects your ability to operate the gun. Different people will have different preferences based on their level of fitness and other factors.
As we’ve already pointed out, the type of stock and length of the barrel you choose will also affect the overall weight of your gun.
If you want a lightweight rifle, look for something with a short barrel and synthetic stock.
-

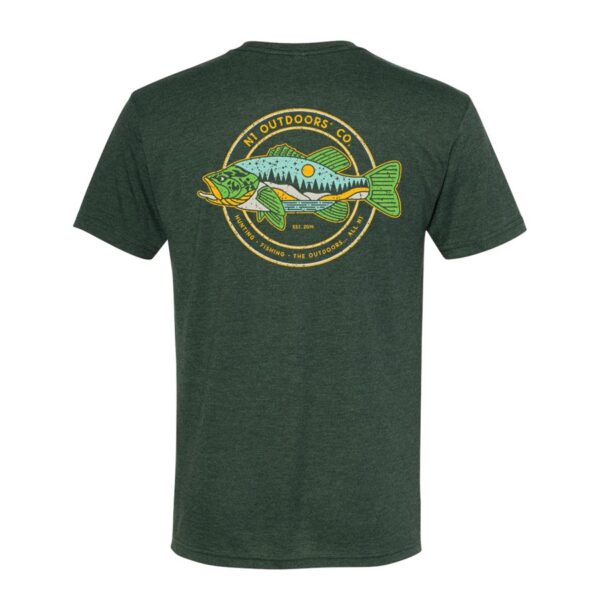
N1 Outdoors® Just Pass’N Through™ Bowhunting Tee
Price range: $24.99 through $28.99 Select options This product has multiple variants. The options may be chosen on the product page -
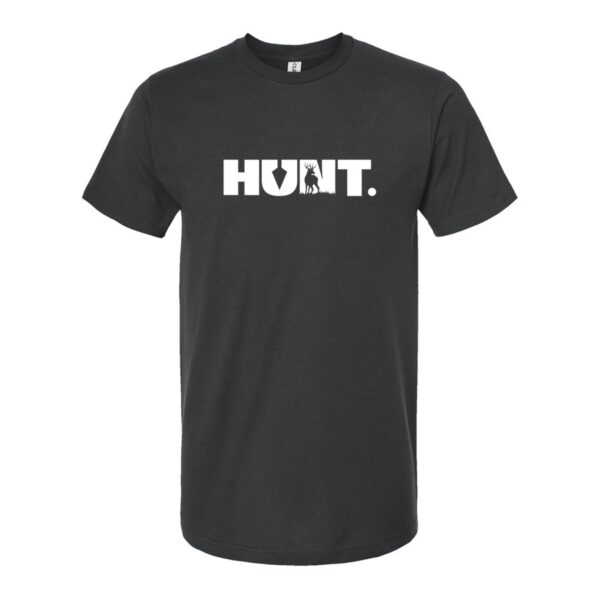
N1 Outdoors® HUNT. Tee (Various Colors)
Price range: $24.99 through $28.99 Select options This product has multiple variants. The options may be chosen on the product page -
Sale!
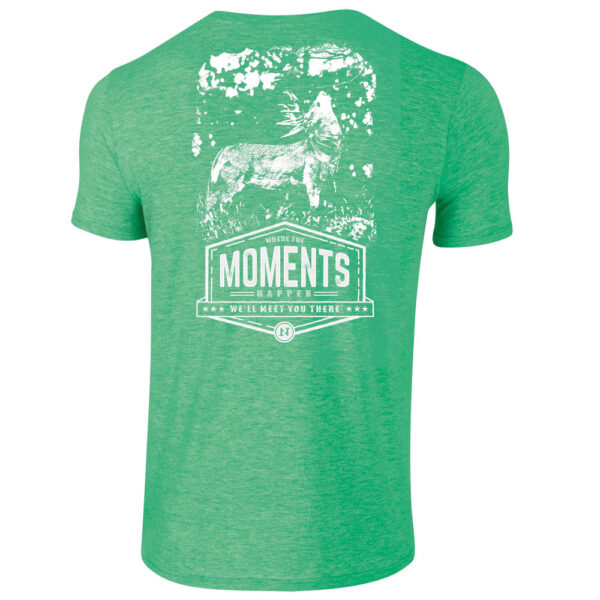
N1 Outdoors® N1 Moments™ Licking Branch Buck SS Tee
$5.00 Select options This product has multiple variants. The options may be chosen on the product page
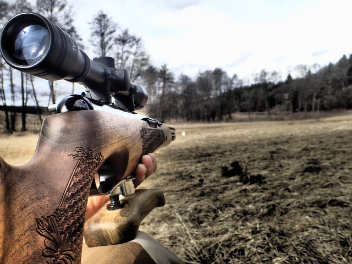
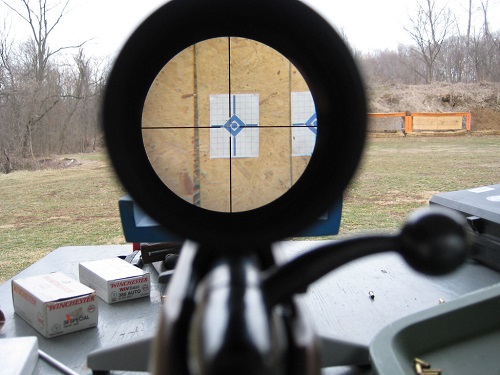
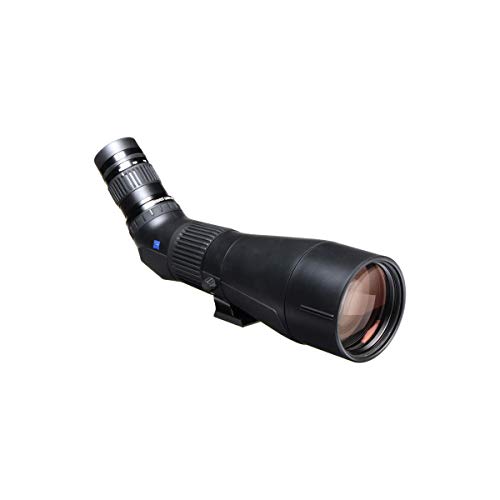
5. Scope Compatibility
Unless you are an experienced hunter with an acquired taste for the iron sight, a scope is an investment you cannot overlook. Scopes magnify the target to increase your precision.
There are many scopes to choose from. To ensure you are getting the right scope for your rifle, consider factors like reticle, magnification, size of lens, turrets, and the minutes of angle or MOA.
You should know that scopes will add some weight to your rifle, and some of them may not work very well under certain weather conditions.
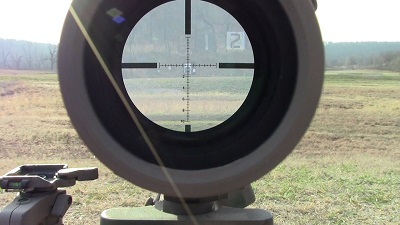
There are many factors in choosing a scope for your rifle, such as reticle, MOA, lens size, etc.

2021 Rifle Recommendation
Below are our rifle recommendations for 2021:
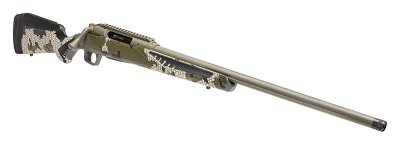
1. Model 48 Mountain Carbon Rifle By Nosler
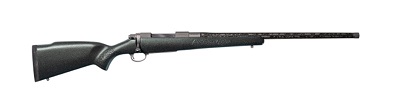
The Nosler M48 Mountain rifle was first introduced in 2019. This rifle is made using lightweight materials for better handling while delivering exquisite performance, making it one of the best guns for hunting, and the 2021 version of the gun has seen an introduction of two new chamberings.
The rifle is built around the Nosler M48 action, integrated into a carbon-wrapped barrel for insane sub-MOA accuracy.
The mountain hunter stock is finished in an elegant granite green, while the steel surfaces are covered in tungsten grey, giving your rifle long-term protection against harsh weather conditions.
The gun weighs only 6 pounds and is perfectly balanced for enhanced maneuverability.
-
Sale!

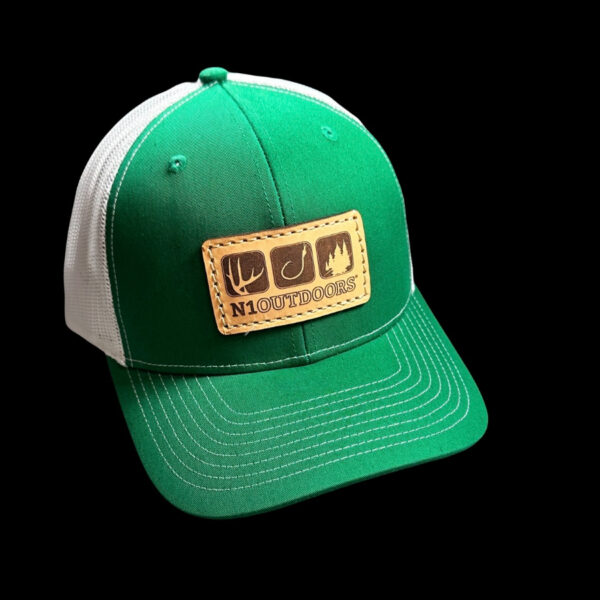
Put A Hook N1™ Offshore TriBlock Leather Patch Hat
Original price was: $26.99.$15.00Current price is: $15.00. Select options This product has multiple variants. The options may be chosen on the product page -
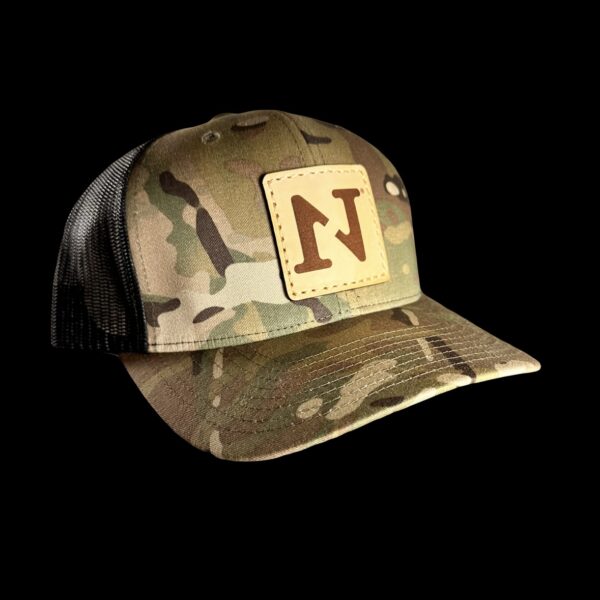
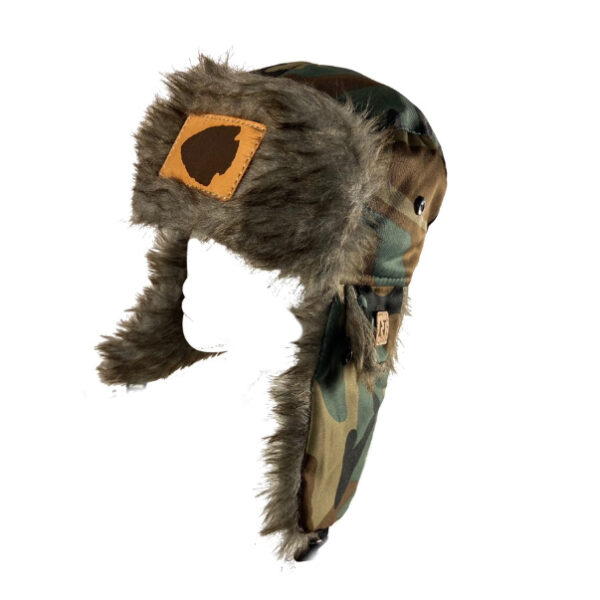
Multicam Camo N1 Logo Leather Patch Hat
$26.99 Select options This product has multiple variants. The options may be chosen on the product page -
Sale!
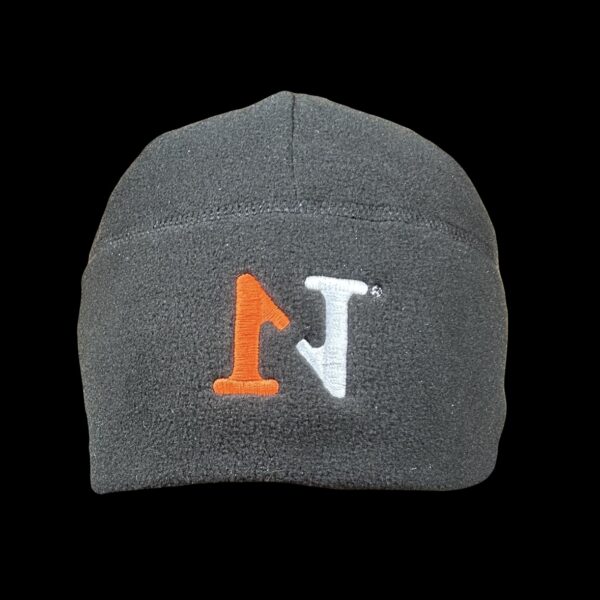
N1 Outdoors® Fleece Logo Beanie
Original price was: $17.99.$9.99Current price is: $9.99. Select options This product has multiple variants. The options may be chosen on the product page
2. Weatherby Vanguard (Synthetic)
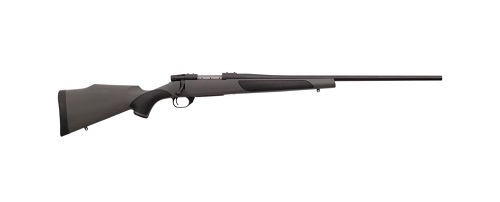
The Weatherby Vanguard is the affordable alternative to the famous Mark V from the same manufacturer. Don’t mistake its affordability for weak performance, though. The rifle guarantees considerable power coupled with sub-MOA accuracy for the ultimate target hunt down.
The rifle is built using lightweight polymer stock. The material does a great job of handling tough hunting surroundings and extreme weather to give you an excellent feel and performance for years to come.
The barrel is 24 inches long for non-magnum and 240 Wby Mag, which is just enough for most hunters.
It weighs 6.75 pounds.
3. Impulse Big Game Rifle By Savage
This is without a doubt the most innovative hunting rifle we’ve come across in 2021.
It may look like a regular bolt action gun, but there is nothing regular about the speed of the follow-up shots it provides.
Savage has utilized the Hexlock straight-pull action to reduce the time it takes to make subsequent shots. This makes the Impulse Big Game one of the most instinctive hunting rifles on the market.
The rifle is built with a medium-contour fluted barrel to balance the weight. It’s available in different mags, including the .243Win, .300 Win Mag, .308 Win, and .300 WSM fed through a flush-fit detachable box mag. A sleek hazel green cerakote covers the metal surfaces.
At 8.8 pounds, the Impulse Big Game is heavier than the two rifles discussed above. However, its ingenious design achieves a remarkable balance that makes operating the gun feel effortless.
4. Ruger Mini-14 Ranch Rifle

The Ruger Mini-14 Ranch rifle is an excellent option for anyone looking for a versatile semi-automatic gun. The action is based on the M1 Garand and the M14, but it is scaled down to make the gun easier to handle and use.
There are multiple calibers to choose from here, including the .300 blackout and the .223 Remington. It comes with an intuitive iron sight, but there is also the option of mounting a scope.
You’ll also love the fact that the ejector is designed to throw cases in a downward trajectory, to keep them from hitting the scope.
The Ruger Mini-14 features a steel barrel and receiver with a blue finishing and a hardwood stock with a ventilated handguard on the fore-end.
The rifle weighs just 7 pounds. Ruger scope rings are included.
5. Remington Model 700 SPS Varmint
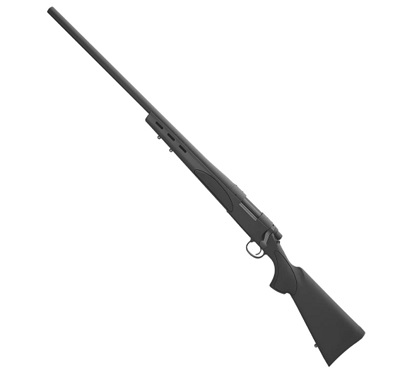
Remington 700 SPS Varmint is a budget-friendly hunting rifle that performs well where it matters the most. Besides predator and varmint shooting, the gun is also great for long-range tactical shooting.
This rifle comes with a non-reflective barrel and receiver for perfect concealment and a blind mag to increase reliability. The fore-end of the contoured barrel is ventilated for better heat dissipation. It’s also drilled for easy scope mounting. The Model 700 SPS Varmint weighs around 8.5 pounds.
Conclusion
That’s pretty much it for the best hunting rifles for 2021. These guns tick all the boxes from accuracy and power to durability, and that’s why they are highly recommended to both beginners and seasoned hunters.