Even when it’s not deer season, it’s important to be thinking about ways to make your whitetail deer season a big winner. If you’ve found this page, it is likely that you are wondering, “how can I be a better deer hunter?”
Below are 11 winning deer hunting tips for a successful deer hunt:
- Be obsessed with scent control
- Make the wind your friend
- Just be quiet already!
- Let your imagination guide preparation
- Don’t let your deer stand give you away
- Know thy land
- Aim for low scores in predictability
- Be a doe stalker
- Know that the rut changes things
- Don’t let technology get you busted
- Take an ethical shot
READY TO DIVE INTO OUR TOP 11 DEER HUNTING TIPS TO BECOMING A BETTER HUNTER? READ ON BELOW!
Deer Hunting Tip #1: Be obsessed with scent control
Never, ever underestimate the importance of wind direction and scent control when hunting whitetail deer. Their noses are sensitive defense systems that help alert them to predators… and that includes you!
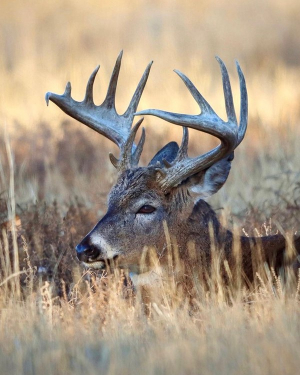
A deer’s best defense mechanism is its nose. You have to figure out how to stay out of its way. (Photo by Jeff Coldwell)
If you want to increase your chances of taking a whitetail, you need to be as “invisible” to the deer as possible. This is why being obsessed with scent control is #1 on our list of deer hunting tips.
Can you just roll up into the woods with a smoldering Marlboro Red dangling from your lips, randomly pick a tree stand or blind to hunt in, and get lucky? Sure, there’s always a story. But, taking this approach is not setting you up for hunting success.
You smell good… or do you?
Let’s face it, you stink. Sure, you may practice good hygiene, but the truth is, to a whitetail, you are a foul odor!
There are a variety of products on the market that allow hunters to get clean without smelling like a perfume commercial.
Generously using a scent-free soap when you shower (before you go in the woods, not the night before), is a big step in the right direction. But wait, but there’s more you can do.

You need to be as under the radar as possible when it comes to defeating the nose of the whitetail deer. Scent control is an absolute must.
Your significant other may love that you shower and use sweet smelling soaps, but if you want a deer hunting date with destiny, you’d better be diligent with smelling, well, like nothing.
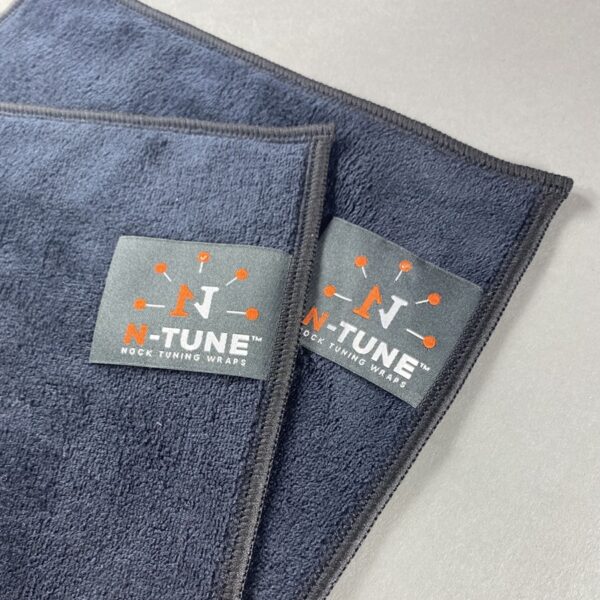
What about the towels you dry off with? Do they smell like a rose garden? How much good do you think it will do you to wash with scent-free soap if you immediately dry off with a towel that smells “mountain fresh?”
Do yourself a solid and take care of the scent on your bath towels. Your hunting success could depend on it.
-
 N1 Outdoors® Bareback Bowhunter™ TeePrice range: $28.99 through $32.99
 -
 N1 Outdoors® Thwack’Em™ Bowhunting TeePrice range: $24.99 through $30.99
 -
 N1 Outdoors® Tine Lines™ Whitetail Deer Antler TeePrice range: $26.99 through $29.99
Clothe your body with… nothing
Well, not literally nothing. What we mean here is after you have used a scent-free soap on you and your towels, be sure that your hunting clothes are as scent-free as possible.
Again, there are many scent-free laundry detergents out there to choose from. Washing your hunting clothes in baking soda is also helpful.
And, it probably goes without saying, but when you dry your clothes, don’t add a sweet smelling dryer sheet to the load and completely ruin all the work you’ve done!
When you’re not wearing your hunting clothes, store them in a bag or tote where they can stay as scent free as possible.

IF YOU’RE WONDERING WHAT YOU SHOULD WEAR WHEN HUNTING WHITETAIL… READ ON
-
N1 Outdoors® Thwack ‘Em™ Leather Patch Bowhunting Hat (Black/Gray)
$29.99 Select options This product has multiple variants. The options may be chosen on the product page -
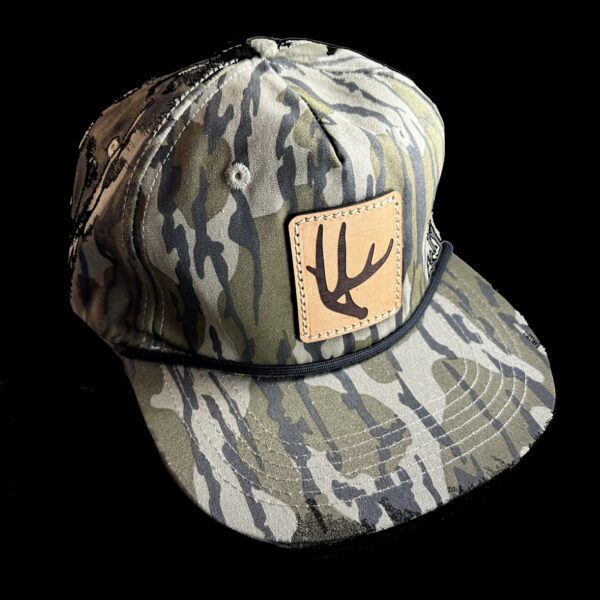
N1 Outdoors® Elk Antler Leather Patch Hat (Duck Cloth/Camo)
$32.99 Select options This product has multiple variants. The options may be chosen on the product page -
Multicam Camo N1 Logo Leather Patch Hat
$26.99 Select options This product has multiple variants. The options may be chosen on the product page
The right hunting gear for the weather
A big part of scent control is making sure that you are wearing the right hunting clothes for the type of weather you are hunting in. A good rule of thumb when thinking through what hunting clothes you’re going to wear is this… don’t wear something that will make you sweat.
Whether the forecast calls for hot weather or frigid weather, when it comes to whitetail hunting, sweat is definitely not your friend.
As your skin’s bacteria begins to break down the sweat your body produces, odor occurs. And, of course we’ve already talked about how a whitetail feels about your B.O. So, why give them one more reason to bust your while you are walking into the woods or in your deer stand?
Be sure you wear appropriate clothing for the weather you are hunting in. Too little clothing and you’ll be too cold. Too much and you’ll sweat, be cold… AND smell bad!
Even if it’s cold weather, wearing too much clothing, especially on a long walk carrying hunting gear, can lead to sweating. Not only will you stink, but you’ll have a very cold day in the deer stand once your body temperature cools down.
One way to prevent sweating is to dress lightly on cold days when walking to your deer stand or permanant blind. You may be cold at first, but as you walk, your body temperature will rise. Once you get to your hunting location, you can add layers to your light clothing. If you’ve avoided sweating and can keep your head and feet warm, you’ll likely be ready for a long sit.
Avoid the sausage biscuit run
Your deer hunting success – or lack thereof – is often tied to your attention to detail when it comes to scent control.
Remember, a quick stop at a fast food restaurant before your deer hunt may curb the hunger pains, but it could also undo all the painstaking scent control preparation you’ve done leading up to this point.
Hot sausage biscuit smell is not a scent that is natural to the deer woods. So, as good as that greasy goodness may sound to you early on hunting day, try an apple, banana or granola bar instead.
Final scent control steps
So, you’ve been careful to eliminate as much human scent as possible prior to walking to your deer stand or blind… but, you’re not done yet! Scent control clothing is another layer of detection protection against a deer’s nose.
There are plenty of scent control clothing items, suits, etc on the market, so it won’t be hard for you to find some options here. It’s important to not only cover your body, but also your head and face, when possible. Remember, the goal is to have as little of your scent floating through the air or left on the ground as possible.
In addition, you can also use scent eliminator sprays to spray down your hunting clothing, boots, etc before walking to your hunting location. Again, there are many available on the market to choose from.
Tip #2: Make the wind your friend
So, you’ve been careful to remove and keep as much human scent off you as possible prior to the hunt. But, that’s only a part of a good scent control hunting strategy.
It’s imperative that you pay attention to wind direction each and every time you prepare to hunt. Ignoring wind direction is one of the biggest mistakes you can make as a hunter. That’s why wind direction makes our list of deer hunting tips. And, it goes hand in hand with scent control.
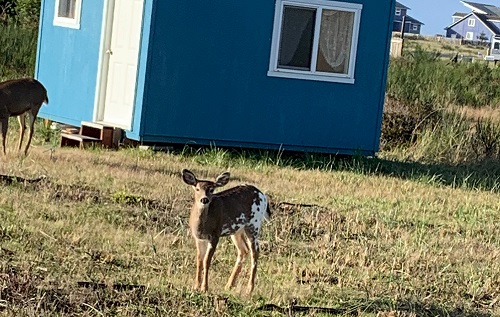
Even if you’re hunting in suburban areas, where deer are more accustomed to human presence, you need to be in tune with the wind.
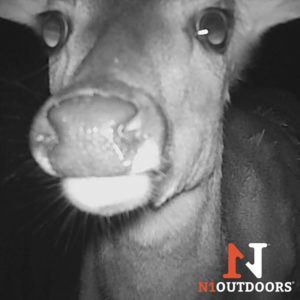
The whitetail not only sees movement extremely well, it has a nose that is made to smell trouble. If you expect to harvest a mature buck, you had better not ignore the wind.
As we’ve already mentioned, a deer’s nose is a defense mechanism. If it smells you, it smells danger. So, you don’t want your scent blowing over areas that are holding deer (the last thing you want to hear is a deer blowing because it smelled you).
It’s important, whenever possible, to be familiar with deer patterns on the property you’ll be hunting. Know where the bedding and feeding areas are, as well as the travel routes that deer take between the two.
Know what food sources are on the property you are hunting and the specific times of the season where deer are frequenting those areas.
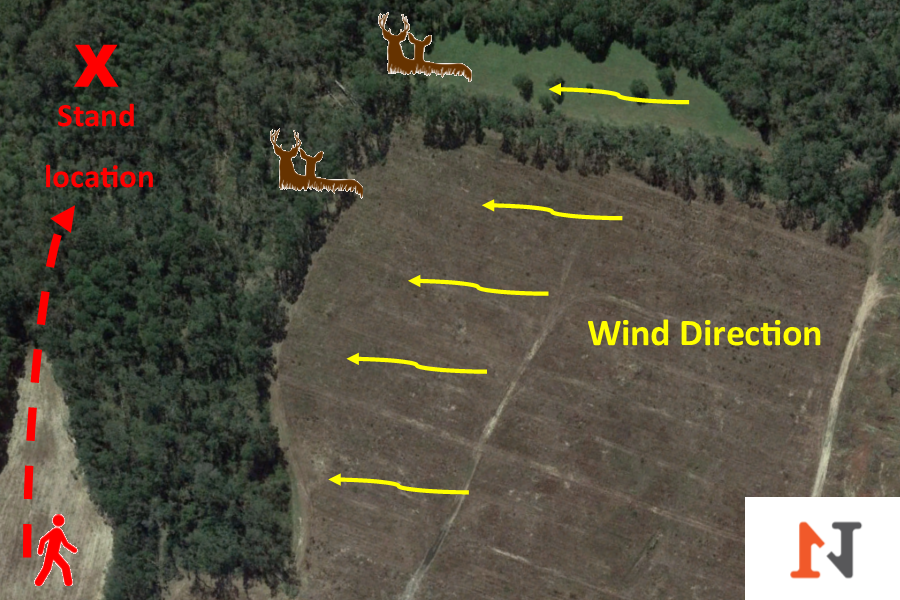
If you know where deer tend to be, then you know you need to avoid the wind carrying your scent in their direction. Staying downwind of where the deer typically are is very important.
Paying attention to these details is not only important for when you are hunting in your deer stand or blind, but also when you are entering and exiting your hunting location.
DO YOU KNOW HOW TO BE DOWNWIND OF THE DEER? READ ON…
Be sure the wind is working in your favor when hunting whitetail deer. Read on to find out how!
So, what is upwind vs downwind?
Maybe you’re new to deer hunting or maybe you just haven’t ever paid attention to wind direction when you hunt.
But, you’ve heard hunters using the terms “upwind” and “downwind” and you’re wondering what that really means. It’s really fairly simple.
Being “upwind” of the deer means you’re above, or upward, of their location. So, that means if the wind blows over you, everything below you would potentially be detecting your scent.
That’s not what you want.
Being “downwind” of the deer means that you are below their location as it pertains to the wind. This is what you want. You want to be downwind of the deer so that when the wind blows, it does not blow toward the deer you are hunting.

Being “downwind” of the deer you are hunting is critical to your hunting success.
If you know where deer typically bed down and feed, an easy way to remember how to stay downwind is to try to always have the wind blowing in your face as you approach those locations. This will keep your scent downwind of the deer your are hunting. Remember, you don’t want a deer’s nose to detect you while you are hunting in the stand or in the blind, but you also don’t want them to smell you when you leave. If they do, they could pattern you and of course, avoid those locations, which means less deer for you to potentially see and kill. So, be sure that your exit route is downwind of where the deer are as well. This takes careful planning.
Tip #3: Just be quiet already!
Sorry, didn’t mean to yell that tip at you.
It seems like it should go without saying, but you are arguably a deer’s #1 predator. It’s going to be hard to be a good predator, though, if you announce you are coming.
Let me explain.
Are you walking through the woods like, well, a human? Deer know what other animals sound like moving through the woods. They also know what people sound like.
Don’t make it easy for deer to know you are there by making unnatural noises.
So, do all you can to be as stealthy as possible. Try walking on the heels of your boots to make less noise.
Also, if you are stand hunting, the unwanted “ping” of your bow, gun or other gear hitting your stand is enough to make a deer take notice that something isn’t right. Be as quiet as possible.
Also, take care to be as silent as possible when getting your bow or gun up to your hunting stand. Wrapping metal gear in duct tape or applying foam padding to load items is sometimes helpful.
And then there’s the dreaded cough. Do everything you can NOT to cough, but certainly try to muffle the sound as much as possible if a cough is unavoidable. You might should stay home and rest rather than educate the deer to your presence.
-
N-Tune™ Arrow Shaft Cleaning Cloths
$4.99 Add to cart -
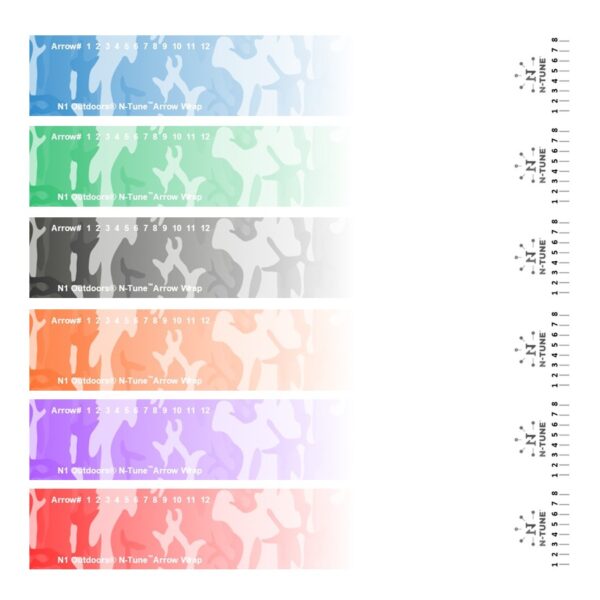
N1 Outdoors® N-Tune™ Nock Tuning Reflective Arrow Wraps – Camo Fade (Various)
Price range: $18.99 through $27.99 Select options This product has multiple variants. The options may be chosen on the product page -

N1 Outdoors® N-Tune™ Nock Tuning Reflective Arrow Wraps – Speed Spear™
Price range: $18.99 through $27.99 Select options This product has multiple variants. The options may be chosen on the product page
Tip #4: Let your imagination guide preparation
Every hunter fantasizes about that perfect hunting scenario… There you are in your favorite hunting location.
Out walks the buck of a lifetime.
If you’re a bowhunter, maybe you imagine him walking 15 yards upwind of your stand.
Then, he magically turns broadside, presenting the perfect shot for a clean pass-through. He stands there, looking the other direction, as you stand, draw, put the pin on him and release the perfect shot, at the perfect time, on the perfect buck.
Wake up!
Can scenarios like that happen? Sure they can. But, what is more likely, is that there will be a lot of things that factor into whether or not you get the chance to take the deer. Are you going to be prepared for those factors?

It may be virtually impossible to think just like a deer, but hunters need to use their imagination to try and pre-determine all the possible scenarios that can happen during a whitetail hunt… and practice for them!
While rifle or archery target practice is an important part of honing your hunting skills, you also need to be prepared for the things that can happen during a hunt that you can’t control.
For example, can you shoot your bow effectively from varying stances? Are you as accurate standing up as well as sitting down? Have you practiced shooting at varying heights and angles and in different types of weather?
For spot and stalk hunters, how about on your knees? Rifle hunters, have you practiced shooting off-hand?
Use your imagination and dream up all the possible scenarios that could happen during a hunt. Rely on past experiences as well. Chances are, something is going to happen on a hunt that you didn’t expect… unless of course, you’re ready for it!

Tip #5: Don’t let your deer stand give you away
It’s not enough to know where the deer are on your hunting property and simply hang a lock-on stand or to use a climbing stand. Be sure what that stand placement will look like during the time of day you are hunting.
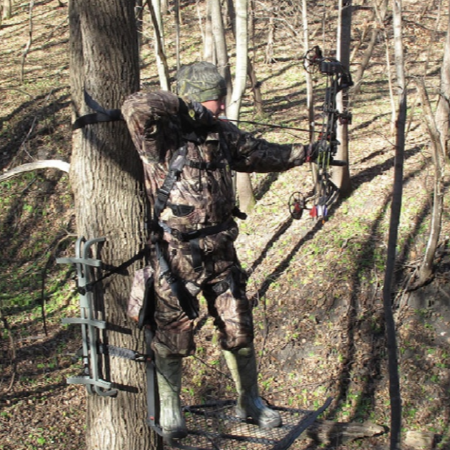
Be sure that your stand placement doesn’t create silhoetting or shadowing that will get you busted.
You might have picked a location for your deer stand that is covered up with scrapes, licking branches, rubs and other deer sign. You may have even imagined what the deer you’re going to shoot looks like. But, you also need to imagine what you’re going to look like to the deer while you’re in that stand.
Silhoetting
Let’s say you find a great location to hunt. So, you pick a tree for your stand placement, but it has no other trees or cover around it. And, let’s say you will be hunting that stand at a time of day when the sun will be behind you.
Without any surrounding cover, when that big ‘ole sun shines behind you, the deer could potentially get a silhouette of your body against the sunlight.
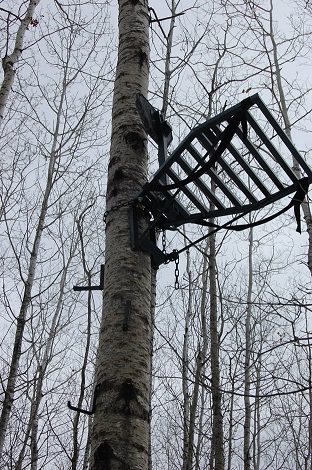
Trees like this might be too small to hide your shape from a wary whitetail, especially after the leaves fall. If available, trees with wider trunks can help conceal you better.
A wary doe or buck may not hang around to see what happens next. And, they will likely be cautious when entering that area again.
So how can you prevent this? One way is to try and select trees that have a wide base that your body’s shape can disappear against.
Trees like this obviously cannot be climbed with a climbing stand. They can, however, be very good trees for lock-on deer stands.
If you wear some good camo clothing, it will be more difficult for a deer to silhouette you when you’re sitting with your back against a tree that is wider than you are.

Get coverage…
No not insurance coverage! Whether using a climbing stand or a lock-on stand, is to try to pick a tree that has another tree right beside it, behind it, or around it that can provide some cover for you.
It’s important to remember that a deer’s line of sight is often different than yours. Try to visualize what you look like from their perspective.
Any leaves, branches or trees that will provide some break up of your silhouette without hindering your shot can be very beneficial in keeping your location concealed.
Contrary to what some believe, deer can and will look up. If they hear you or run across scent near your tree stand location, they might look up to see what that strange looking thing is above them. That usually doesn’t end in success for the hunter.
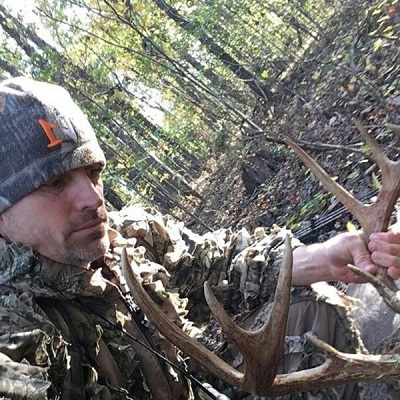
Rise above
Hunting higher up in a tree can benefit you in a few ways. First, it can allow your scent to blow higher across the ground, and give you somewhat of an edge in the scent control game. In addition, hunting higher often makes a deer in close range less aware of your presence.
One disadvantage to hunting higher, especially for bowhunters, is that it narrows the window of a clear vitals shot.
At steeper angles it can be difficult to get a clean pass-through shot. The last thing you want to do is take a shot that will not allow the deer to have as quick a demise as possible.
Also, if you climb high, be sure that you have enough length on your pull-up rope to get your bow or gun up to where you are in your stand. The last thing you want is your bow or gun dangling off the ground.
So, choose your hunting location after giving much thought to sun location as well as surrounding cover and tree stand height.

Hunting higher in the tree might help to blow your scent over a mature buck’s nose. But, it can also make shot angles steeper and more difficult.
Tip #6: Know thy land
If at all possible, you should be familiar with the land you are hunting. Sure, you may get an opportunity to hunt a piece of property, or even public hunting land that you don’t have the opportunity to scout prior to the hunt. However, if you do have full access to the property you will hunt, you should put in the time to be well versed in the details of that property.
Where are the deer and where are they going?
It’s hard to ignore an area of your hunting property that is full of deer sign. But, sometimes, you need to dig deeper into the details. It’s not just important to know where the deer are at a particular time… you also want to know where they’re going. After all, deer tracks tell you where they’ve already been!
Do you know where the deer typically bed down? Are you familiar with the feeding areas and water sources? Where are the travel routes that the deer typically use to move from one area to the next?
For example, it can be very difficult to sneak into and setup in a deer’s bedding area without getting busted. However, if you know where the deer typically go when they leave the bedding area, that’s important to note in formulating a plan to harvest whitetails. Then, be there waiting on the deer when they get there!
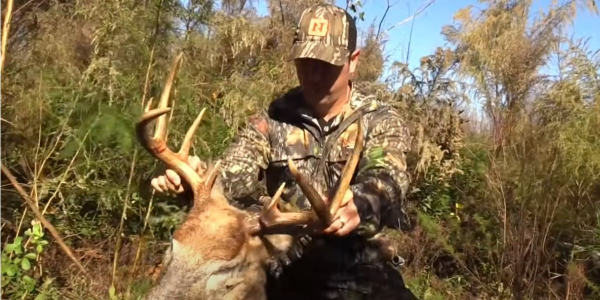
It’s important to not only know where the deer are on the property you’re hunting. It’s also critical to know where they are travelling to and from. (photo by Matt Hartsky)
Don’t forget the wind
As referenced earlier, all of this must be done while thinking about and paying attention to wind direction. Is your entry route to your hunting spot accessible without having your wind blow to the deer’s location?
It doesn’t matter how many deer you may have on your hunting land. If you don’t have a plan to approach your hunting location downwind of the deer, your hunt could be over before it even begins.
It’s wise to have multiple stand locations to account for various wind directions. (Photo by Jeff Coldwell)
This means you should consider having multiple deer stand locations for varying wind directions. So, if the wind isn’t right on a particular day for that location, resist the urge to hunt it until it is.
When possible, take advantage of creek beds and ditches to access your blind or deer stand location, so that you can minimize the amount of scent you leave on deer travel routes and feeding areas.
Also, be sure you are aware of the prevailing winds on the property you are hunting. And, don’t just know the wind direction. Know how the topography and lay of the land can cause wind currents to swirl or move erratically. Remember, the wind can make or break a hunt. So, know how the lay of your hunting land affects it.
Tip #7: Aim for low scores in predictability
When it comes down to it, you want to be where the deer are going to be when you are hunting. Hopefully, you have done enough scouting of the land and reviewing of trail cam pictures that you can predict deer movement. But, while you want predictable deer, you don’t want to be predictable yourself.
For example, let’s say you knew that a dump truck would speed by, dangerously close to your front door, every single morning at 8:05 am. You would probably be sure you aren’t anywhere outside your front door at that time of day!
Deer are no different. If you are lazy in your hunting strategy and become predictable, deer will simply avoid those hunting locations during the times you try to access them.
Mix things up. Don’t hunt the same deer stand or blind location every time, even if the wind is right. Have multiple hunting locations and multiple ways to access them. And, of course, always pay attention to the wind when you make your entry and exit.
-
N1 Outdoors® Put A Hook N1™ Fish Hook Leather Patch Hat (Multicam/Coyote Brown)
$29.99 Select options This product has multiple variants. The options may be chosen on the product page -
N1 Outdoors® RodTogs™ Patch Trucker Hat (Charcoal & White)
$26.99 Select options This product has multiple variants. The options may be chosen on the product page -
Sale!
N1 Outdoors® Multicam Logo Beanie
Original price was: $17.99.$9.99Current price is: $9.99. Select options This product has multiple variants. The options may be chosen on the product page
Tip #8: Be a doe stalker
There are meat hunters and trophy hunters. This article isn’t about arguing which group is more right in its hunting approach. But, there is a hunting tip that helps both groups… hunt the does.
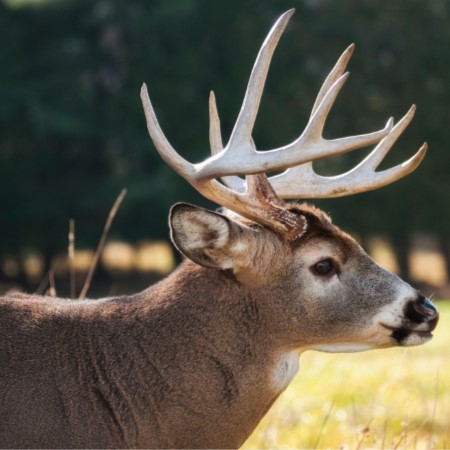
Sooner or later, as the rut begins to heat up, bucks will go on the prowl for hot does. It’s an inevitable part of the whitetail life cycle. And you want to know where the does typically are when it begins.
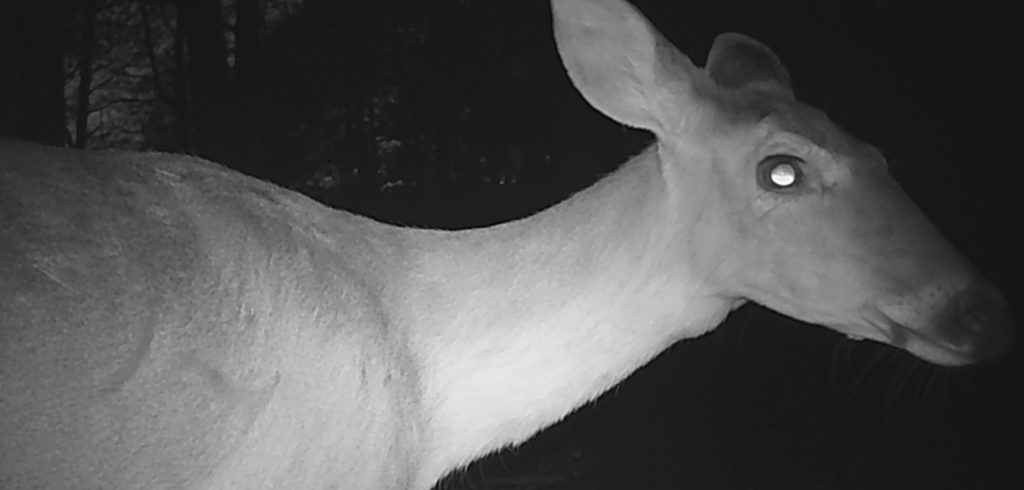
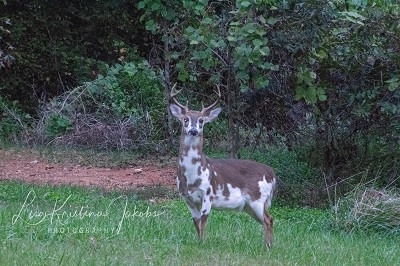
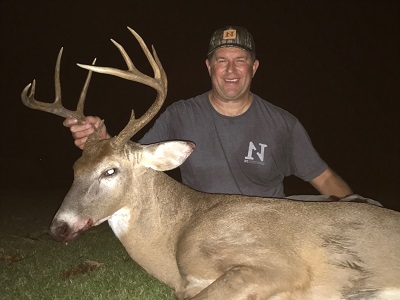
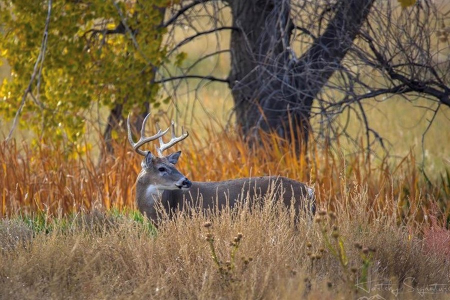
Sooner or later, bucks will be where the does are… be sure you know where that is.
Even Mr. Big Buck can throw caution to the wind when a hot doe is the prize. If you hunt the does throughout the season, he just might eventually show up in your cross hairs or behind one of your bow sight pins.
You might be a casual hunter, or only have time to hunt a few times a season. Or, you might have the luxury of getting to hunt as often as you like. Either way, knowing where the does are and how they move on a property throughout the course of a hunting season gives you a higher probability of taking a deer, and possibly, the buck of a lifetime.

Tip #9: Know that the rut changes things
Most deer hunters would probably say that if they could only hunt one time a year, they would want to hunt during the rut.
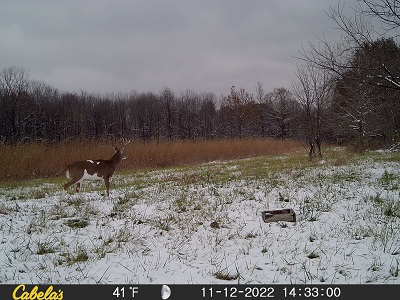
The rut is indeed a magical time of year for the whitetail hunter. Bucks that have been mostly nocturnal can show up out of nowhere, trailing or chasing hot does. But, it’s important for hunters to be aware that while the rut can ramp up deer movement and buck activity, it also brings changes.
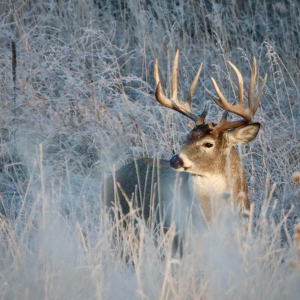
The rut certainly provides some opportunities to see daytime bucks. But, remember that as phases of the rut change, so do bucks’ patterns and behaviors.
For example, prior to the peak of the rut, you may have hunted scrape lines and rub lines, hoping to get a shot at bucks that might be working those locations. During this time, bucks are looking to leave their territorial scent as well as checking scrapes for any receptive does in the area.
But, when bucks are locked up with does during peak phase of the rut, scrape activity can seemingly vanish. It’s important to know be aware that as the phases of the rut change, so does buck activity.
Tip #10: Don’t let technology get you busted
Communication while hunting has come a long way over the years. Hi-tech hunting used to mean having a walkie-talkie with an ear piece. Now, cell phones allow us to text our family and friends as well as take and send pictures and video… all while in the deer stand or blind.
However, if we took a poll of all deer hunters, we would probably find that more than a few have been busted by deer because they were paying more attention to Facebook, Twitter and Instagram than they were their surroundings.
If you give a deer enough chances, they’ll eventually be able to spot those busy little fingers texting away on a that wonderful piece of technology called a smart phone. When that happens you’ll wish you had been, well… smarter. Aside from that, there are so many things (other than deer) in the great outdoors that you can miss. Don’t let staring down at a screen keep you from fully enjoying the wonderful creation around you.
Tip #11: Take an ethical shot
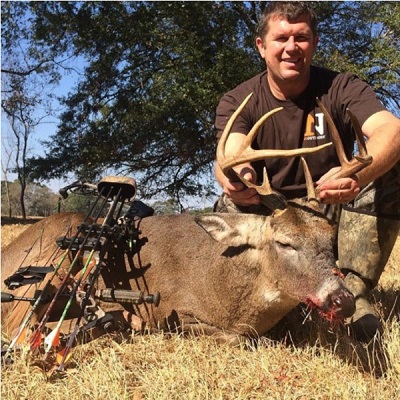
Be sure to take a shot that will lead to the quickest possible kill.
Of all the deer hunting tips you may have used to this point to finally get a shot on a deer, this one may be one of the most important.
Whether with a bow or a gun, taking an ethical shot on a deer is an important part of being a responsible hunter.
Now, the definition of an “ethical shot” has certainly been hotly debated. But, however you define it, hopefully it leads to the cleanest and quickest kill possible for the scenario.
To do this requires practice, patience and sometimes even the ability to pass up a shot that is not ideal. It’s part of being a disciplined hunter.
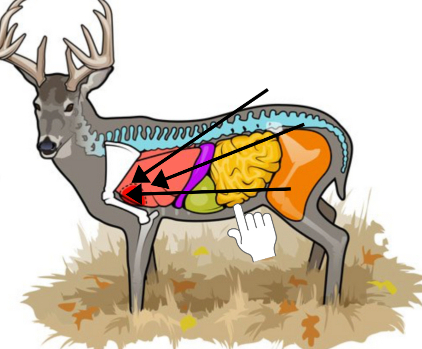
You want to have the best chance of a quick and ethical kill. Be sure you are familiar with a deer’s anatomy and how your angle position will impact the entry and exit wound.
Will you always succeed in a clean and quick kill? Probably not, especially if you are bowhunting. But, doing so effectively means you have probably learned some lessons by not taking some ethical shots.
When you make your shot, you might feel like celebrating, but be sure to watch the deer for as long as possible to watch its path and where you last saw it.
Even if you are bowhunting and using lighting nocks, don’t bank on that helping you find that deer. The arrow could break off long before the deer expires.
Whatever the case, do your best to learn from others, as well as your own experiences, to take the most ethical shot possible.

Deer Hunting Tips Recap
There are certainly many more deer hunting tips to be shared, but hopefully these 11 have provided you with some knowledge and insight into how to improve your hunting strategy and increase your rate of hunting success. We hope you put a hole N1!
- Be obsessed with scent control
- Make the wind your friend
- Be quiet
- Let your imagination guide preparation
- Don’t let your deer stand give you away
- Know thy land
- Aim for low scores in predictability
- Be a doe stalker
- Know that the rut changes things
- Don’t let technology get you busted
- Take an ethical shot