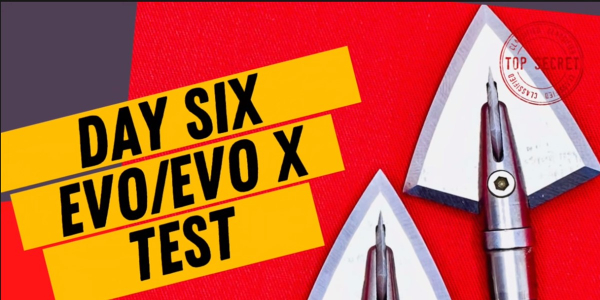
In this broadhead review, I tested the Day Six Evo and the Evo X.
So, let’s jump right in, zoom in and check out the Evo and the Evo X…
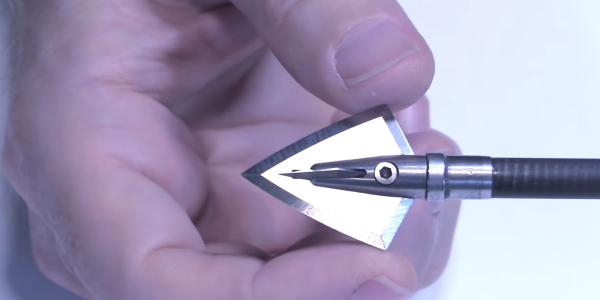
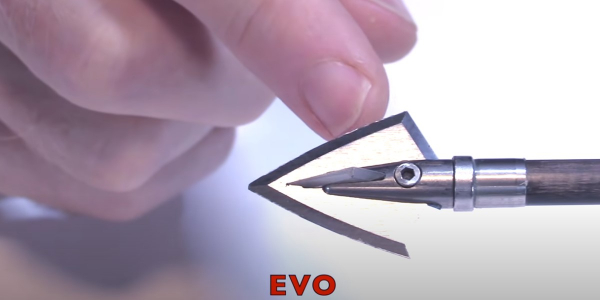
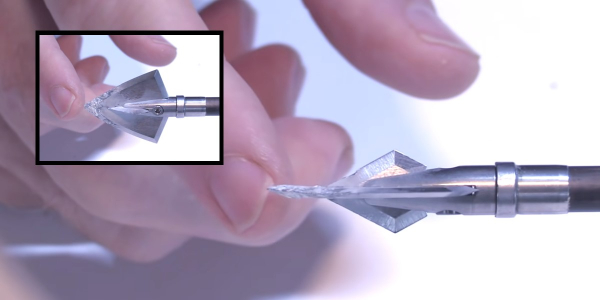
Here’s a good look at the 125-grain Evo. The cutting diameter of the main blade is 1-1/16 inches and the bleeder in this model is a half an inch. (You can also get these bleeders to be 3/4 of an inch, and that would add an extra 5 grains to the overall weight.)
The blades are not vented, which makes them a lot quieter in flight, and also a bit more durable. Also, notice the gentle convex curve. That’s to aid in penetration as well as to increase the durability just a bit.
The thickness of the main blades is 0.060 inches thick. Interestingly enough, the bleeders are just as thick as the main blades.
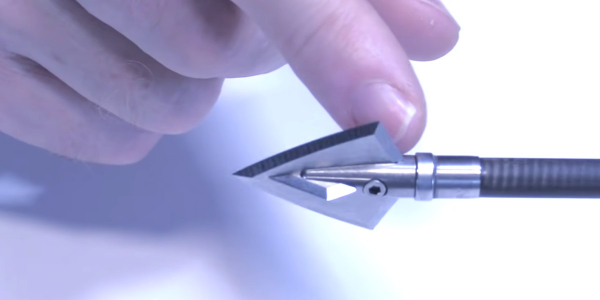
Now, as for the materials, the blades are a CPM S30V steel, which is a really fine steel that’s used in a lot of fine cutlery and knife applications.
One advantage of it is its Rockwell hardness. It’s brought to a Rockwell hardness of 59-60, which means it’s going to have a really nice edge to it.
It also has a greater impact resistance than most stainless steels, like the typical 420 or 440. It’s much more resistant to impact than those.
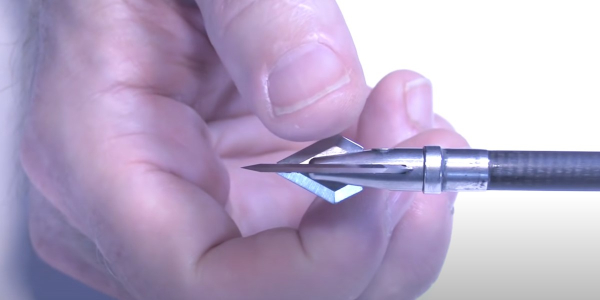
Notice that the blades of the Evo are sharpened on the back of the bleeders as well as for the main blade. And those are at a straight angle. The ones that are curved are only the main blade. This can sometimes present a challenge in re-sharpening, but you can use the Stay Sharp Guide C Model which is designed for concave or convex heads. You can use that with any kind of a curved broadhead and it makes it just as easy as the straight edges to re-sharpen.
Now, it’s not as resistant to impact as a tool steel like an A2 or an S7 for example. Those are much more resistant to impact.
Another advantage is its corrosion-resistance. It’s not going to rust. Some of those other high-carbon steels and tool steels can have a tendency to rust, which can take away some of the sharpness of the blades.
Another advantage of the CPM S30V is that it’s made right here in the USA, as is all the construction of this broadhead, so that’s kind of nice.
I was really eager to put the Day Six Evo head to the test, but I not only tested this head, I also tested its big brother, the Evo X!
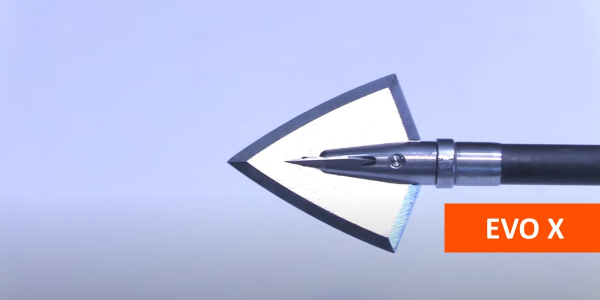
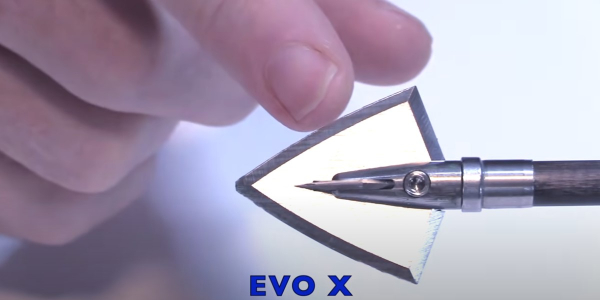
This is the 150-grain model of the Evo X. So, everything is the same with this one in terms of the steel and the thickness. However, the cutting diameter is 1-1/4 inches as opposed to 1-1/16 inches. And the bleeder is still the half inch bleeder.
So I was eager to put both of these heads to the test and see how the Evo and the Evo X performed.
Let’s see how they did!
-
Sale!
Just Pass’N Through™ Tee (featuring Magnus Black Hornet Ser-Razor Broadhead)
$15.00 Select options This product has multiple variants. The options may be chosen on the product page -
Sale!
Ntruder Buck Tee by Daniel Cliburn
$9.00 Select options This product has multiple variants. The options may be chosen on the product page -
Sale!

N1 Outdoors® Bowhunt Oh Yeah™ Bowhunting Tee
$9.00 Select options This product has multiple variants. The options may be chosen on the product page

Day Six Evo and Evo X Broadhead Testing
For these tests, I used my Bowtech SR6 and I’m using a Bishop FOC King Arrows for most of the shots but then I use the Bishop FAD Eliminator for the really hard impact shots.
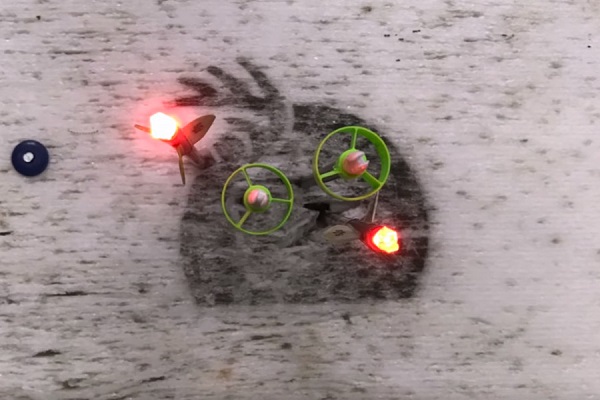
Flight Test
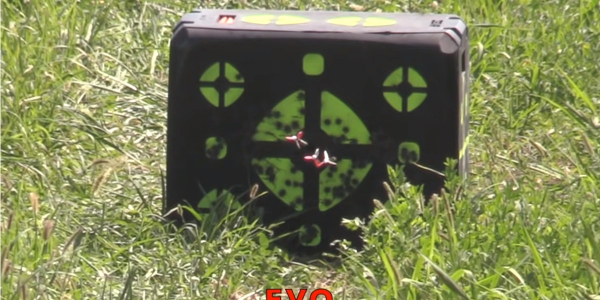
For the flight test, I shot two broadheads and a field point at 40 yards to see how well they group. Here’s a look at the Evo.
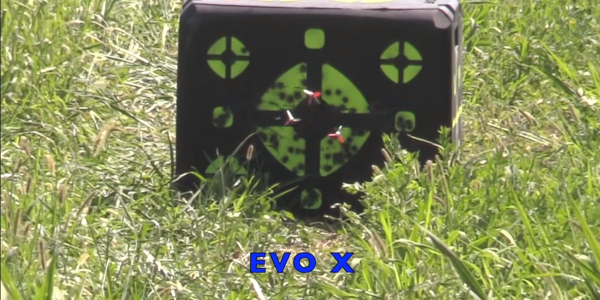
Here is how the Evo X fared in the flight test.
#ad
Initial Sharpness Test
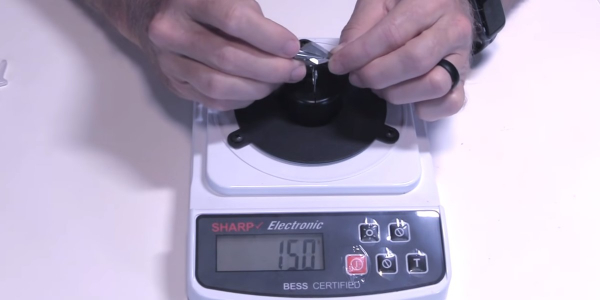
The initial sharpness out of the box for these heads was 150.
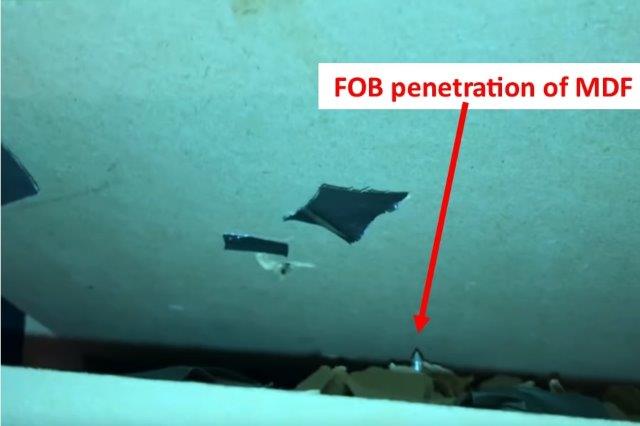
Penetration Test 1: (Ballistic Gel)
I shot the Evo and Evo X into ballistic gel fronted by 1/2-inch MDF and foam matting.
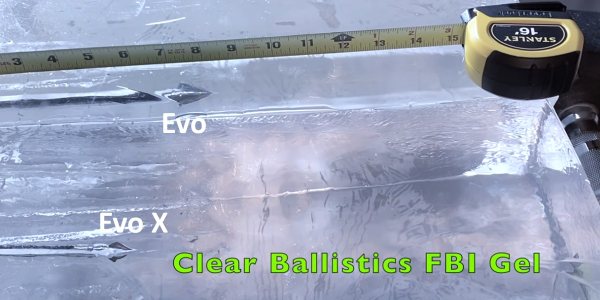
The Evo penetrated 8-1/4 inches and the Evo X penetrated 7-1/4 inches.
Edge Retention Test:
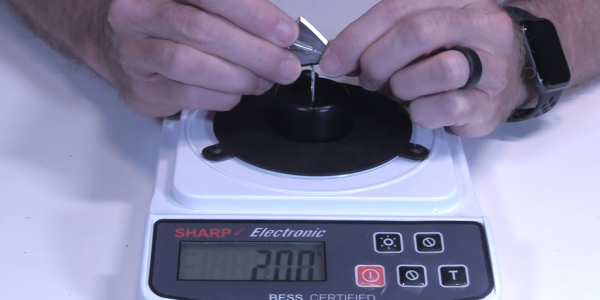
After the first penetration test, I tested the sharpness of the heads again. 200 was the result.
Penetration Test 2: (Layered Cardboard)
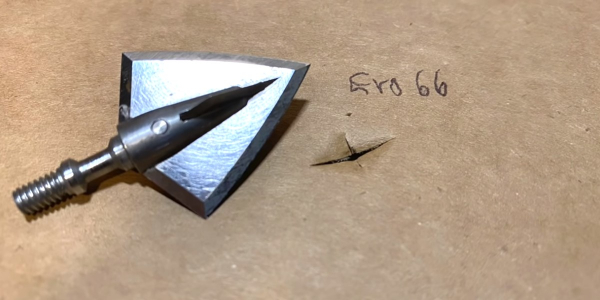
The Evo penetrated through 66 layers of cardboard…
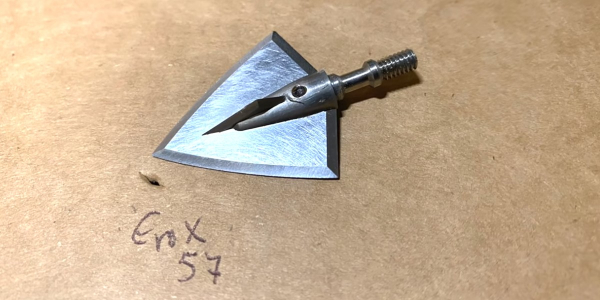
…and the Evo X penetrated through 57 layers.
Durability Test: (22 Gauge Steel Plate)
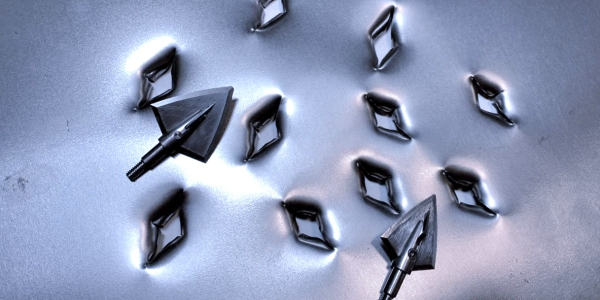
Here’s a good look at the wound channel of each of these heads. The Evo on the bottom right and the Evo X in the upper left and the slightly larger holes that it made.
Here’s the Evo after 5 shots to the steel plate and as you can see, it did very well. The bleeders are perfectly intact, the main blades perfectly intact, and it spins very well. The only damage is that there’s a little bit of edge chatter on each of the main blades. There’s really no edge chatter on the bleeders at all.
-
N1 Outdoors® N-Tune™ Nock Tuning Reflective Arrow Wraps – Fade To Black (Various)
Price range: $18.99 through $27.99 Select options This product has multiple variants. The options may be chosen on the product page -
N1 Outdoors® N-Tune™ Nock Tuning Reflective Arrow Wraps – Time Traveler™
Price range: $18.99 through $27.99 Select options This product has multiple variants. The options may be chosen on the product page -

N1 Outdoors® N-Tune™ Nock Tuning Reflective Arrow Wraps – Bad N-tentions™
Price range: $18.99 through $27.99 Select options This product has multiple variants. The options may be chosen on the product page
Here’s the Evo X after 5 shots to the steel plate and it did very well also and it spins perfectly true. The bleeders and main blades are all intact. Again, just like the Evo, there’s just a little bit of edge chatter that you can see along the main blades; a little bit more on this as opposed to the Evo. This is probably because of the width as well as it being 150 grains, as you get that slightly more momentum on impact. But, it still held up very well.
Concrete Test:

I shot the Evo (right) and the Evo X (left) into a cinder block to see how well they would penetrate…

Here’s the Evo after impacting and sticking deeply in the concrete. It took a while to get it out. That was one of the deepest-penetrating heads I’ve had in the concrete. And, you can see, the blades held together very well. The bleeders are perfectly intact. There’s just this little bit of a chunk that was taken out of the end of the Evo, but other than that, it did very well and still spins true.
Here’s the Evo X after impacting the concrete and it did very well. The blades held together perfectly. There’s really very little edge chatter. However, there is a bit of a bend that you can see there in the blades. Now, it still spins fairly well, but there’s that bend in the blades. Pretty impressive durability overall.
Final Thoughts on Day Six Evo and Evo X Broadheads
So, are you looking to weigh the factors and make a decision on a broadhead?
Well, what do you think of the Evo and the Evo X?
I don’t know if you know it or not, but Day Six comes from Genesis 1:31 in the Bible.
As a pastor, I know that Day Six of creation is when God looked back after the 6th day and saw that everything He created was good.
So, that’s how they came up with a name indicating that what they are creating is good.
I don’t know if I would have necessarily said that a few years ago about the first iteration of the Evo and the Evo X, but the improvement that they’ve made for the last couple of years in their broadheads has really made a difference.
Now, I would say, yes, it was made and it was made very good!
That 0.060 inch of thickness made a significant difference in the durability. So, if you are looking for a really stout, deeply-penetrating, tough broadhead with a lot of different variations in cut size as well as weight, you need to check out the Day Six Evo and the Evo X.
Great job, Day Six!