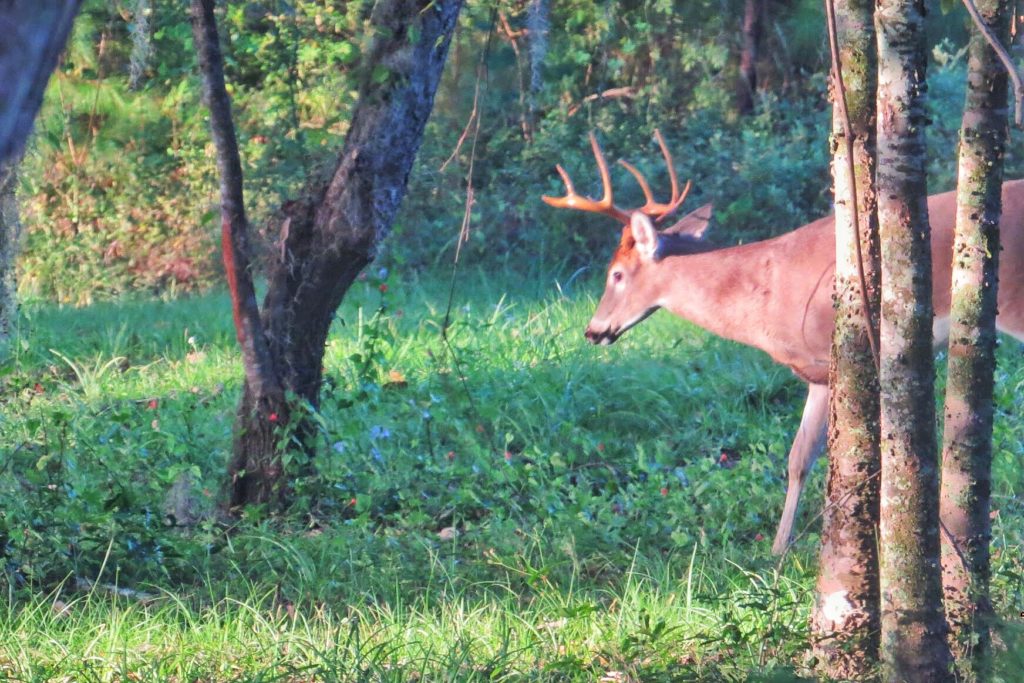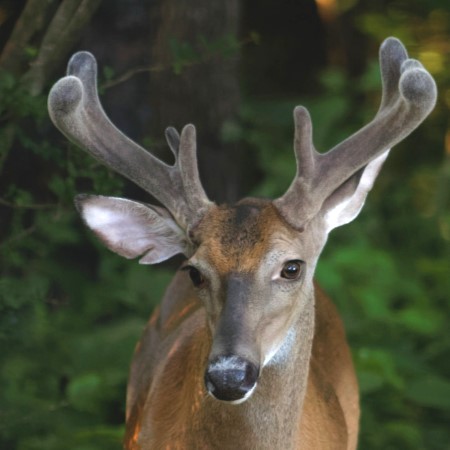
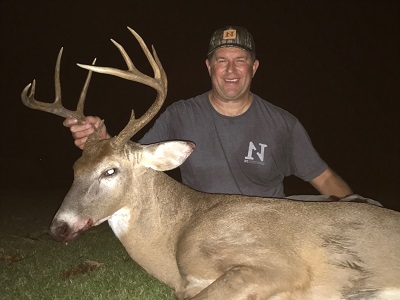
Who doesn’t want to see bigger bucks during deer season?
Do you wish you could see greater antler growth in your deer herd, but just aren’t sure what to do to make it happen?
Supplement the deer on your property with the proper nutrition and minerals to maximize antler growth!
There are countless mineral supplements for sale these days… mineral blocks, mineral rocks and minerals in powder form.
But you don’t have to go buy minerals with fancy labels and pictures of big antlers on the packaging. You can make your own deer minerals and we’ll show you how!
Consistent, healthy antler growth requires consistent nutrition… Keep reading to find out more about how to get started making your own deer mineral lick and why it’s so important!
We want to help you learn how to make your own deer mineral recipe, so that you can not only make a product that will help you have a healthier deer herd, but be able to do it without breaking the bank.

Time needed: 10 minutes
N1 Outdoors – How To Make Your Own Deer Mineral Recipe (and what ingredients you’ll need):
- Trace Minerals
2 parts trace minerals.
- Mixing Salts

Mix the trace minerals above with 1 part mixing salts - Dried Molasses
Mix the above ingredients with 1 part dried molasses.
- Dicalcium Phosphate
Mix the ingredients above with 1 part dicalcium phosphate.
- Make your mineral site
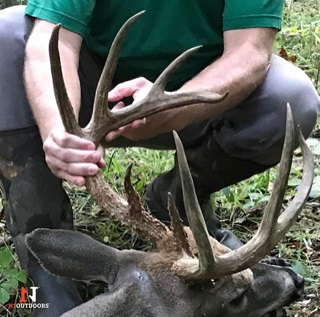
Now you’re ready to spread out your homemade deer minerals and create your mineral site. Be sure to put out a trail cam if you have one, so you can get photos of what is visiting your mineral site and monitor the antler growth progress!
WANT TO LEARN HOW TO MAKE YOUR OWN HOMEMADE DEER MINERAL RECIPE? SCROLL DOWN TO WATCH VIDEO!
Homemade Minerals: A Recipe For Deer Success
Of course, larger antler size gets most hunters giddy. But bucks aren’t the only ones that need mineral supplements.
Does need it just as much.
When the does are pregnant, start to produce milk and lactate for the fawns that will be born, they need extra calcium. This will help with lactation, but it also is essential for a healthy bone structure of the fawn that is growing in the womb.
Minerals play an important role in whitetail antler size as well as the overall health of your deer herd, both male and female.
Bucks also need the extra calcium boost, as they will use around 40 percent of the calcium in their own bone structure to grow antlers.
The antler growth process happens every year and calcium plays a huge part.
This means that a buck needs not only a good food supply during the antler growing process, but it also needs calcium during the growth process in the mother’s womb.
A healthy bone structure will contribute to greater antler growth later in the deer’s life.
Proper supplementation can also help give deer better resistance to devastating diseases like EHD and CWD.

Diligence Is Key
Supplementing your deer herd with the proper nutrition and minerals needed to promote good antler growth is not something you can do just once.
So, if you’re hoping to just visit your local outdoors store, buy a mineral block, put it out and hope to see and kill big deer, you may want to temper those expectations.
If you want a deer herd that consistently produces bucks with good antler size, you have to be consistent yourself as well.
Start making your own deer mineral supplements today and do so every year, so that you can reap the benefits for years to come.
You’ll find in the video below, that all the ingredients you will need to begin making your own deer mineral sites can be found at your local farm or feed store.
We hope you enjoy learning how to create your own minerals for your deer herd! (Note: Be sure to check and follow your state’s laws on use of attractants and supplements on private as well as public hunting land.
-
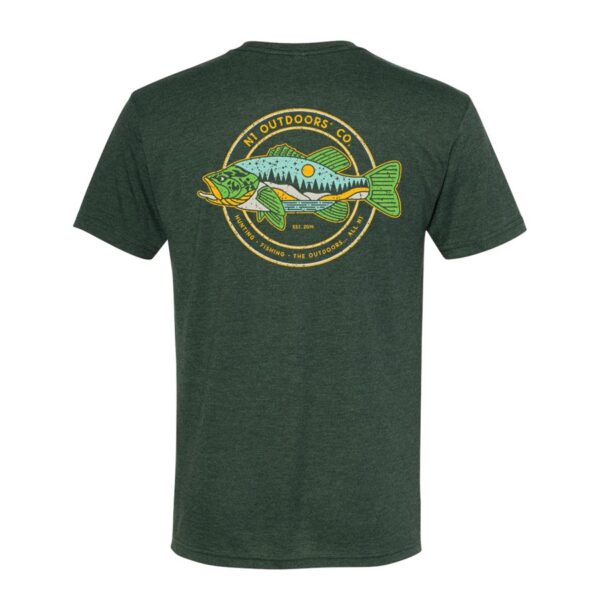
N1 Outdoors® Tine Lines™ Elk Antler Tee
Price range: $26.99 through $29.99 Select options This product has multiple variants. The options may be chosen on the product page -

N1 Outdoors® Just Pass’N Through™ Bowhunting Tee
Price range: $24.99 through $28.99 Select options This product has multiple variants. The options may be chosen on the product page -
N1 Outdoors® HUNT. Tee (Various Colors)
Price range: $24.99 through $28.99 Select options This product has multiple variants. The options may be chosen on the product page
The N1 Outdoors N1 Minute Video: How To Make Your Own Deer Mineral Licks
In this edition of the N1 Outdoors N1 Minute, learn how to make your own mineral licks for deer. We show you a simple deer mineral recipe that you can make. We also give you some tips on where to place it.
If you want to improve the overall health of your deer herd, then this is one of our must-see hunting videos. We give you the deer mineral recipe for whitetail success!
>> Join the N1 Outdoors Mailing List for news on all the latest products! <<
DIY Deer Mineral Recipe Ingredients:
- 2 parts trace minerals
- 1 part mixing salt
- 1 part dried molasses
- 1 part dicalcium phosphate
(How To Make Your Own Deer Mineral Licks video transcript)
Want to learn how to make your own mineral licks for your deer herd? We’ll show you how. Stick with us for the N1 Outdoors N1 Minute.
Today we hear from N1 Outdoors co-founder, Josh Wells, who gives us a recipe for success in having a healthy deer herd.
Dicalcium Phosphate for Deer (And some molasses!)
Hey, Josh Wells here with the N1 Outdoors N1 tip. We’re gonna make mineral licks today and what we’ve got here that we’re using for the minerals is trace minerals… we are putting two parts trace minerals, one part mixing salt, one part dried molasses and one part dicalcium phosphate.
Why the mineral nutrition is important for deer (It’s not just about big antlers)
What this is going to do for our herd is give the does that are now impregnated, more or less a prenatal vitamin. It’s going to give them what will be equivalent to our multi-vitamins.
As the bucks are shedding their horns, they’re automatically starting to grow them back right now. It’s going to help increase their potential of growing big horns.
Where to put the mineral lick
There is a major trail on this side and a major trail on that side of this mineral lick. Now, you don’t want to necessarily put it in the middle of a trail. Put it close to nearby trails and they will find it.
They’re not going to eat this like they would a feed or a protein feed or corn. They will come and use this as their body craves the mineral.
As you can see, just last night, there are some deer tracks in this mineral. So, they have already found it. That is because of the dried molasses.
The dried molasses has a strong, sweet, cane smell, and that is why they’ve already found this. We will check back on this in about two months and see how it’s going, and my supplement this mineral with some more material.
Final Thoughts On DIY Deer Mineral
Thanks again for joining us for this edition of the N1 Outdoors N1 Minute. Be sure to visit N1outdoors.com, where you can read all about unforgettable moments outdoors. Also, connect with us on Facebook, Instagram and Twitter.
We hope you have a great week, and remember, “where the moment happen, we’ll meet you there.” We’ll see you next time.