This review is BIG.
Why?
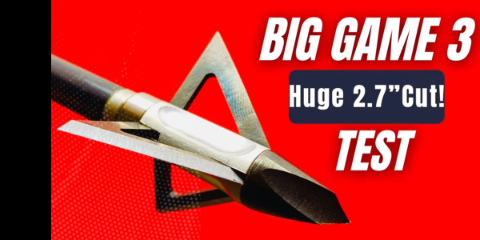
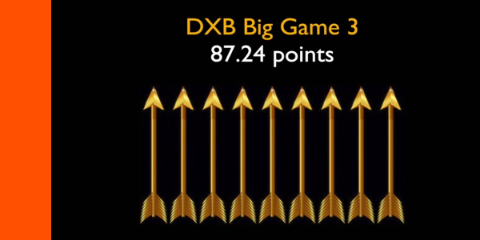
Because I’m reviwing the Big Game 3 by DXB Broadheads (Dead X Bowhunting Broadheads).
Talk about a really cool, creative, massive, beast of a broadhead!
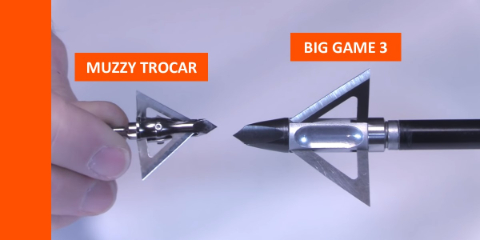
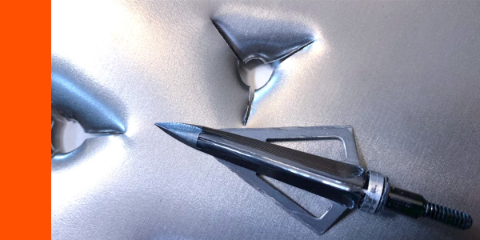
This is the Big Game 3 next to a muzzy trocar. It’s HUGE!
This is a beast of a broadhead. If you compare it to a Muzzy Trocar, the Muzzy Trocar just looks like a toy, like a baby compared to the Big Game 3.
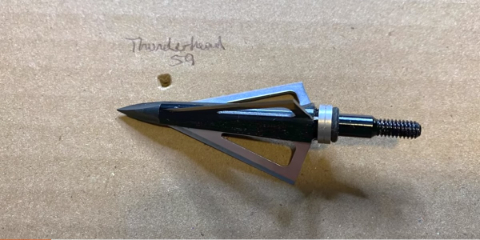
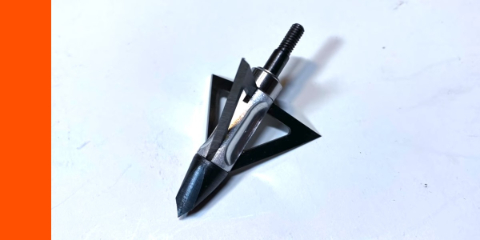
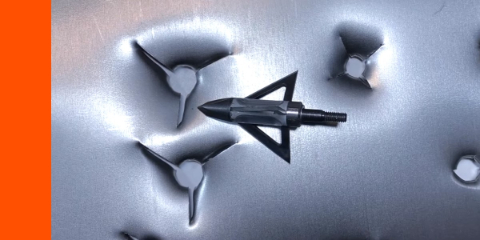
A closer look at the DXB Big Game 3 Broadhead
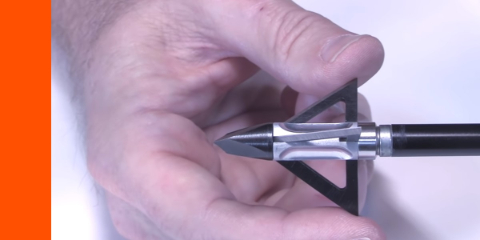
So let’s zoom on in here and check out this Big Game 3.
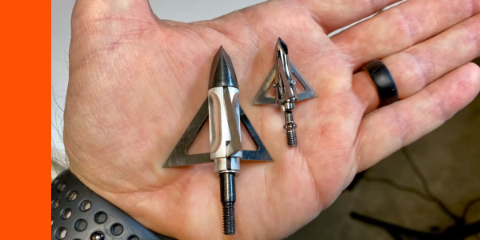
Another perspective showing the Big Game 3 next to a Muzzy Trocar. The Big Game 3 is literally a handful!
Another thing, other than its large size, is that the Big Game 3 is very well-constructed.
The owners are also professional machinists so they are bowhunters and machinists, so they do everything with really high tolerances and specifications, which is obvious when you put these heads together.
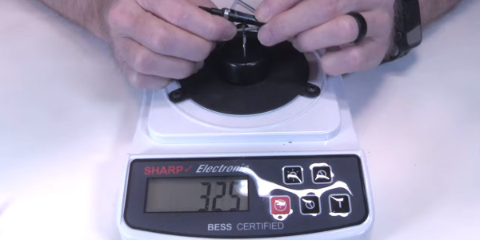
The Big Game 3 has a cutting diameter of 1.8 inches and 2.7 inches of total cut!
The total weight on this head is 300 grains. And the total cutting diameter is 1.8″ which at 3 blades, 1.8″ of diameter, that gives you 2.7″ of total cut which is going to make a really nice hole, a super wide hole.
And, with 3 blades, it’s going to cut a lot of tissue while it makes that super wide hole. So, I imagine it’s going to be devastating on whatever it hits.
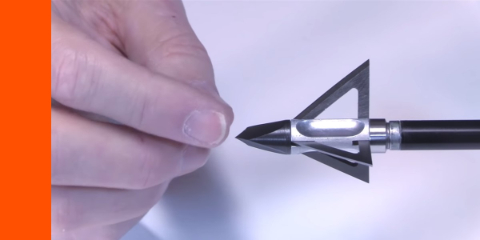
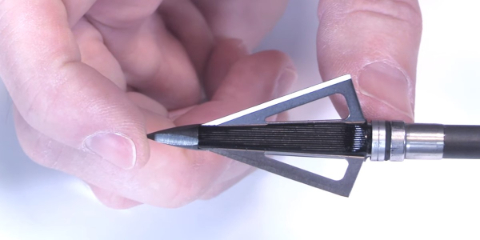
The chisel tip of the Big Game 3 is machined out of high-carbon steel. The ferrule is as well.
The tip is machined out of high-carbon steel and it actually is also the ferrule. It’s one piece that machined out of a high-carbon steel, the tip and the ferrule. That’s what screws into the arrow.
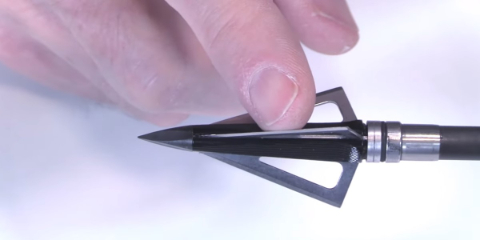
The head also has a shell, but it’s not really really the ferrule. The shell just holds the blades in place. It’s made out of 6061 aluminum. But, there’s really not much pressure on that in the hard impact. That just goes straight into the one-piece constructed steel ferrule. The shell just helps keep the weight a bit lighter. Again, it’s still 300 grains!
-
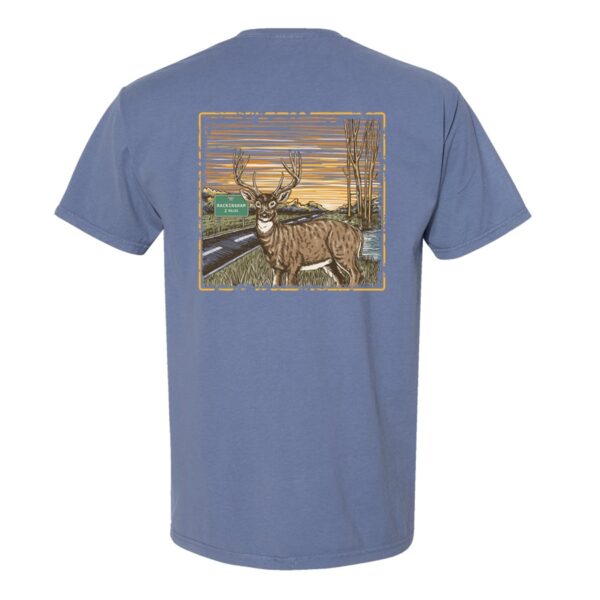
The N1 Outdoors® “Rackingham™” Whitetail Tee
Price range: $28.99 through $32.99 Select options This product has multiple variants. The options may be chosen on the product page -
N1 Outdoors® Angry Arrow™ Tee
Price range: $24.99 through $28.99 Select options This product has multiple variants. The options may be chosen on the product page -
Sale!

N1 Outdoors® Licking Branch Buck LS Tee
$19.00 Select options This product has multiple variants. The options may be chosen on the product page
More killer bowhunting t-shirts HERE!

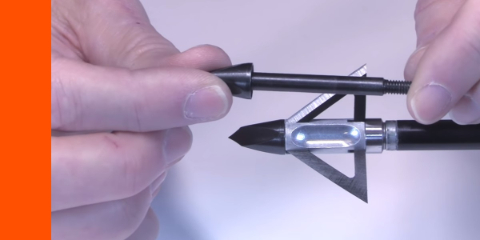
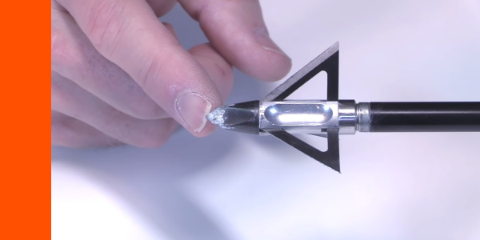
Assembly of the Big Game 3 Broadhead
Now, just a little tip here.
When you put the head together, because the tolerances are so high, you want to make sure it’s really snug on your arrow… like super snug. Otherwise, you’re going to get a little bit of a wobble.
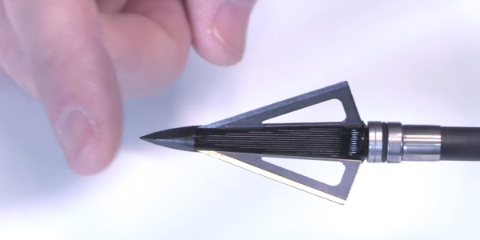
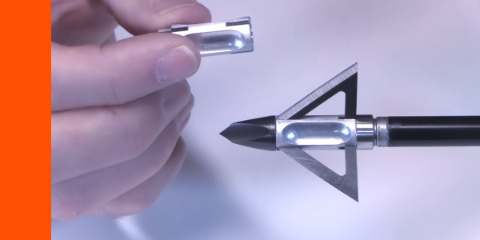
The blades are .062″ thick and are single bevel at 37 degrees.
The owner of the company told me about this and cautioned me about it. And, sure enough, I put it together and I got a bit of a wobble, and I thought, “Man, what’s wrong? It’s wobbling.”
But, then I took the blades out and tested the ferrule and the tip, and it spun perfectly true, so I knew that the blades were just not seated properly. So, I screwed it on really tight, moved the ferrule a little bit and then it just lined up and spun perfectly well. And, then I tested all of the rest of them, and they all spun really well.

The blades are also made out of high-carbon steel and they’re 0.062″ thick, which is also going to increase the bloodletting and make that hole hard to close up. And, they are also single bevel angle of 37 degrees. That 37 degrees is going to help it to prevent edge chatter and also gives it a bit of rotation.
The single bevel, combined with the weight and cut size, means this is going to be one deadly head. So, I was really eager to test these out and see how they performed.
Big Game 3 Broadhead Testing
For these tests, I’m using my Bowtech SR6 set at 72 pounds and I’m using Bishop FAD Eliminators for most of the testing here because this broadhead is so heavy and because of that spine, but then I’m also using the FOC King for some of them as well.
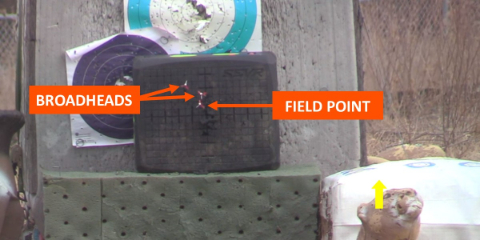
Flight Forgiveness Test:
Because my total arrow weight is so heavy, I performed the flight test from 30 yards, rather than a normal 40.
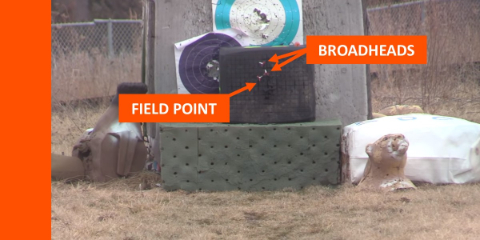
I shot one field point and then 2 broadheads at 30 yards.
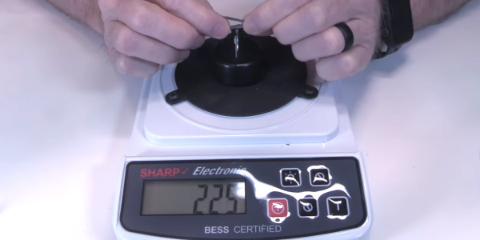
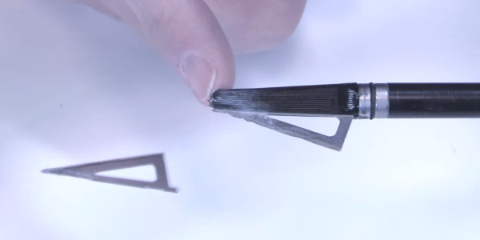
Initial Sharpness Test
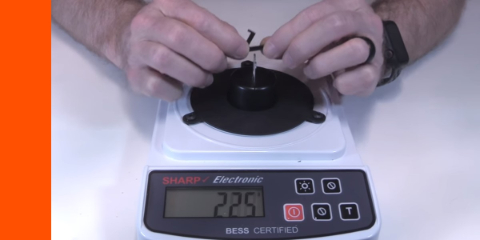
The initial sharpness test registered 225 (the lower number the better, as this test measures how much pressure it takes to cut a thin wire.)
Penetration Test 1
In this test I shot the Big Game 3 into ballistic gel that was fronted with 1/2″ MDF and a 2/3″ rubber mat.
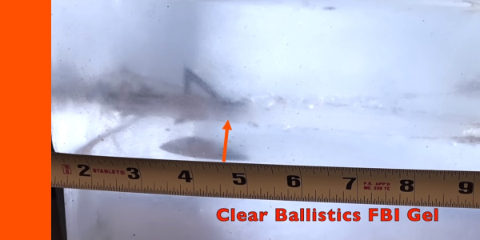
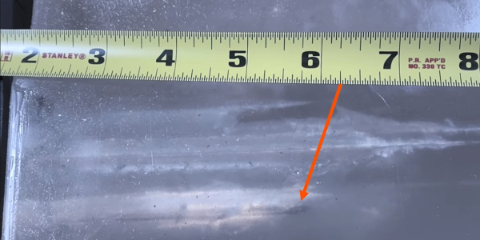
In this first penetration test, the Big Game 3 penetrated 4-5/8″ into the the ballistic gel.
Check out the hole that this thing made. Man, and you can see the S-cut of those single bevel blades. They actually were getting a bit of a rotation there, and that’s just going to make an even more wicked wound channel.
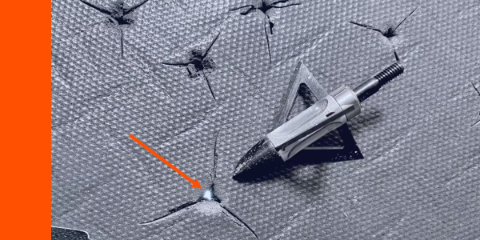
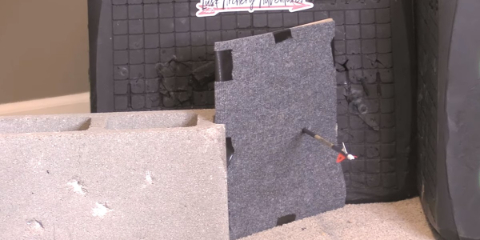
And then check out the layers here. Now, this is 2 layers of this rubber foam mat with 1/2″ of MDF in between and yet, you can see light through it. This is the first time I’ve ever tested a broadhead that you can actually see through it (because the material is so spongy and even the MDF is so like mushy that you can never see through the holes. They just close up. But with this one, they don’t close up. And I just imagine what that’s going to do to an animal!)
Here’s the top view of the gel. And check out the wound channel of this head. It’s like a grenade explosion! Now, to the right, you see another single bevel broadhead. It actually has a decent cut. But, then to the left is the wound channel of the Big Game 3. Man, that’s devastating!
Edge Retention Test (sharpness after Penetration Test 1):
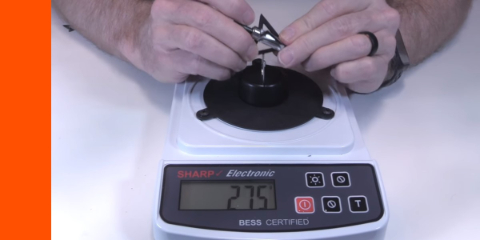
I tested the sharpness after the first penetration test… 275.
-

N1 Outdoors® N-Tune™ Nock Tuning Reflective Arrow Wraps – Boiler Room
Price range: $18.99 through $27.99 Select options This product has multiple variants. The options may be chosen on the product page -

N1 Outdoors® N-Tune™ Nock Tuning Reflective Arrow Wraps – Arrow Express™
Price range: $18.99 through $27.99 Select options This product has multiple variants. The options may be chosen on the product page -
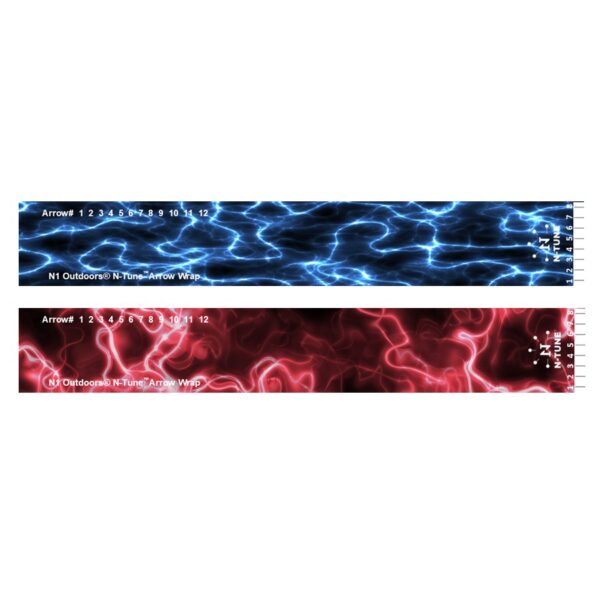
N1 Outdoors® N-Tune™ Nock Tuning Reflective Arrow Wraps – Electricity (Various)
Price range: $18.99 through $27.99 Select options This product has multiple variants. The options may be chosen on the product page
More shockingly awesome arrow wrap designs HERE!
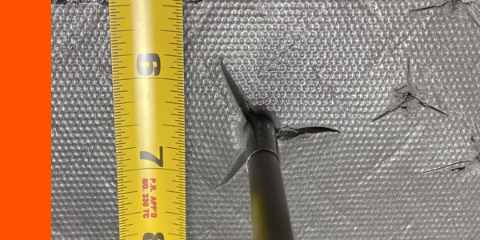
Penetration Test 2 (layered cardboard):
Sometimes you see a big mechanical that will penetrate better in the cardboard penetration test than this head did, but that’s because of a really long, skinny tip and blades being way at the bottom. That’s not the case with this head.

It penetrated through 43 layers of cardboard. I want to remind you that due to its cut size and that really thick tip, it’s cutting a lot of material while it penetrates through those 43 layers.
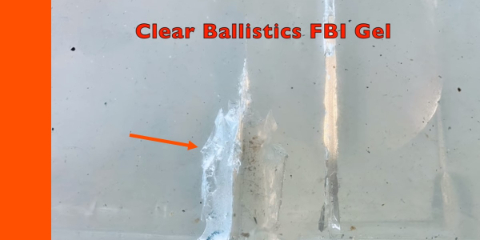
Rotation Test (FBI Gel):
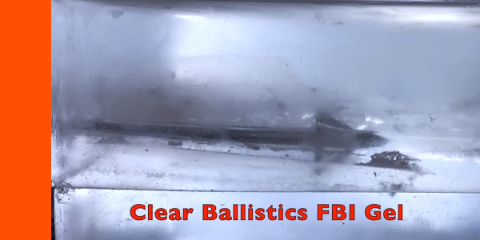
The Big Game 3 rotated 5″ and penetrated 6 inches into the ballistic gel.
Durability Test (1/2” MDF max 3 shots):
After 3 shots into the MDF, you can’t even tell it’s been shot!
Durability (22 ga steel plate max 2 shots):
I shot the DXB Big Game 3 into a .22 gage steel plate two times. Here’s what happened…
After going through the steel plate two times, it was still in awesome condition. You can only see a little bit of dulling of the tip. Other than that, you really can’t tell that it has been shot! You can see that rotation, that S-cut to the holes. And man, they’re just big compared to all the other holes on this steel plate. They’re really impressive.
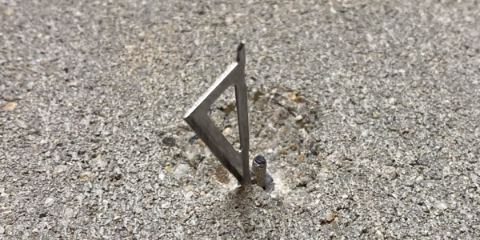
Durability Test (Concrete 1 Shot):
Here is what the head looked like after shooting it into a concrete block. Other than some slight dulling of the tip, it’s in great shape.
I want to remind you that this is with an 800-grain arrow, so there is a lot of impact, a lot more momentum than I normally shoot pounding into that concrete and yet, it held up really well.
The blades are still in excellent condition, with just a little cosmetic scratching. The tip got a little bit dulled as can be expected on a concrete, but spins perfectly well and absolutely reusable.
More incredible arrow wrap pad designs HERE!
Final Thoughts On The DXB Big Game 3 Broadheads
So what do you think of the Big Game 3?
Man, this was a really fun head to test and I think it’s going to be really fun head to hunt with as well. I look forward to sticking an animal with one of these in the days ahead.
It did really well in each of the tests.
I was really impressed and honestly surprised by its durability. I didn’t think it would be able to hold up to the concrete like that especially with all that momentum pounding into it.
But, it did really well in every area. The blades were super sharp for such a thick blade. That was really impressive. It flew really well. And man, the cut size obviously speaks for itself. The durability, it performed perfectly in all of those durability tests that I do that are pretty grueling tests.
The only challenge to it is the penetration. And that’s just because of the cut size.
Everything is a trade-off in broadhead design. So, if you’re one of those people that has a heavy setup and you want to try something that’s just going to make a really big hole, man this is really worth considering.
You can use it for anything, from turkey, to deer, to hogs, black bear, and really anything in North America or the world, if you have the kinetic energy and the momentum to drive it deep into those animals.
This broadhead is definitely worth a look to see if it’s right for you. Great Job DXB! I look forward to seeing what you come out with in the future!