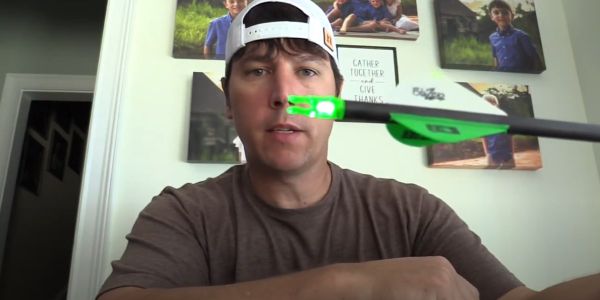
Trust me, I am not trying to cause a problem with all this heavy arrow stuff.
I was failing.
The Ranch Fairy and promotion of high FOC (Front of Center) arrow systems began because of failure at impact.
High FOC Arrows | How and why they began to matter
Ok, so here’s the abridged version of how and why high FOC arrows became so important to me.
I really like fishing, bowhunting, and shotguns. (Of course, after 30 years of marriage – and still going – Mrs. Fowler is awesome too).
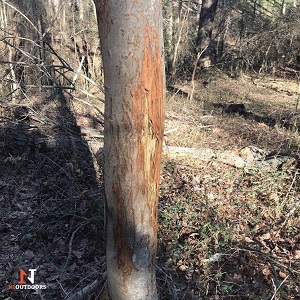
Do you want exit wound when encountering humerus breaks, shoulder blades, and spinal columns? High FOC is the answer.
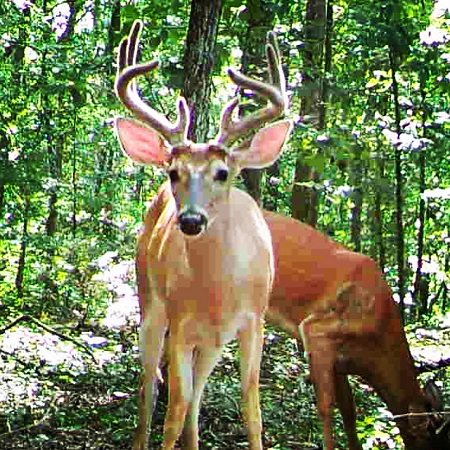
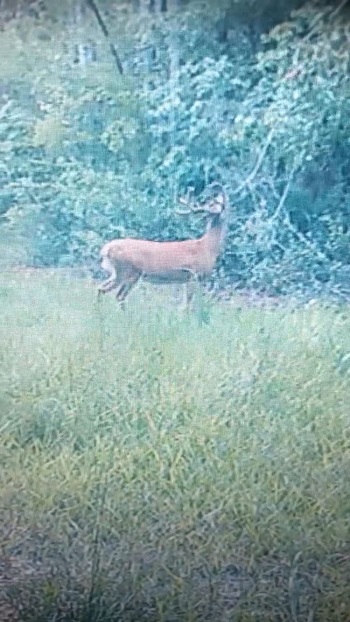
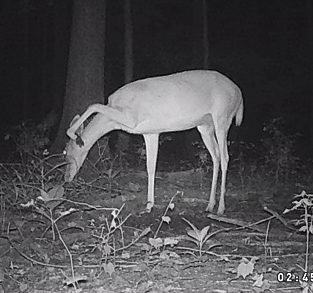
So anyway, I killed a 150” deer in 2009 and just lost interest for “deer” hunting. I became an adult along the way (which surprised me too), had kids, and helped them become quite competent adults and outdoors folks.
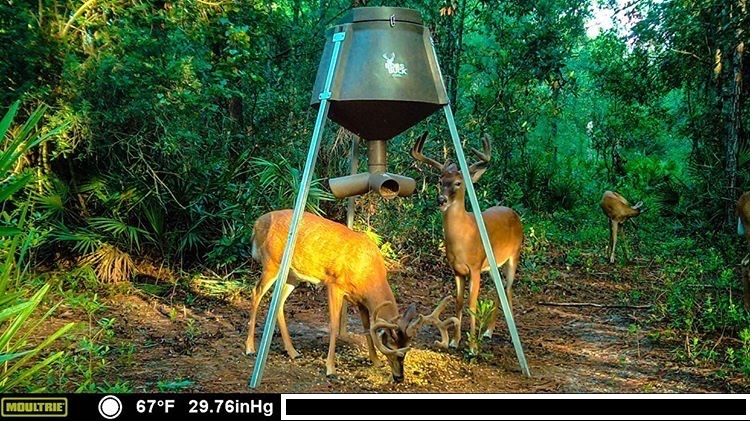
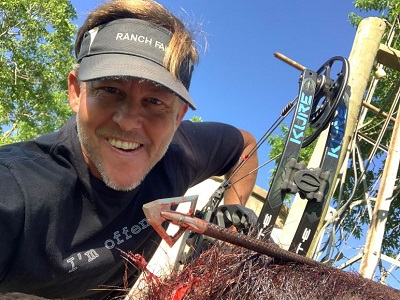
I did NOT, however, lose my love for hunting mature, feral hog boars. They are every bit as challenging as a cagey whitetail, with additional features. Mostly, they suck up arrows like a vacuum and run off laughing.
FOC stands for “Front Of Center” (or Forward of Center), which indicates what percentage of the overall arrow weight is in front of the balancing point, or “center” of the arrow.
When you ask the guys at the local shop why they get away so often, they say something like, “big boars are just tough.”
That’s it? Just keep trying what you’ve got? We don’t know anything else but “shoot fast and shoot a mechanical, ’cause they make huge holes?”
I was doing both (plus some fixed blades… guess we aren’t supposed to admit that!)
-
N1 Outdoors® Sunrise In Tineville™ Tee
$28.99 – $32.99 Select options This product has multiple variants. The options may be chosen on the product page -
N1 Outdoors® Thwack’Em™ Bowhunting Tee
$24.99 – $30.99 Select options This product has multiple variants. The options may be chosen on the product page -
Sale!
N1 Outdoors® Dominion™ Tee
$19.99 Select options This product has multiple variants. The options may be chosen on the product page
I nearly quit bowhunting
At one time, I was below a 50% kill rate on big boar hogs. And bro’, I live in Texas… we use bait, and shoot at known distances!
Still, 90% of the pigs I killed (or lost) had 12 or more inches of arrow sticking out of them.
There were poor blood trails, long nights, and lots of magically disappearing pigs.
So, I almost quit bowhunting the big pigs. I mean, I have guns. After all, they are, as my buddy Chris says, “very efficient”.
Enter one Dr. Ed Ashby and his incredibly in-depth Natal Study.
Ed Ashby to the rescue
In his Natal Study, Ed Ashby identified 12 arrow penetration enhancing factors (visit www.ashbybowhunting.org for more information).
I start reading and my mind starts melting!
He’s preaching: structural integrity, perfect arrow flight, rigid one piece single bevel broadheads, 350 grain points and inserts…..650 grain arrows?
ARE YOU KIDDING?
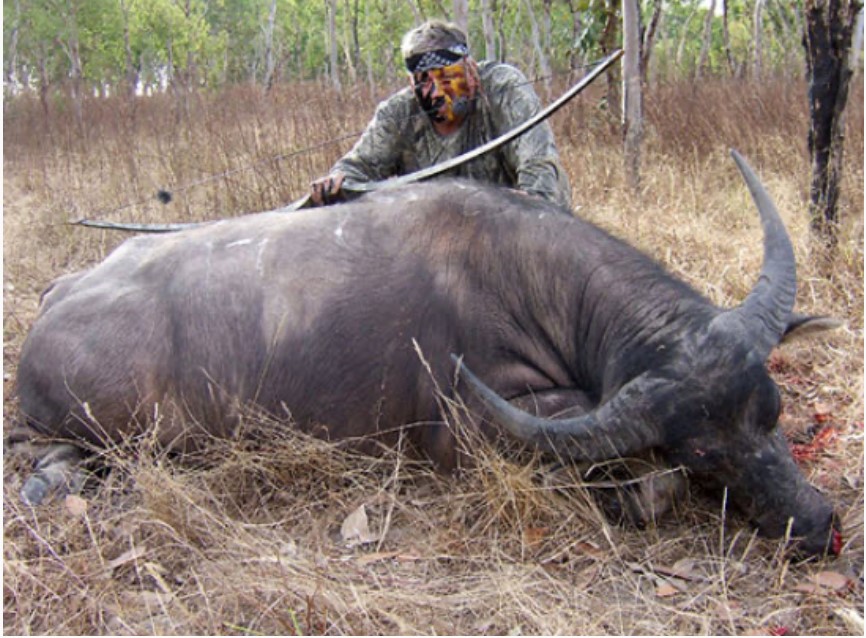
Dr. Ed Ashby, here with an asiatic buffalo, stresses the importance of structural integrity and perfect arrow flight.
I had no other thing to try. The archery shop “dock talk” wasn’t working.
Now, this is not a popular thing, circa 2013. I mean, it’s completely irrational, right?
Except Ed was regularly killing Asiatic buffalo, including exit holes, and he had a couple rhino’s, with a bow, as a kicker.
Oh, and just to check the man card, he used traditional gear. (That’s right, longbow, recurve, etc).
So, I jumped off the bridge with high FOC arrow builds and never looked back. What did I have to lose?
Fast forward 7 years and hindsight being what it is, bowhunting is very simple… bowhunting is 100% equivalent to what happens at impact.
And, how much penetration your arrow achieves will increase your success; not the bow, stabilizer, or whiz bang back tension release, or a miracle peep sight.
The broadhead and arrow kill the animal.
Which one is best? Let’s move on.

Murphy’s Law (Anything that can go wrong will go wrong) certainly applies to bowhunting. But, what if we could have things go RIGHT more often?
What is a high FOC arrow?
So, Fowler “land the plane man!” Get on with it… “what is a high FOC arrow?”
And some other FOC-related questions:
- “What’s considered high FOC?”
- “Can you have too much arrow FOC?”
- “What is a good FOC for hunting”
- “Is arrow FOC overrated?”
Now, before we continue, you must realize that FOC or “front of center” is the measure of how much total arrow mass is in the front. The industry says 8-12% FOC is normal.
So, let’s chat this up…
A high FOC arrow starts around 15% and can go up to 30%.
Just as a comparison, we are talking about 100 grain points (low FOC) vs 300-350 grain points (High FOC).
So, I’d agree wholeheartedly that 8-12% is normal FOC. But that doesn’t answer a simple bowhunting question. “Is that the optimal arrow FOC from bow to animal i.e., “in flight” or is it the optimal arrow FOC to get through the deer, hog or other animal?”
The industry just leaves that as an assumption while moving on to bow tuning and other shenanigans.
How to calculate the FOC of an arrow
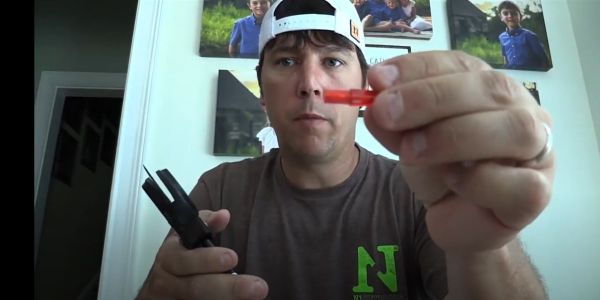
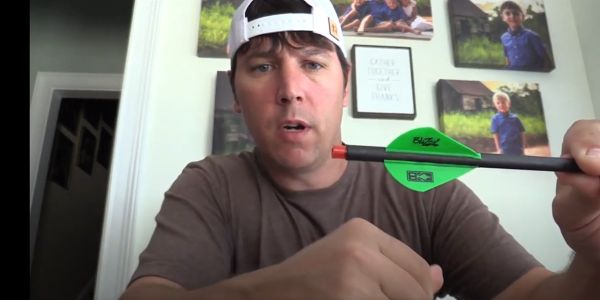
To determine the front of center (FOC) of your arrow, first install the inserts, points/broadheads, wraps, vanes, nocks, etc that you will be using on the arrow shaft. Once you have completed your arrow setup use the equation in the graphic below:
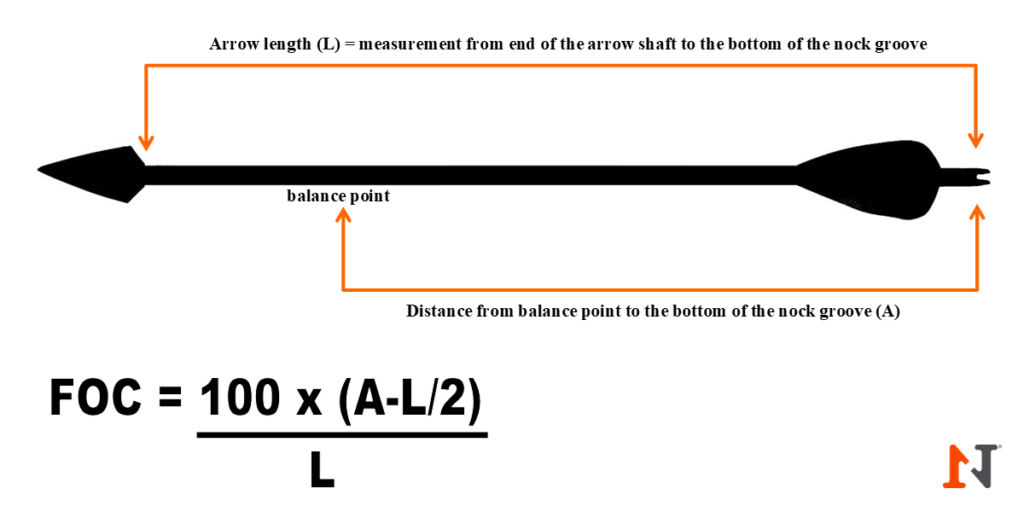
- Divide the length of the arrow (indicated by “L” in the graphic above) by 2.
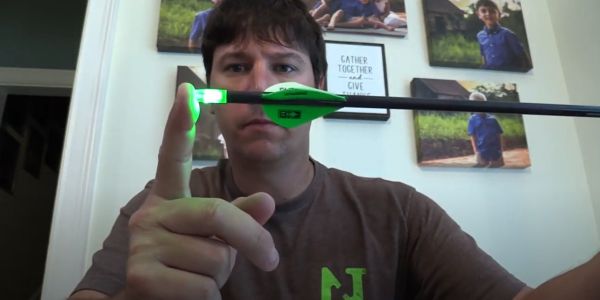
- Find the balance point. (The balance point is where the arrow balances perfectly on your finger or other object). Mark the balance point and measure the distance from that point to the bottom of the groove of the nock (this distance = “A” in graphic above).
- Subtract center of the arrow measurement (calculated in step 1) from the balance point measurement (calculated in step 2).
- Multiply the result from step 3 by 100.
- Divide the result from Step 4 by the arrow’s overall length (L). This result will be the FOC of your arrow.
FOC Calculator
If you don’t want to take the time to do the math to find your arrow’s FOC, you can always use an FOC calculator. Just be sure your arrow has the inserts, points/broadheads, wraps, vanes, nocks already installed.

The benefits of high FOC arrows
Before we jump off the FOC bridge, let’s clarify some things.
- Ashby Rule #1 – Structural Integrity: The arrow and broadhead system cannot fail, bend, or redirect at impact.
- Rule #2 – Arrow Flight: Perfect arrow flight is the enabler to penetration, when rule #1 is achieved.
Structural integrity
Just so you know, I bare shaft tune each individual arrow before fletching, using the point weight I want to achieve for higher FOC. I suggest you do the same.
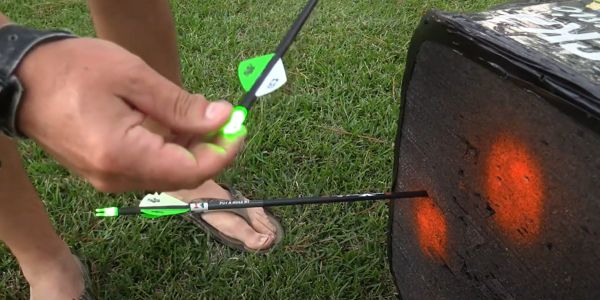
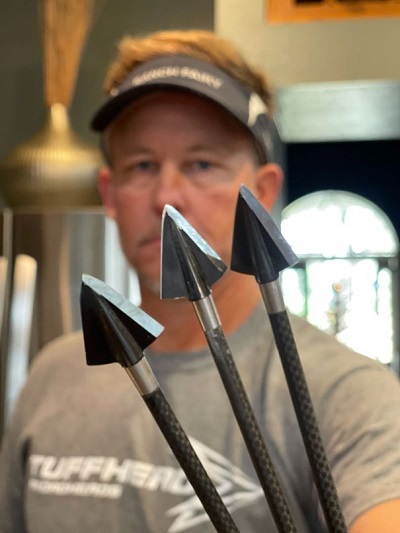
High FOC arrows often carry 300+ grain point or point / insert systems. This places a tremendous amount of impact energy into a very small area, pulling the arrow into the target.
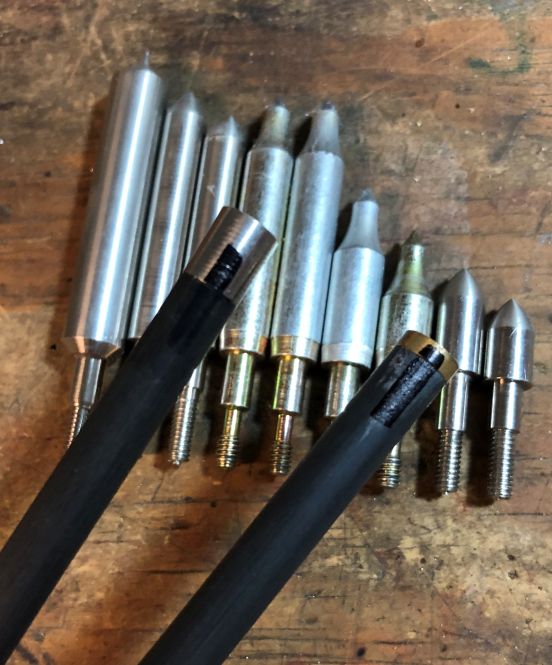
Heavier inserts and field points/broadheads will help increase your arrow’s FOC.
Think of it like this. You’re shooting a 300-grain bullet with a tail. With lower FOC, you have a long object pushing a light point into sinew, meat, and bone.
It’s like hitting a nail with a hammer.
So, if you miss-hit the nail a little and your “arrow” goes sideways – it kills penetration.
But, what if we could pull the nail into the board? (Structural integrity, perfect flight assumed – you have to do that first).
Arrow flight
A second benefit of high FOC arrows is great arrow flight, which increases accuracy.
During my journey, somewhere around 16% FOC, I started to see much more consistent grouping. It was like I was a better shot. It just doesn’t take as much concentration on form and grip, etc.
The heavier points, after proper bare shaft tuning, seem to pull the arrow along, and the fletch is just back there stabilizing the end of the arrow.
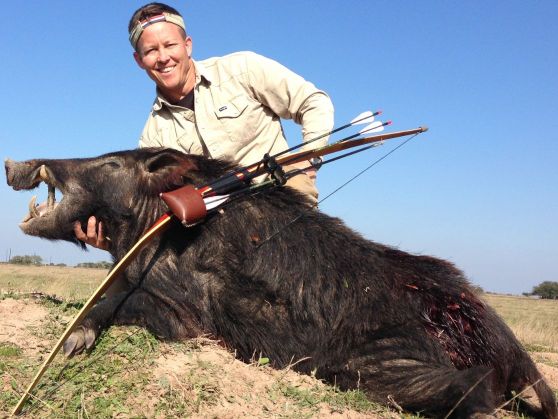
Since switching to high FOC arrows, my kill rate on tough feral hogs has gone to nearly 100%.
Better broadhead choice
Finally, the jump to these higher FOC arrow systems almost requires you to buy better broadheads, made of great steel.
It’s not uncommon to have tool grade steels. The heads are machined, one-piece, and .08 thick.
They are solid. No fail points – (Rule #1 – Structural Integeriy… CHECK!)
For the bowhunter, this discussion may seem a bit off the rails. I would agree. The FOC town has an idiot, and I am he.
However, my pig killing stats have gone to almost 100%. Literally, if one gets away, I made a non-vital hit, and that’s on me.
But, the adult arrows don’t fail anymore. My arrows don’t break, the broadheads don’t bend or dull on impact, and penetration is almost always into the dirt (unless I hit a big off-side bone, which usually breaks, and turns the pig into a three-wheel drive unit. Pigs have short legs, so from an elevated position, its common to hit the ground before it passes through.)
-
Just Pass’N Through™ Green Camo/White Leather Patch Hat
$29.99 Select options This product has multiple variants. The options may be chosen on the product page -
N1 Outdoors® TriBlock™ Duck Leather Brackish Camo Patch Rope Hat
$29.99 Select options This product has multiple variants. The options may be chosen on the product page -
Multicam Camo N1 Logo Leather Patch Hat
$26.99 Select options This product has multiple variants. The options may be chosen on the product page
Final Thoughts On High FOC
In closing, I am vitally aware a “normal” arrow system kills millions of critters a year of all sizes.
Mechanical broadheads, the same. I got that. I’ve done it.
But, what if you had an arrow system you knew, for a fact, was going to achieve an exit wound in the absolute highest number of situations – all impact side humerus breaks, shoulder blades broken, and spinal columns snapped with almost 100% efficiency?
What if we accept Mr. Murphy is still alive and well, but we used a tool to level that playing field?
The next time you see your hunting arrow, you should ask, “Is my arrow system capable of almost any impact point OR only if I have perfect shot placement?”
Bowhunting is 100% equivalent to what happens at impact. And, how much penetration your arrow achieves will increase your success.