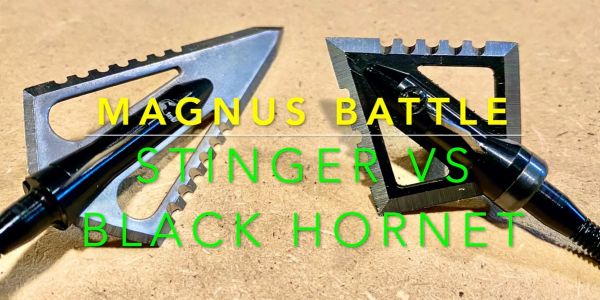
In this broadheads review, I tested the Magnus Stinger Buzzcut and the Magnus Black Hornet… and I tested them head-to-head!
Needless to say, I was really excited about this broadheads battle.

I tested the Magnus Stinger Buzzcut broadheads previously, but wanted to put them through more testing.
I wondered if I should call it, “The battle of the Magnuses…. or maybe “The battle of the Magni!”
I tested both the Magnus Stinger Buzzcut and the Magnus Black Hornet Ser Razor in 125 grains.
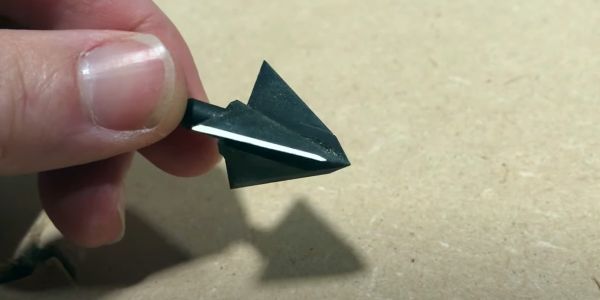
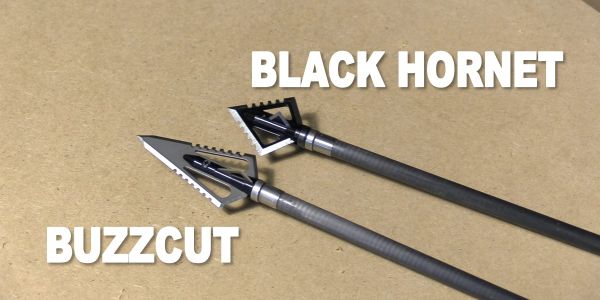
Both of these heads have the serrated edge. A serrated edge is more efficient than a straight edge. While a straight edge is better at chopping motion, the serrated edge is better for a slicing motion, and it holds its edge better. So, I like that Magnus has integrated that design into their heads.
Why the (Re)-test of the Magnus Broadheads?
Before we get to the results, let me explain why I did this test.
In my earlier days of doing broadhead testing, I was a bit harsh on some of the heads that didn’t utilize the premium steels that some other companies utilize. And, one of those that I was a bit harsh on was the Magnus.
The fact is, these broadheads have taken a ton of animals all over the world. They also come in at a really good price point. They have a lifetime warranty and they have a very loyal following.
And so, in recent times, I thought, “You know what? Let me rethink the way I critiqued them in the past and put them through some more testing.”
So, I purchased two packs of these and put them through the test. Let’s see how they did…

Broadhead Testing Format
I retested the Magnus heads with the same format that I have recently been testing with, so that all my tests have a consistent format. This way, you can look at all the different broadhead reviews and see how they measure up to one another.
- Long Range Flight: In this test, I shoot the heads on a range to see how well they fly at longer distance.
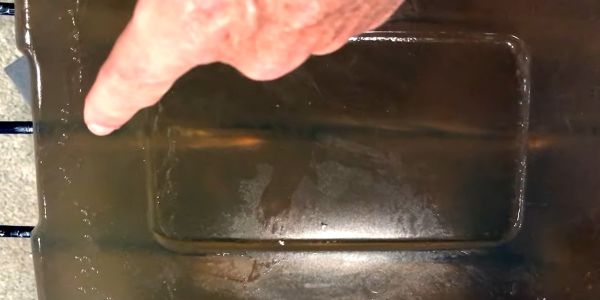
- Penetration: For the penetration test, I use a multifaceted medium consisting of ½” layer of MDF, surrounded by 1/3” layers of rubber foam matting, followed by clear ballistic gel. Because the gel is clear, I can measure it precisely to see how well each of the heads penetrated through that medium. I use MDF rather than plywood, because plywood grain can be very inconsistent. And, while MDF is not perfect, it’s much more consistent than plywood.
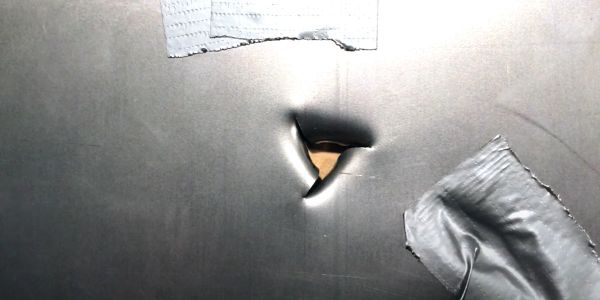
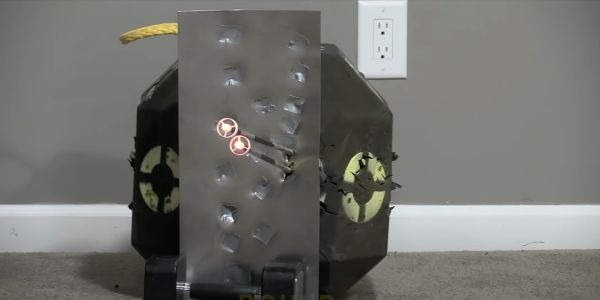
- Edge Retention: I shoot the heads through a 22-gauge steel plate for a maximum of five times. During the test, if the edges of the blades begin to get really mangled, then I stop. I give two points for each time the head was able to be shot through the steel plate without significant damage. The maximum a broadhead can get in this test is 10 points.
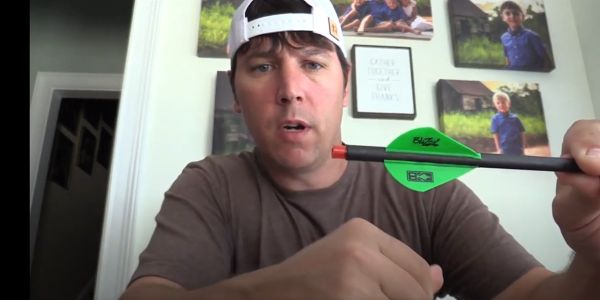
In this review, I’m using my Bowtech SR6 with a 27-inch draw at 72 pounds. I’m shooting a 460-grain Bishop FOC King Arrow. I’m using FOBs and I’ve got a Nockturnal lighted nock on the end of the arrow shaft.
So let’s learn a little bit more about these heads and then see how they performed!

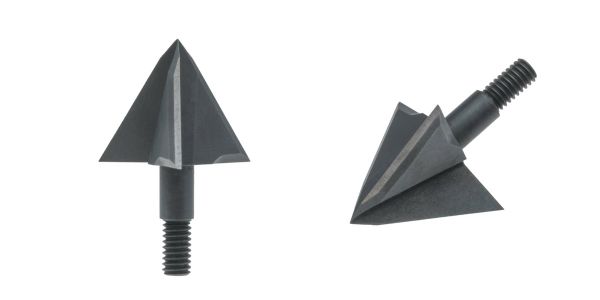
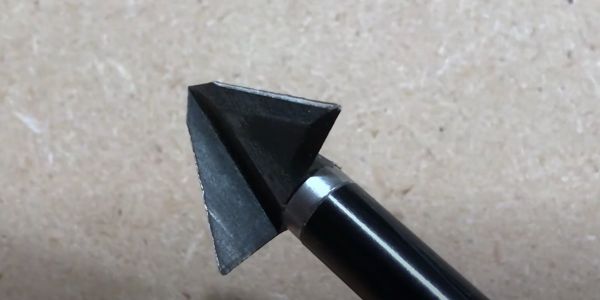
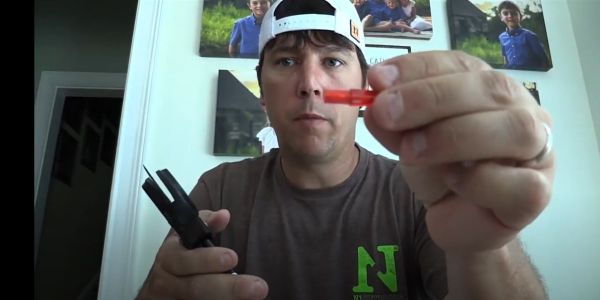
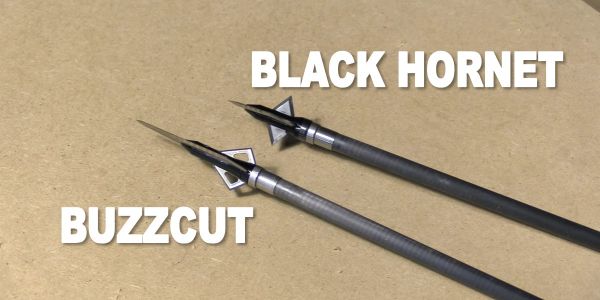
Stinger Buzzcut and Black Hornet Ser Razor overview

Long-range flight test results
I shot bot the Buzzcut and the Black Hornet from 70 yards and was able to pop a balloon. The black hornet flew very closely to a field point at this distance as well.
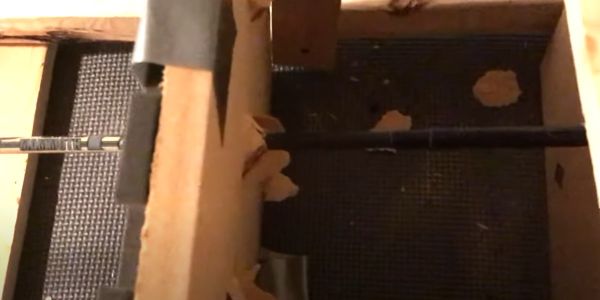
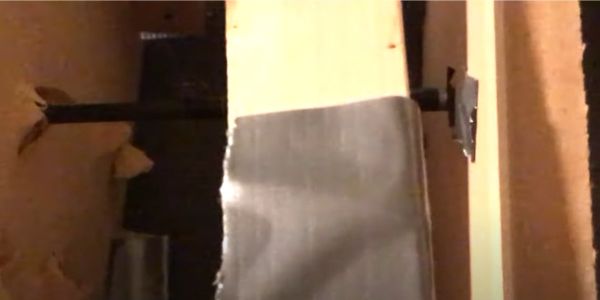
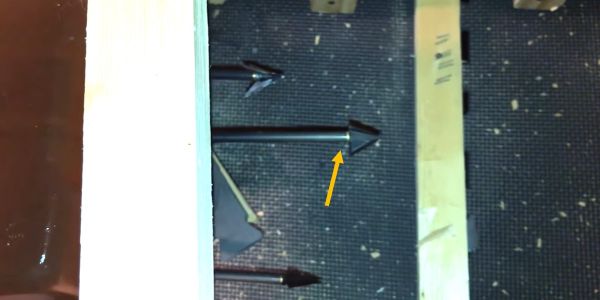
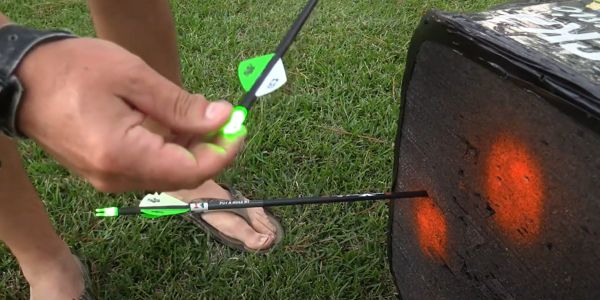
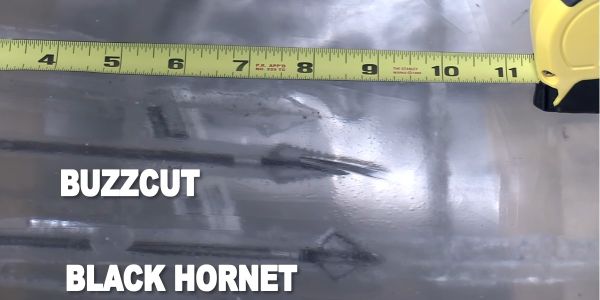
Stinger vs. Black Hornet in Penetration Test
First, I shot the Stinger Buzzcut and then the Black Hornet. Below you can see the penetration results.
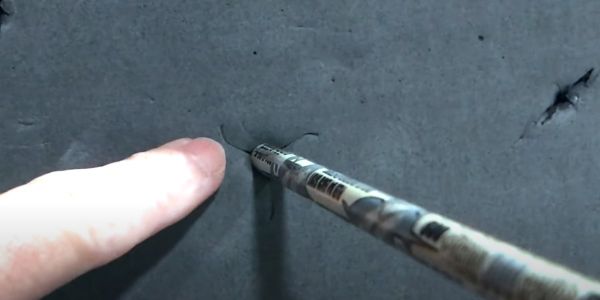
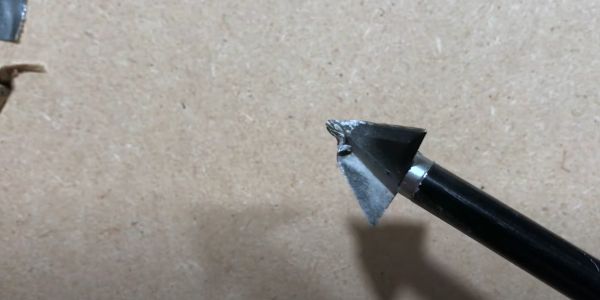
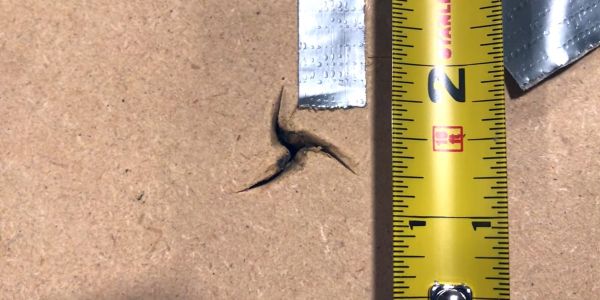
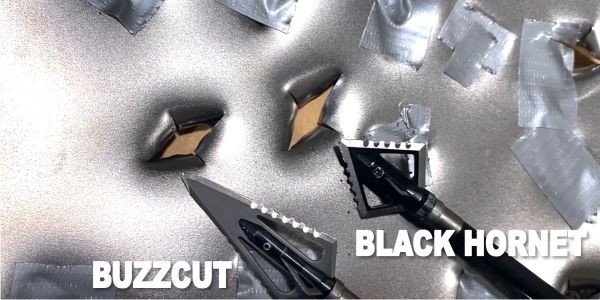
Edge retention test results
I shot both of the Magnus Stinger and then the Black Hornet into a 22-gauge steel plate.

Magnus Stinger and Black Hornets Post-Review
So, what do you think of the Magnus broadhead battle? I guess it’s not really a battle, because they are both Magnus heads and they are both great. Each head performed very well. Honestly, they both did better than I expected.
The flight was very good, out to long range.
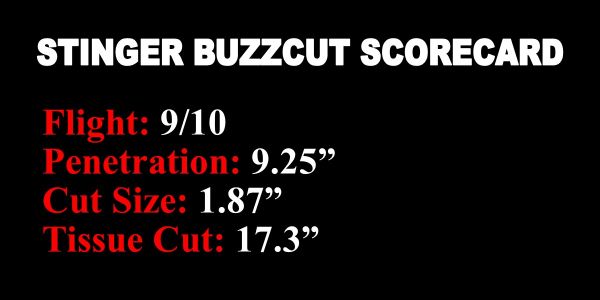
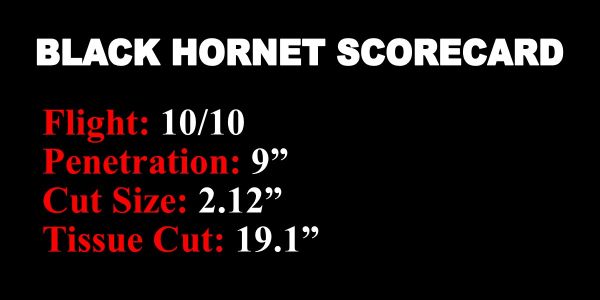
The penetration was very impressive; 9 inches and 9-1/4 inches. The Stinger penetrated just slightly better than did the Black Hornet.
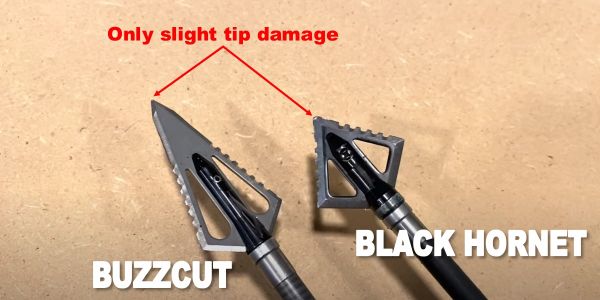
And then through steel, both of them held up extremely well through the steel plate and kept their edge through five shots.


Final Thoughts and Score Cards on Stinger Buzzcut and Black Hornet
So, I would just say that overall, both of these broadheads are winners. If you’re going to choose one or the other, I would say if you have a lighter setup, where you’re shooting less kinetic energy and less momentum, then maybe you want to go with the Stinger. It has a smaller cut. It’s going to be prone to penetrate a little bit more deeply.
If you have a heavier setup that produces more KE, and you’re looking for that extra cut, you’re getting an extra 1/8-inch cut in both directions with the bleeders and the main blades in the Black Hornet. They are also much thicker blades. So, they should be less prone to bend if they hit a heavy bone.
These are both great heads for my purposes. But, if I’m taking one out in the deer woods, it’s going to be the Black Hornet.