Have you ever wanted to apply wraps to your hunting arrows but couldn’t get them on straight or just didn’t know where to start?
Well, if you are here, then you have probably decided you should use them!
Well, applying arrow wraps doesn’t have to be hard and you can do it too!
-
N1 Outdoors® N-Tune™ Nock Tuning Fluorescent Arrow Tracers (24-pack)
Price range: $18.99 through $27.99 Select options This product has multiple variants. The options may be chosen on the product page -

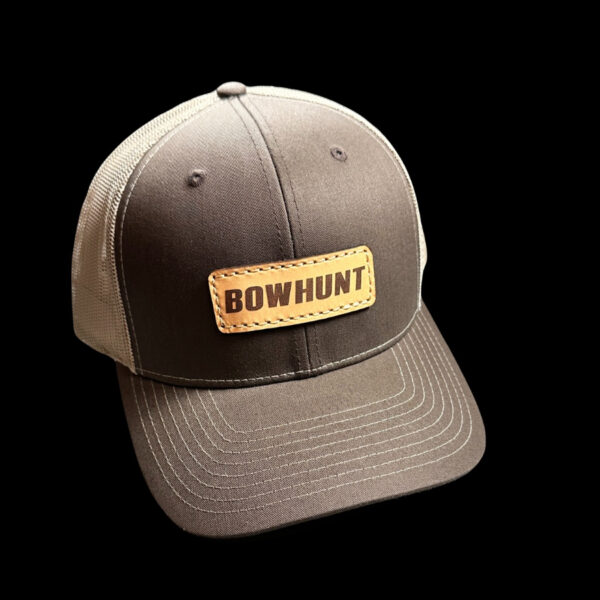
N1 Outdoors® N-Tune™ Nock Tuning Reflective Arrow Wraps – Dropp’N Hammers™
Price range: $18.99 through $27.99 Select options This product has multiple variants. The options may be chosen on the product page -
N1 Outdoors® N-Tune™ Nock Tuning Reflective Arrow Wraps – Thwack’Em™
Price range: $18.99 through $27.99 Select options This product has multiple variants. The options may be chosen on the product page
Some bowhunters use wraps because they can make it easier to remove your vanes when re-fletching an arrow.
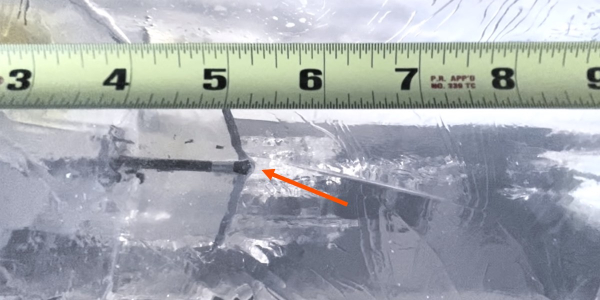
Others may like them because they like to have a white area on their shaft to be able to more easily see what type of blood is on the arrow in the event of a pass-through.
And, some just like fancy arrows, and there’s nothing wrong with that!
You can apply arrow wraps easily and quickly in just a few simple steps…
-
N1 Outdoors® Stain The Vanes™ Bowhunting Tee
Price range: $24.99 through $30.99 Select options This product has multiple variants. The options may be chosen on the product page -
N1 Outdoors® “Outdoor Npressions™” Boot Print Tee
Price range: $24.99 through $28.99 Select options This product has multiple variants. The options may be chosen on the product page -
Sale!

N1 Outdoors® Dominion™ Tee
$19.99 Select options This product has multiple variants. The options may be chosen on the product page
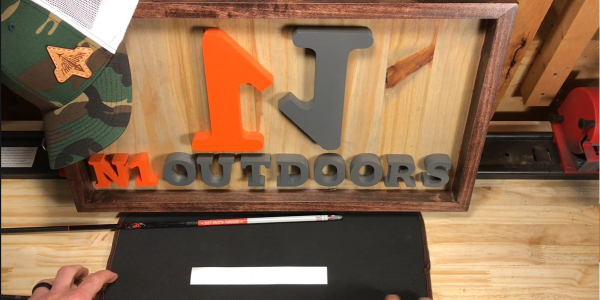
So, I’m going to show you step-by-step how to apply arrow wraps to your arrow shafts. Here’s what you’ll need to get started.
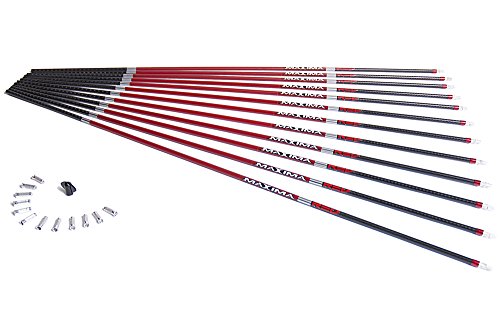
- Arrow wraps
- Mouse pad/hot pad or arrow wrap pad
- Arrow Shafts
- Acetone or denatured alcohol, or N-Tune Arrow Shaft Cleaning Cloth
- Microfiber rag or cotton ball
How To Apply Arrow Wraps [Easy Install!]
Time needed: 2 minutes
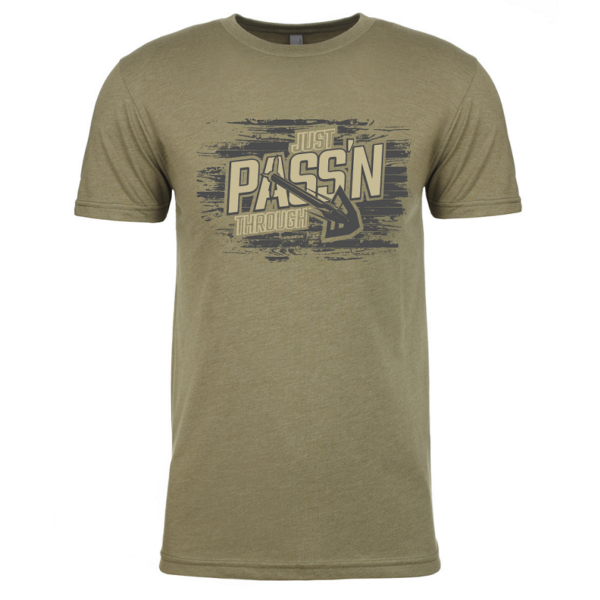
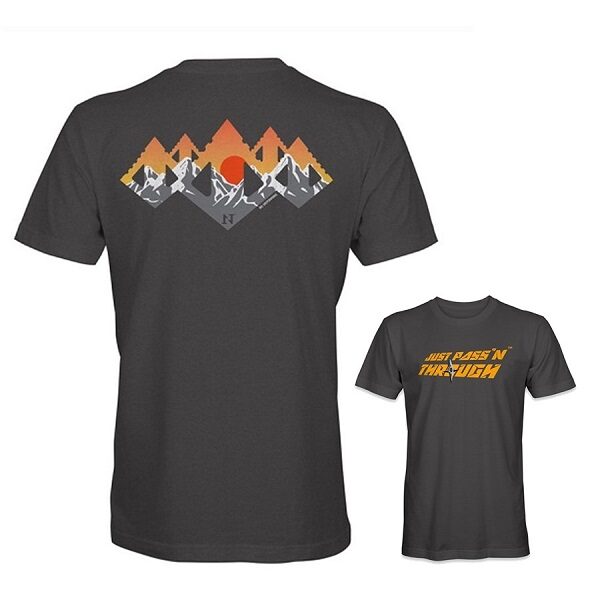
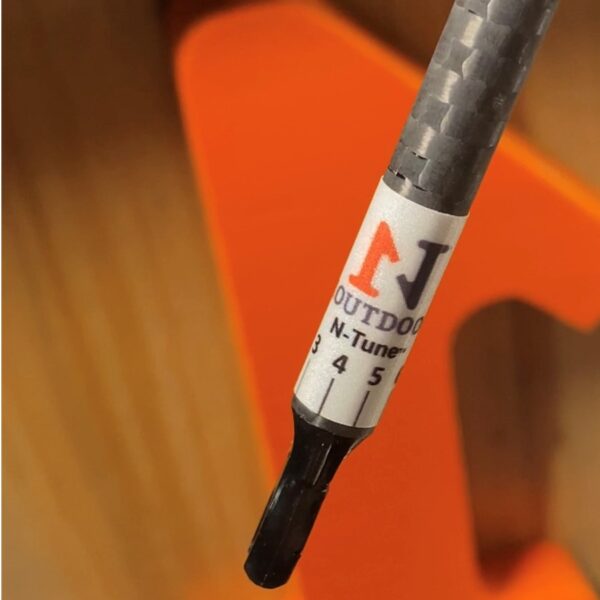
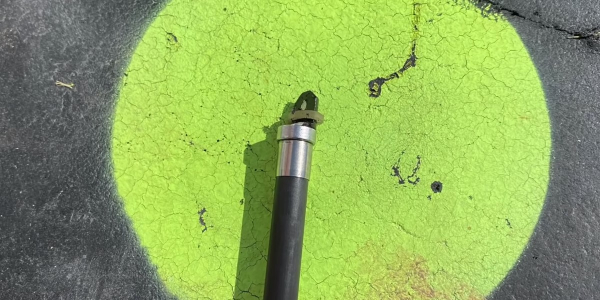
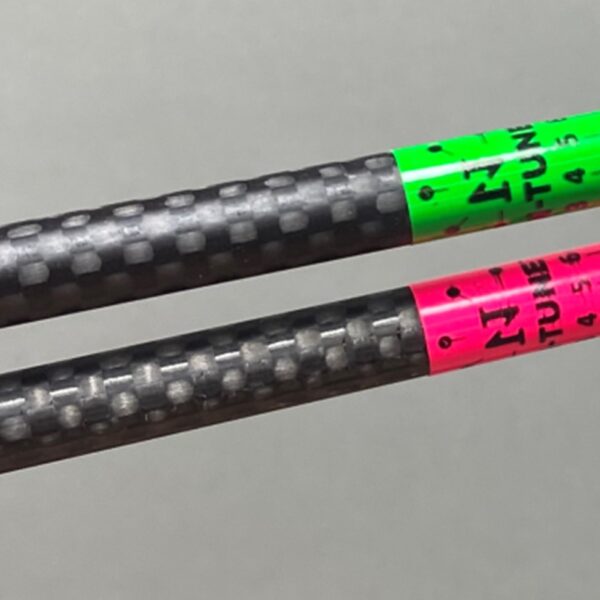
Here at N1 Outdoors, we are a little bit partial to the Just Pass’N Through through N-Tune Arrow Wrap, which help you tremendously in the nock tuning process. So, we’ll be using those in this example:
- Prepare your work surface
Clear a fair amount of space on a flat, dry surface. You can use the N1 Outdoors Arrow Wrap Pads, a mouse pad, or thin hot pad, as it can provide some cushioning, which will help you be able to apply even pressure during the application process.
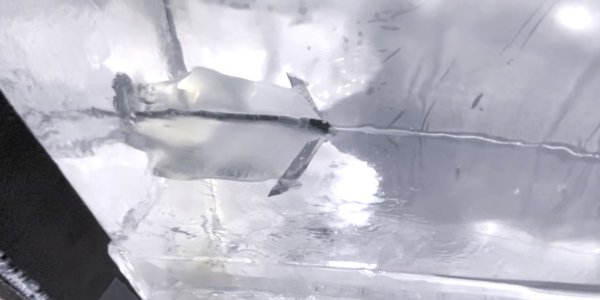
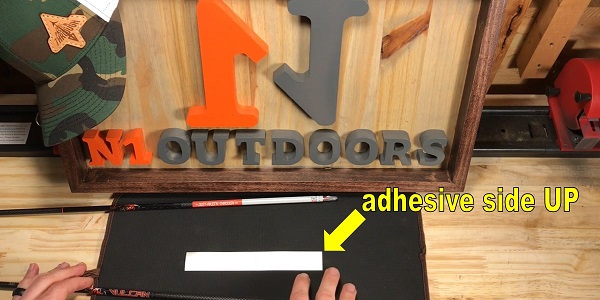
- Remove arrow wrap from paper backing and lay down with adhesive side up
Remove an arrow wrap from the paper backing. Do your best to only touch the very corner of the wrap, to avoid getting oil and dirt from your hands on the adhesive part of the wrap, which would reduce how well it sticks to the arrow shaft (you could use just your fingernail or even tweezers).
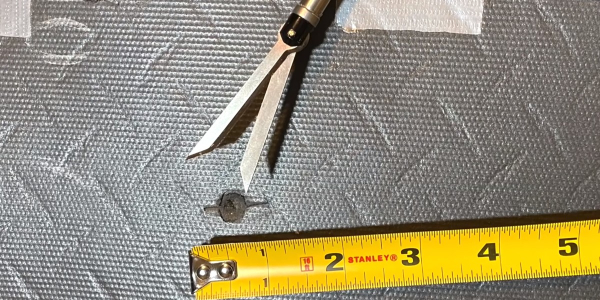
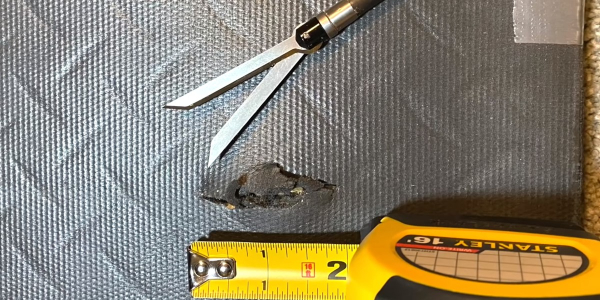
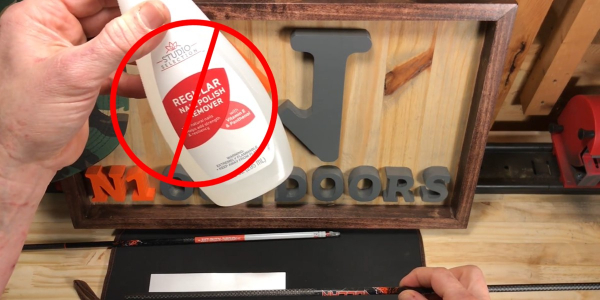
- Clean the bare shaft of your arrow
You want to be sure that you clean the surface of your arrow’s shaft where you’re going to be applying the arrow wrap. Clean it with a denatured alcohol or acetone, (or you can simply use water, if you use the N-Tune Arrow Wrap Cloths.) Now, fingernail polish remover does have acetone in it, however it sometimes also has things like vitamin E and other chemicals and oils in it that could prevent the arrow wrap from adhering properly to the shaft. So, even though some of you really love your arrows, we promise vitamin E will not help your carbon arrow shafts! So, it’s a better idea to use denatured alcohol or acetone.
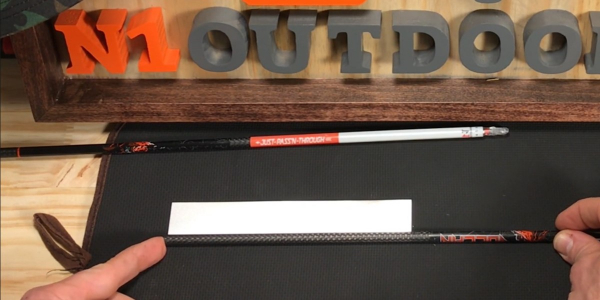
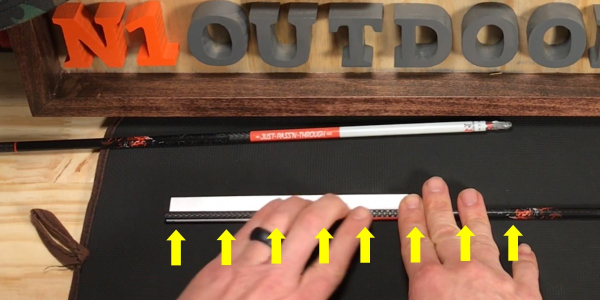
- Align the wrap properly with the arrow shaft
Ensuring that the arrow wrap is not applied crooked is actually easy to do. Lay your arrow shaft down beside the wrap that you have laid down (adhesive side up) on the mouse pad/flat surface. Be sure that the shaft is parallel to the edge of the arrow wrap. Be sure the arrow shaft is close to the edge of the arrow wrap without touching it. This will help you in being sure it is lying parallel.
- Apply the wrap (roll)
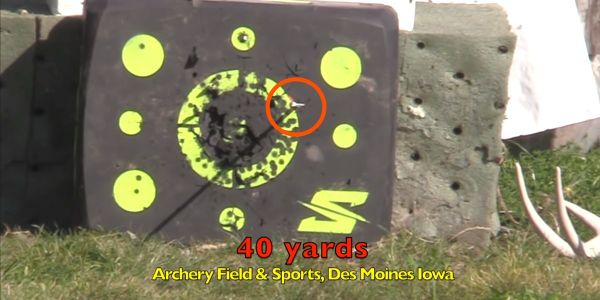
Once you have the arrow shaft parallel to the wrap, simply roll the shaft toward the wrap (while applying even, downward pressure to ensure that the entire shaft surface contacts the wrap). Be sure to apply firm pressure to the seam of the wrap so that you will get good adhesion. Now, you will have a perfectly applied arrow wrap! Now, you are ready to insert a nock and begin paper tuning your bare shaft!
Your arrow shaft is now ready to be nock tuned and then fletched!
If you’ve got questions, you can leave those in the comments. We hope you will share this with people who might be interested and we hope you have an arrow this year that’s just pass’N through!
>> Click here to check out all the N1 Outdoors bowhunting and archery tees!