At the core of the arrow spine conundrum, we have stiffness.
First, The Basics | What Is Arrow Spine?
The archery world has set a standard for arrow spine. Most companies follow it in this order:
- The higher the number (400 spine), the softer, or more flexible arrow.
- The lower number (250 spine) is a stiffer, or less flexible arrow.
I like to say one is “bendier” and the other is less “bendy.” I’m not sure that is even a word…. oh wait, I said it, so it IS a word, because I. AM. SPECIAL. Ha!!
Every arrow shaft has a certain degree of “bendiness.” This is known as the arrow spine.
Anyhoo, here is a very high-level overview of arrow spine…
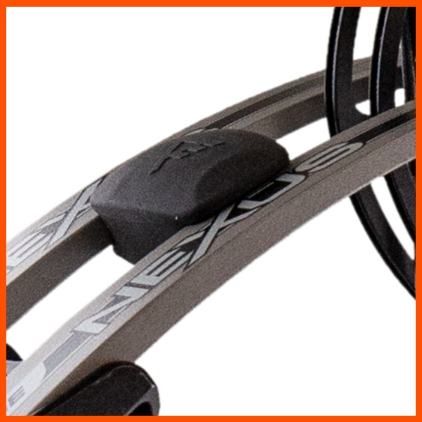
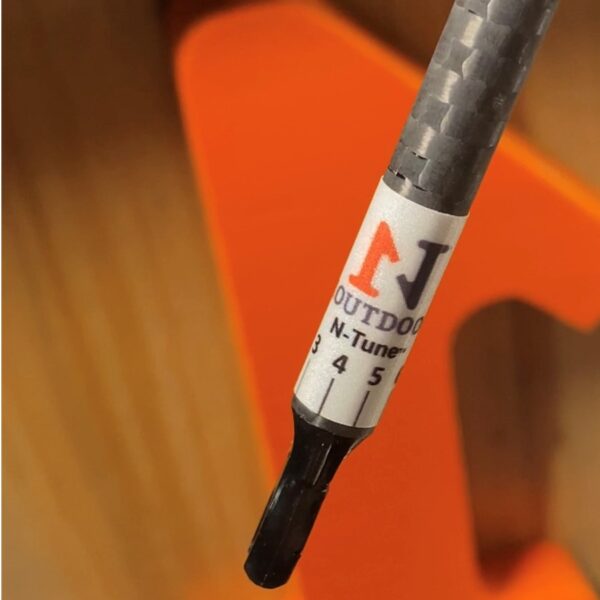
The standard is to press the center of each arrow shaft at 28” width with a gizmo. This “gizmo” (arrow spine tester) only pushes so far. The gizmo has a gauge showing pressure and it shows the amount the arrow flexes. If it’s a softer spine, it bends further. If it’s stiffer, it bends less.
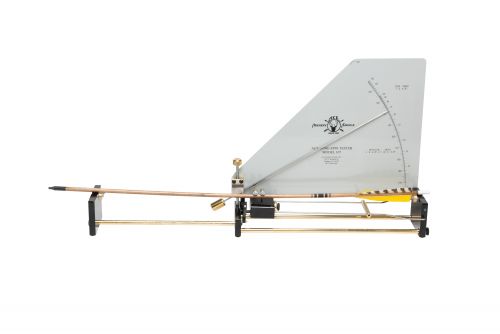
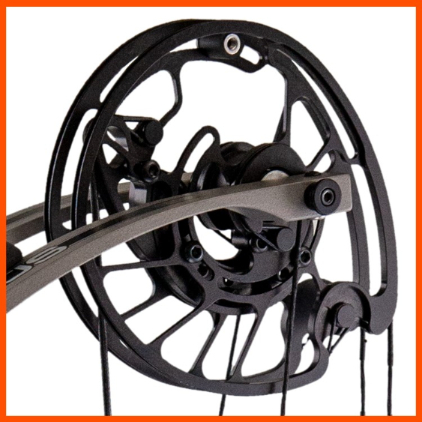
This is an example of an arrow spine tester. What could be more “gizmo” than this!
The arrow companies try to build a mixture of carbon and wall thickness to achieve consistent results to hit their targeted spine offerings.
How Is Arrow Spine Measured (The Details)
The spine of an arrow is measured by supporting a 28-inch shaft at both ends, while hanging a weight (1.94 lbs.) from the center point of it. The amount of flex caused by the weight is then measured.
So, let’s say that an arrow shaft bends half of an inch when the weight is applied, then it would have a static spine rating of .500″.
Ok Class, Let’s Review!
So let’s review to be sure everyone is following the ‘ole Ranch Fairy’s tutelage…
Higher number = softer spine.
Lower number = stiffer spine.
Until you cut them. Then its tin foil hat time!

Arrows, PVC and gardening wives… Just stay with me here
Since I like simple ideas, I am going to use one moving forward.
KEEP THIS PICTURE IN YOUR HEAD… You have a wife who is a gardener. (Of note, I have intimate knowledge of the following scenario… The names have been changed to protect the innocent.)
So anyway, this wife of mine, AHEM, I mean of yours, loves to plant new plants and RELOCATE existing plants and trees, despite the previously planted forest of plants and relocated plants.

Why the flowery springtime imagery? We’re supposed to be talking arrow spine here! Calm down, we’re getting there!
You also have a sprinkler system.
This woman, to whom you are betrothed, is amazing at requiring a couple of her 10 plants to be planted right on top of a sprinkler line. Now, you suspect you’re going to hit a water line, but when, when, when????” (I mean, she doesn’t even have water witching sticks or anything to be considerate!!!)
As you dig hole number 6 of 10, you feel the crunch/crush of PVC.
Your day just extended.
But, since you know this was inevitable, you have extra PVC supplies. So, you go get a stick of ½” PVC. It’s 10 feet long.
You grab the PVC in the middle to relocate it to your new “project.” There’s a certain amount of sag on both ends. But when you cut it down to 6 feet….what happens to the stiffness?
Ok – keep that in your head. I’m gonna add one more thing… If you have a full stick of PVC and only cut 1” off, or 1 foot off, or 2 feet off, does it stiffen with each cut?
If you cut a piece of PVC, what happens to the stiffness? Wonder what happens to arrow shaft spine when you cut it? Hmmmm.
-
N1 Outdoors® Bareback Bowhunter™ Tee
Price range: $28.99 through $32.99 Select options This product has multiple variants. The options may be chosen on the product page -
N1 Outdoors® Stain The Vanes™ Bowhunting Tee
Price range: $24.99 through $30.99 Select options This product has multiple variants. The options may be chosen on the product page -
Just Pass’N Through™ Tee featuring Iron Will (Various Colors)
Price range: $24.99 through $28.99 Select options This product has multiple variants. The options may be chosen on the product page
PVC? I thought we were talking arrow shafts here!
When it comes to carbon arrows, it’s easy – there are only 4 spines… (RANCH FAIRY DISCLAIMER!! see caption below before you blow me up with your comments!)
Remember this… flying sticks change when you cut them! FACT.
If you are an archery nerd, you’re going to rat me out because there are in fact more than 4 spines. Some companies offer 600 and 500 spines, then much stiffer 200 and 150. A couple of the companies have their own way of doing things like: 320 / 260 / 140….oh I feel the love of being an individual! But, PRACTICALLY SPEAKING, there are 4 spines for the average yahoo trying to kill a deer, with a bow: (400/350/300/250). This is because 90% of us yahoos shoot 50-70#. So, those are the most common starting points to build a reasonable arrow for hunting from 400 grains and a flapper (skeet load) to 700 grains and a hammer (magnum).

The reality is that there are gazillions of spine charts and programs out there. The quality of the information is wide and varied, so I am not going to worry about that now.
I want you to understand what happens to the flying stick, when you change the length of that flying stick.
I have tested everything from here forward so, let’s get something real straight. EVERY minor length change to the stick, changes the stick.
So, let’s say you snort the fairy dust and start with an arrow spine your bow shop may have selected. Or, you figured it out yourself.
Let’s say you require and tune up some 300 spine sticks. You’re shooting 60# at 29” draw and 225 grains up front.
It’s flying great and you think this crazy Ranch Fairy guy might be onto something. So, you’re talking to your friend who shoots a twizzler and he’s been sad about bouncing arrows off animals.

(If you need help with an arrow build email me tr**@********ry.com please include: draw weight, draw length, and point mass)
But, your buddy shoots 27” at 60#.
I would still put him in a 300 spine.
However, his arrow is 2” shorter. It started out at 300 spine but it’s cut shorter than 28” where the companies measure spine. ***Remember the PVC question?
So, this means that since you’re longer than 28”, where the spine is measured, (you are shooting at 29” long), your arrow now is roughly a 310 spine (softer).
But, your buddy is shooting a 290 spine (stiffer), because he is 1” shorter than 28” where the spine was originally measured by the arrow company.
So, you aren’t shooting the same spine (300 spine arrows), even though it started with a 300 spine arrow and it’s the correct arrow for both of you to start with.
Are you having fun yet?
(Of note, the 310 and 290 spine are guesstimates, this is an example. Practically speaking, the shorter arrow is incrementally stiffer and vice versa.)
-
N1 Outdoors® N-Tune™ Nock Tuning Reflective Arrow Wraps – Dual Fade (Various)
Price range: $18.99 through $27.99 Select options This product has multiple variants. The options may be chosen on the product page -
N1 Outdoors® N-Tune™ Nock Tuning Reflective Arrow Wraps – Angry Arrow™
Price range: $18.99 through $27.99 Select options This product has multiple variants. The options may be chosen on the product page -
N1 Outdoors® N-Tune™ Nock Tuning Reflective Arrow Wraps – Out For Blood™
Price range: $18.99 through $27.99 Select options This product has multiple variants. The options may be chosen on the product page
I know it sounds like I am splitting atoms, but the more I do this, the more annoying this flying stick sport becomes.
There are so many small (yet massive) details.
So let’s say you spitball some arrows. You know 29” is the length that flies for you.
Life is dreamy!
BUT, you decide to cut a few down to 28.5” so they are .06 FPS faster.
Seriously, the spine changes a little bit.
Or, even better, you get a “deal” on 30” long arrows and decide that’s close enough.
NOPE – it’s not.

But I recommend you bare shaft and recheck everything, any change, for perfect arrow flight. Heck – it might work….it might not.
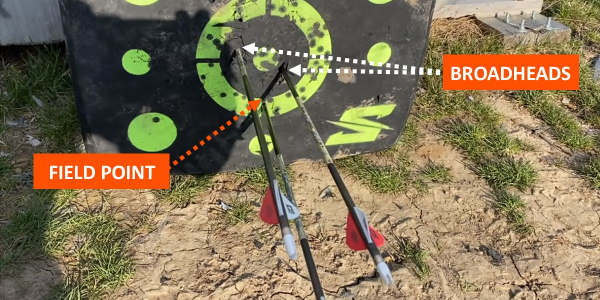
Oh, I don’t think it’s going to be doing loops. But, broadheads may be just that much different. They may wander 2” left or do some other annoying thing that changes a quick kill to a longer trail.
There are more details… yup, super annoying! Yup, super massive! It would be a ton to digest all at once.
Point weight, broadheads, lighted nocks, even fletching style (somewhat) and any amount of weight added (think wraps) to the back of the arrow messes with the flying stick. Even when the stick length doesn’t change. Isn’t that just wonderful?
-
N1 Outdoors® Put A Hook N1™ Fish Hook Leather Patch Hat (Brown/Khaki)
$29.99 Select options This product has multiple variants. The options may be chosen on the product page -
N1 Outdoors® RodTogs™ Patch Trucker Hat (Kryptek Pontus & White)
$26.99 Select options This product has multiple variants. The options may be chosen on the product page -
N1 Outdoors® Bucket Bite™ Leather Patch Hat
$29.99 Select options This product has multiple variants. The options may be chosen on the product page
Arrow Spine (Not So) Final Thoughts…
At the end of the day, remember this about any Ranch Fairy video or article… I am only concerned with one thing. Maximum arrow lethality on impact.
Targets are boring. Perfect arrow flight to get the flying stick there is required. I have multiple videos on arrow tuning. But read this and ponder.
“An arrow is always flying, in the air, or in hair, meat, and bone, it is always flying”
Dr. Ed Ashby
If that arrow is a little sideways in the air at TAC, 3-D tournaments or your local indoor range, who cares?
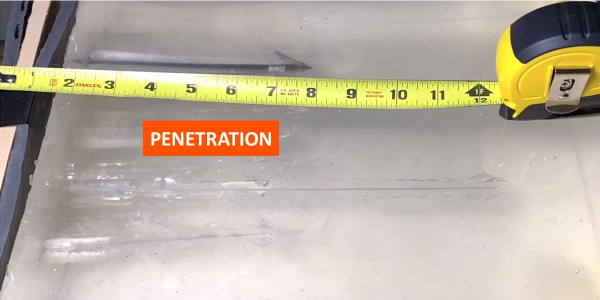
One inch of penetration on a target is the same score as 12” of penetration.
But, at impact on any target animal, “The arrow is always flying.” Flying that arrow just a little sideways erodes penetration, and lack of penetration reduces lethality. Your goal is maximum arrow lethality.
Stay tuned.